- Page 01
- Page 02
- Page 03
- Page 04
- Page 05
- Page 06
- Page 07
- Page 08
- Page 09
- Page 10
- Page 11
- Page 12
- Page 13
- Page 14
- Page 15
NOTE: I am not at liberty to redistribute the documentation used to build this model.
Further details on this model's construction are included in "Modeling with MODO, Volume One".
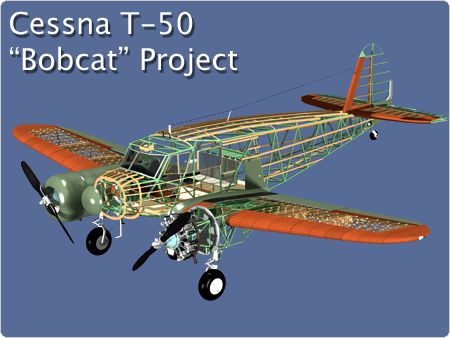
Welcome to the Cessna T-50 "Bobcat" Project
If you're old enough to have watched TV in the late 1950's and early 1960's, you may remember a show called "Sky King". This was the weekly adventures of a rancher/pilot who owned a plane and had his own airstrip, who would get involved in catching bad guys, preventing disasters, etc.. This sparked an interest in aviation for many of us who were kids at the time. So, I think it's time to finally build one of these in 3D.
There are several designations of this aircraft, including the "UC-78", and some were actually used by the Air Force as light bomber trainers. I'll be modeling a civilian version, (designated "T-50") and here's the bonus. I've been able to make contact with Jon Larson, who owns the original T-50 used in the TV show, as well as the rights to those shows. That will make it possible to do this one in precision "museum scale", including the internal structure. At the end, I'll use the color scheme and other details to make it look like original "Songbird".
Important changes:
I started this project with only minimal documentation, and later obrained much better info. So you'll see that on Page 03 of this article, I basically started over, to make the model more accurate. I'll leave these pages anyway, so you can see the process, and because the concepts used were similar.
Setup and Start:
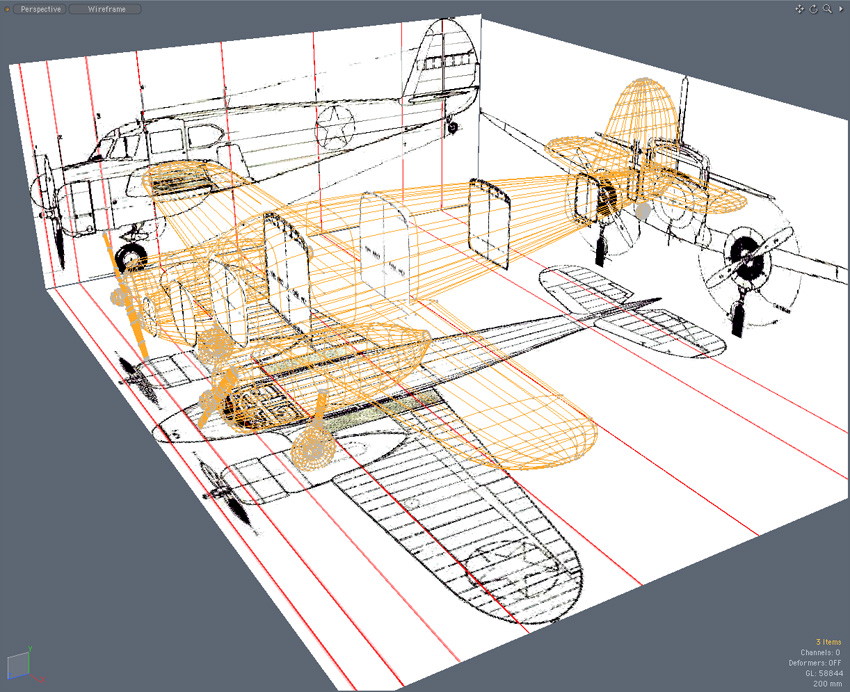
I used a typical setup for this kind of modeling, with the sliced-up 3-view drawing imported into MODO, and used as backdrop references.
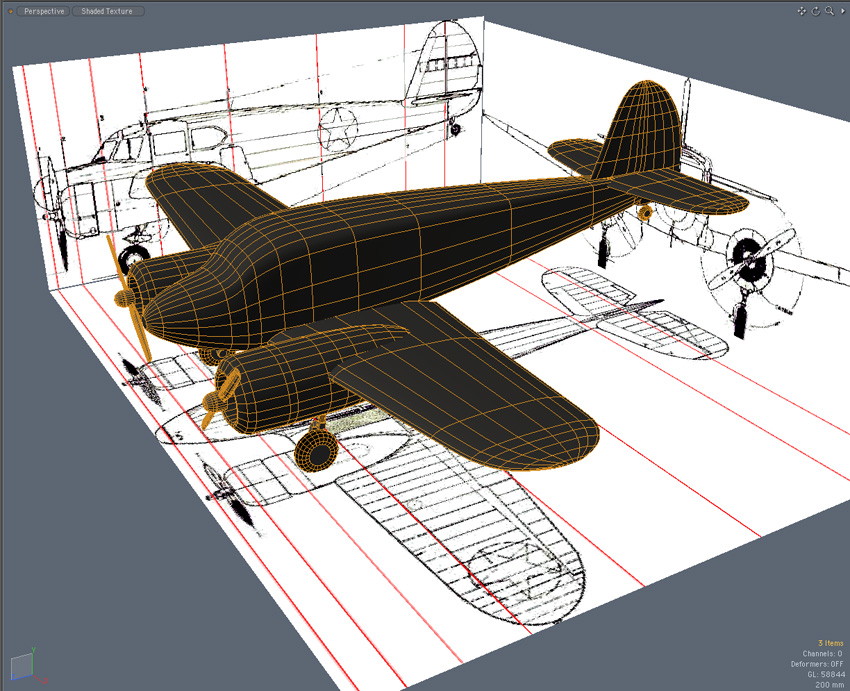
I can turn off the cross-sections and work with the 3-views alone, at times.
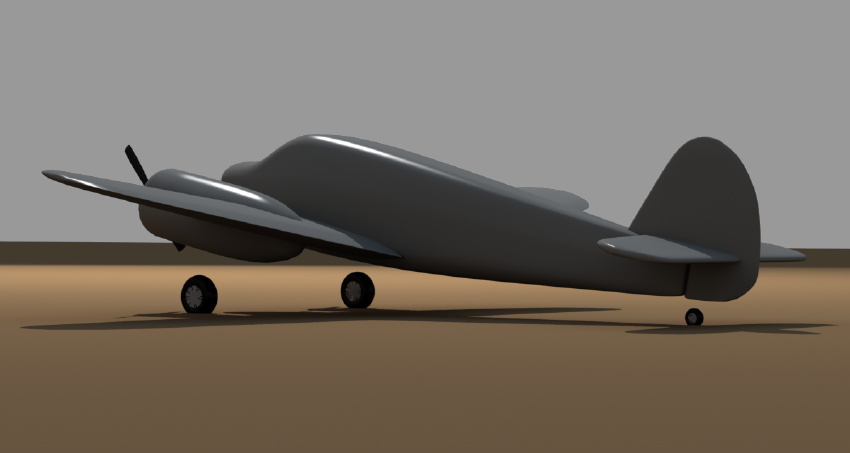
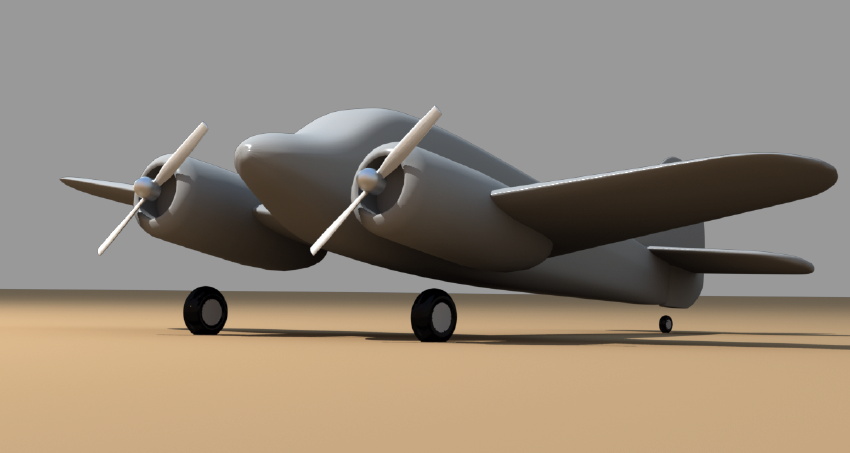
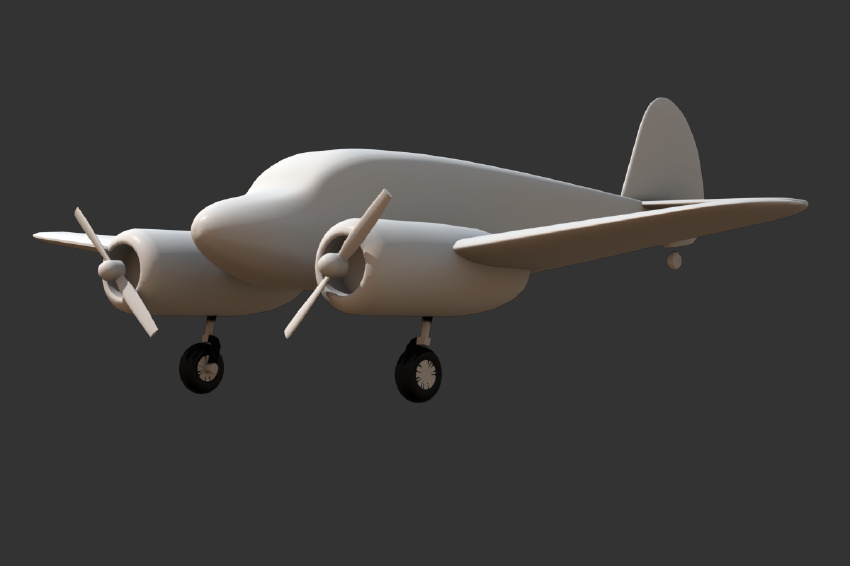
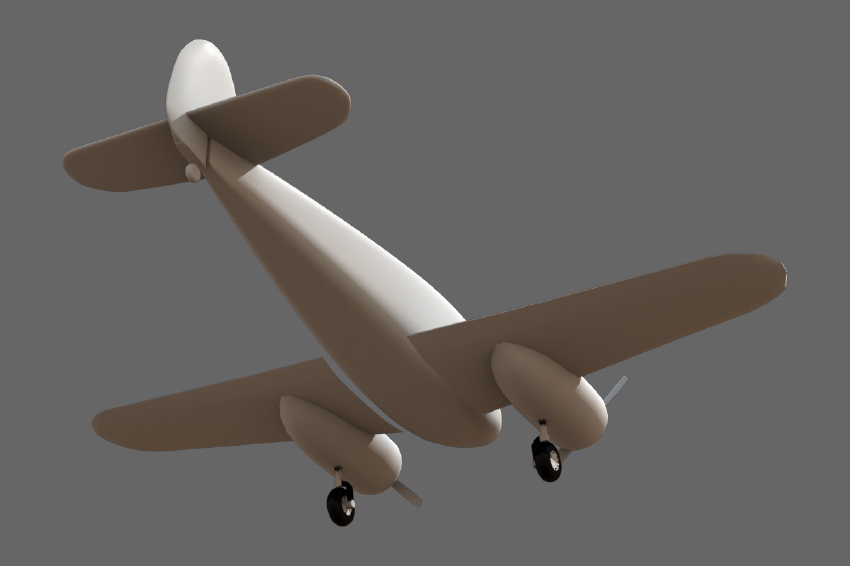
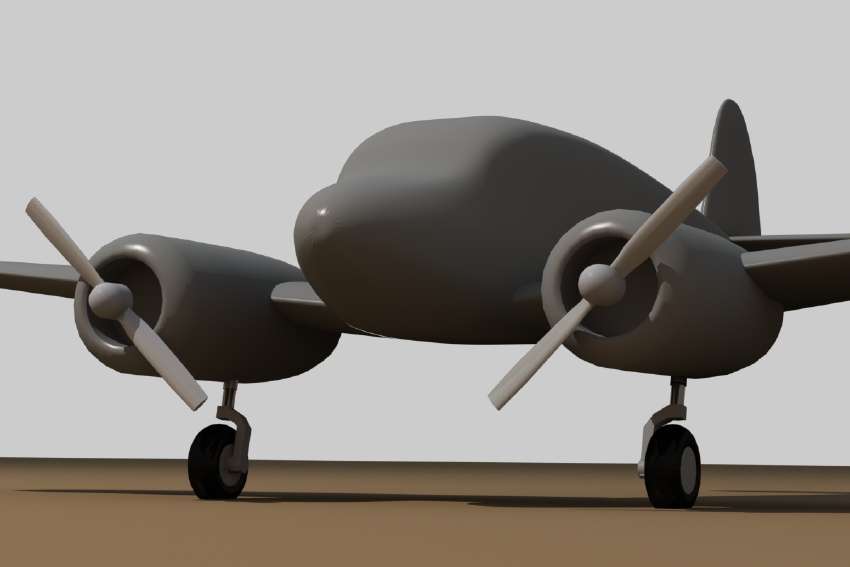
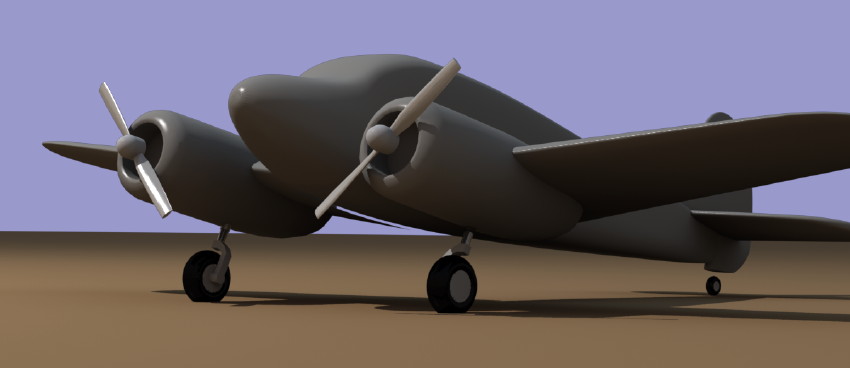
The fuselage, wings, tail parts, and engine nacelles are sub-d surfaces, and the small parts, including the props, spinners, and landing gear are straight polygons. (This may change later.) At this time, the shape is just roughed-out, to get started. I'm aware that the shape of the props should be round at the tips, and that the nose shape isn't right yet, since the windows haven't been added. It's a typical approach for me... Create some "stand-in" parts, then refine as I go. Here are the first few renderings of what I have so far.
Right now, you'll see a gap between the wings and the fuselage. That's because I'm still refining the wing shape. Once it's right, I'll join them to the fuselage and add the fairing.

Click the "Page 02" link below, to continue.
- Page 01
- Page 02
- Page 03
- Page 04
- Page 05
- Page 06
- Page 07
- Page 08
- Page 09
- Page 10
- Page 11
- Page 12
- Page 13
- Page 14
- Page 15