- Page 01
- Page 02
- Page 03
- Page 04
- Page 05
- Page 06
- Page 07
- Page 08
- Page 09
- Page 10
- Page 11
- Page 12
- Page 13
- Page 14
- Page 15
Cessna T-50 "Bobcat" Cabin details
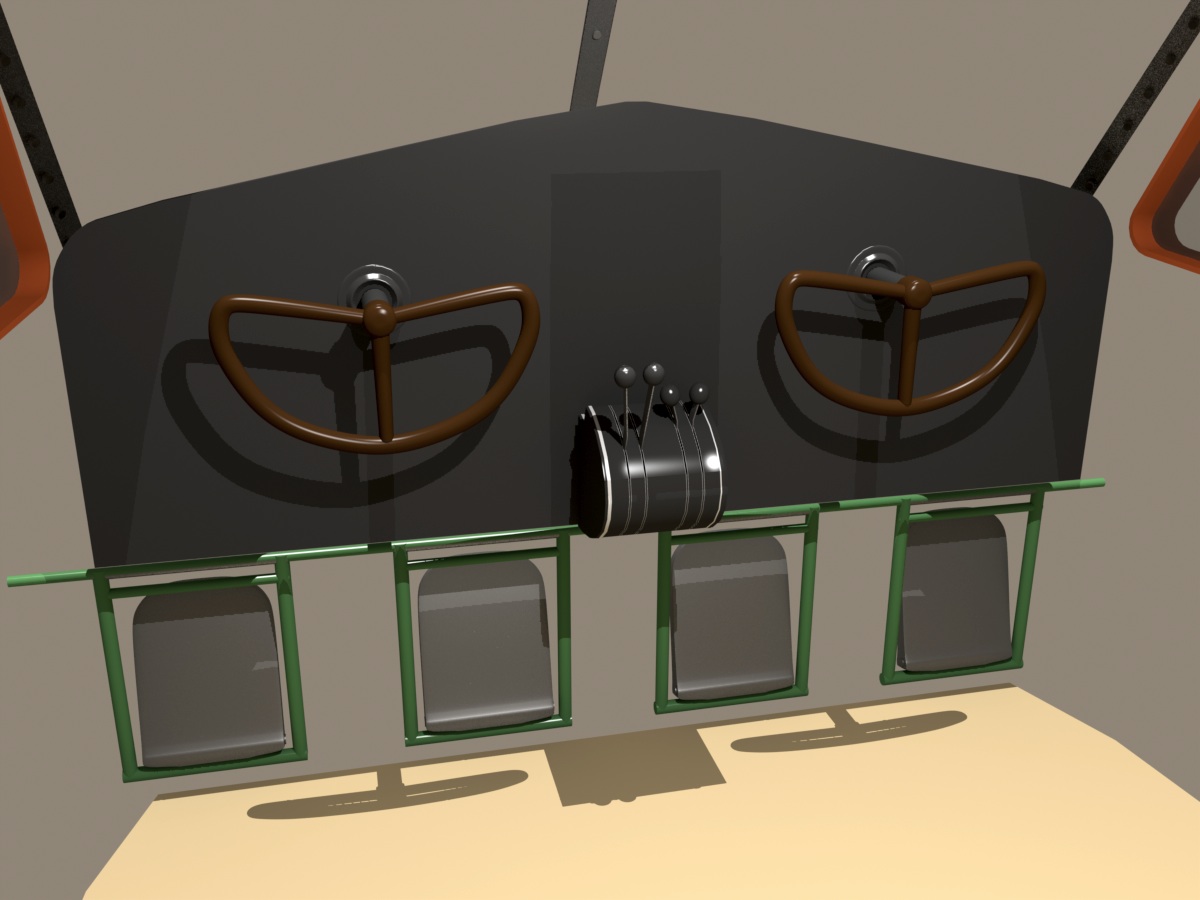
One of the things I'm going to do next is to install all of the cables and pulleys around the interior of the aircraft, which move the flight controls. Naturally, these all terminate in the cabin area, at the pilot and copilot's controls. So, I'm building those controls first, since everything gets connected to them. I'll worry about the details like the faces on the dials, etc., later. For now, the physically-moving controls are my concern.
Jon Larson sent me an orthographic photo of the instrument panel (front and rear) so I could position the items you see in these first few images.
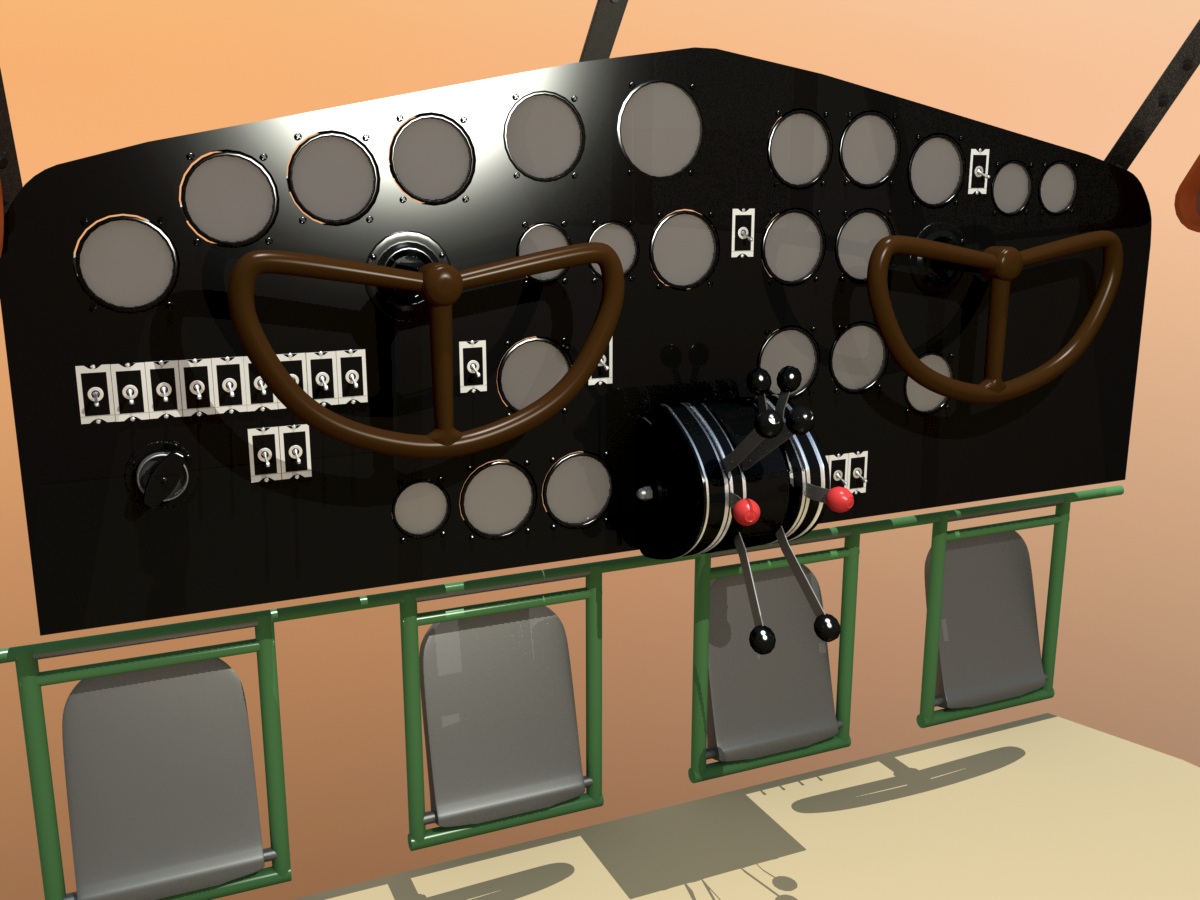
Next, I positioned all of the "stock" toggle switches and instrument bezels. Of course, people that fly the aircraft today have also added modern radios, etc.. I may add those later, but for now, am concentrating on the panel as it was originally built.

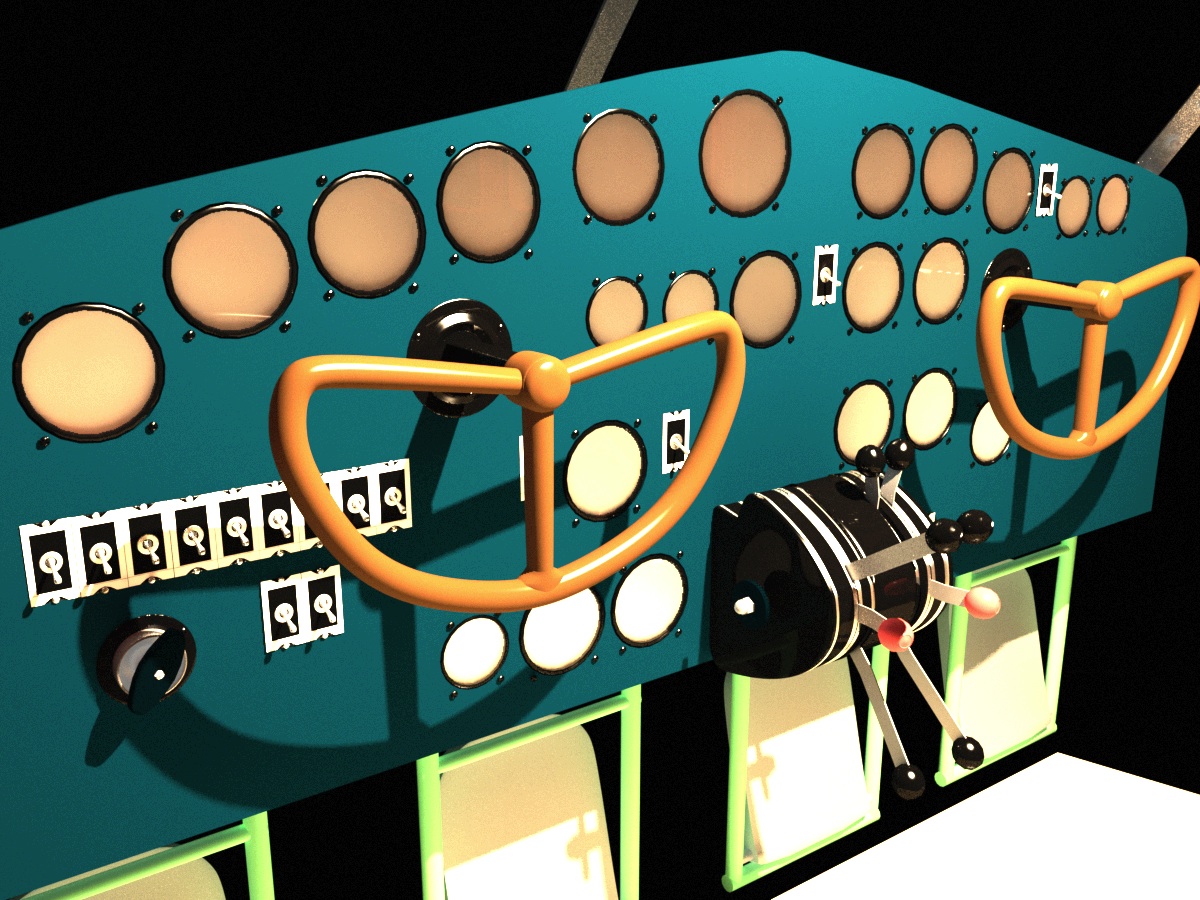
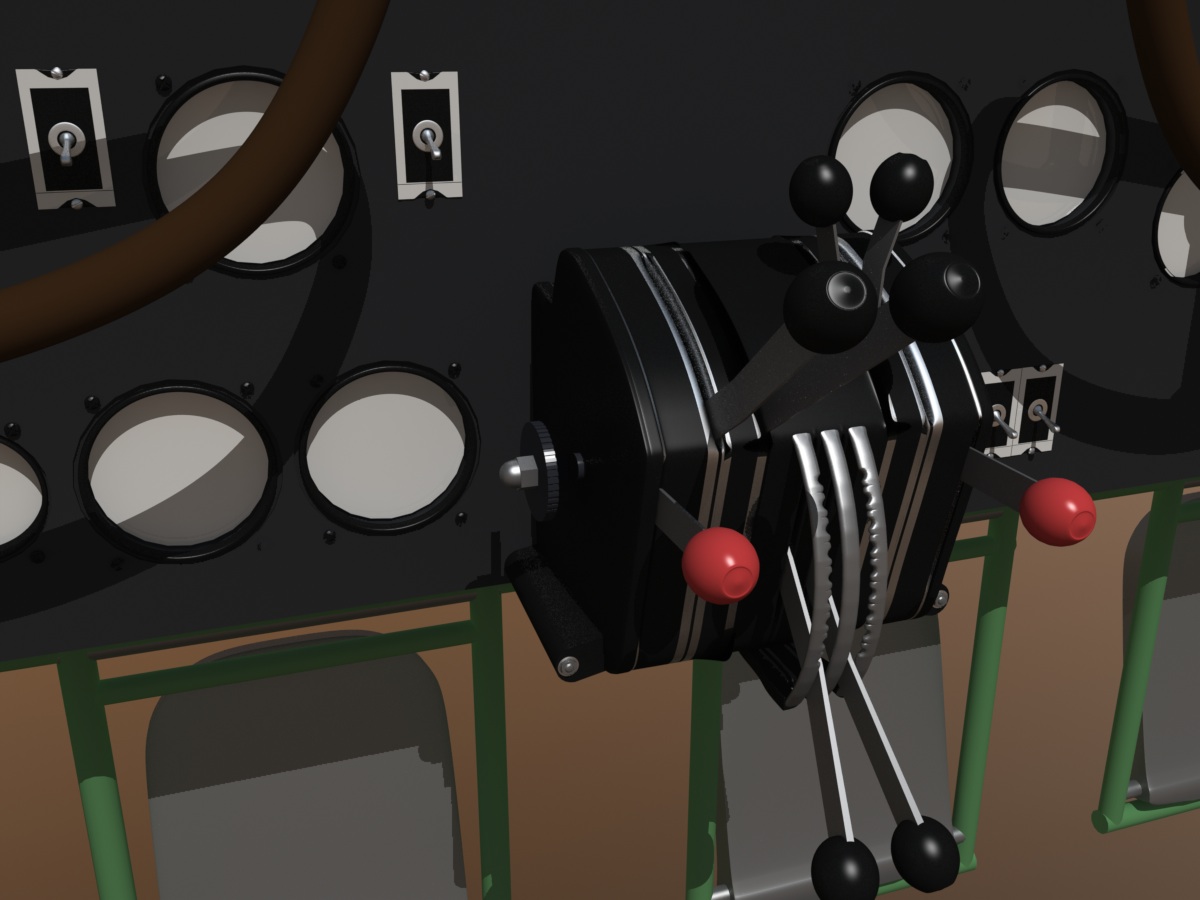
Changes here are subtle. I've added quite a few screws. the engine primer control at the lower left of the panel, and the friction lock for the throttle quadrant, and am tweaking the colors as I go along. The instrument panels were typically painted black, but I'm using this blue color to help me see more detail while I'm building parts. I'm also working on a way to make the various metal tubing structures in the aircraft look like they were actually welded, rather than just stuck together in 3D.
Renderings are what we do at the end, but modelers often want to see the raw mesh, so here's a mesh image of the instrument panel. It's not obvious in the image, but these screws actually have the mixture of straight and Phillips heads, and I took the time to turn some of them randomly, so they're not all lined up the same.
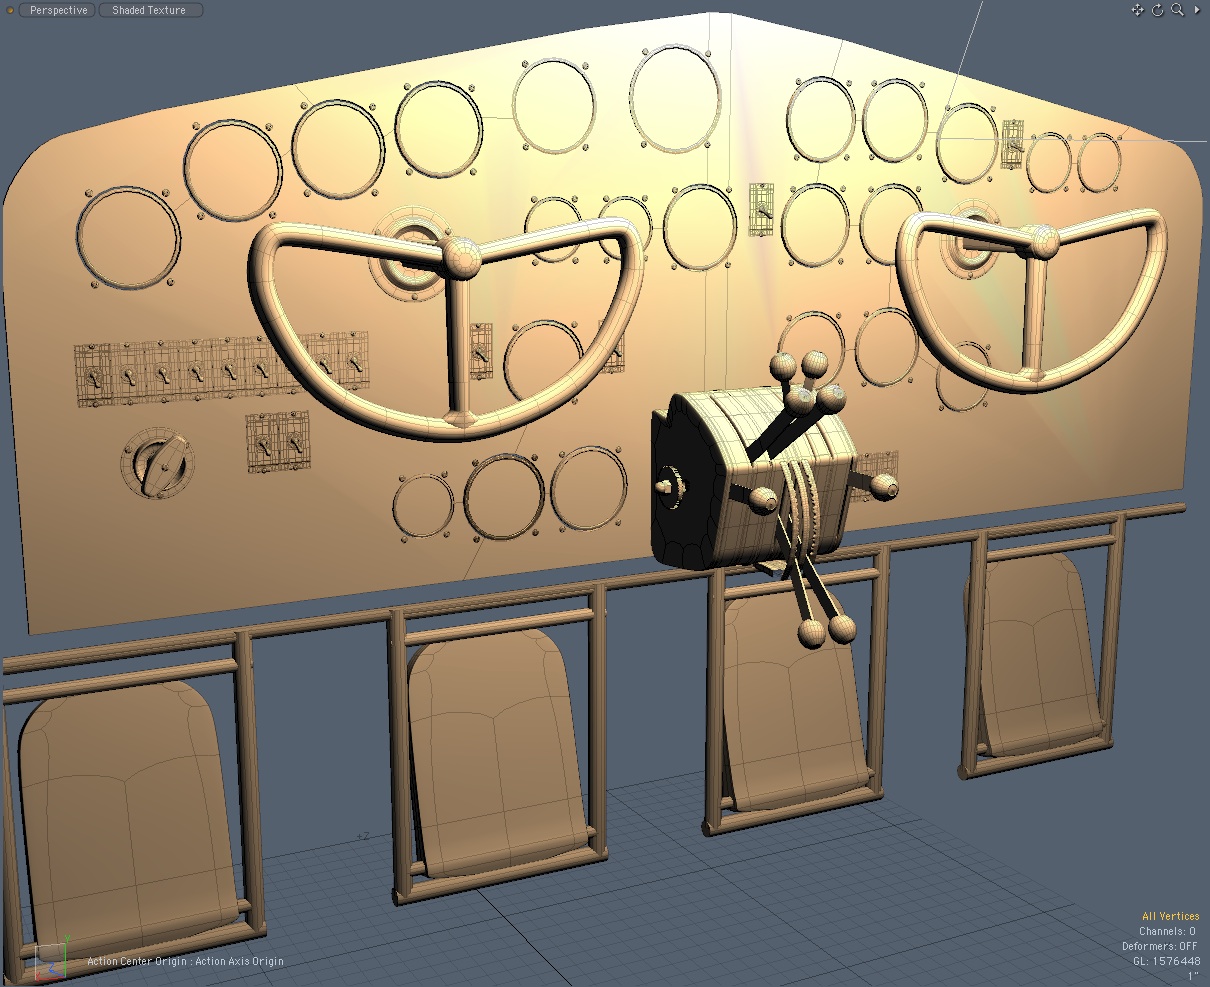
I've rebuilt the throttle quadrant, which is now much more accurate, especially toward the bottom, where I had it modeled "solid" before. Those little notches for the carb heat levers were done in sub-d mode.
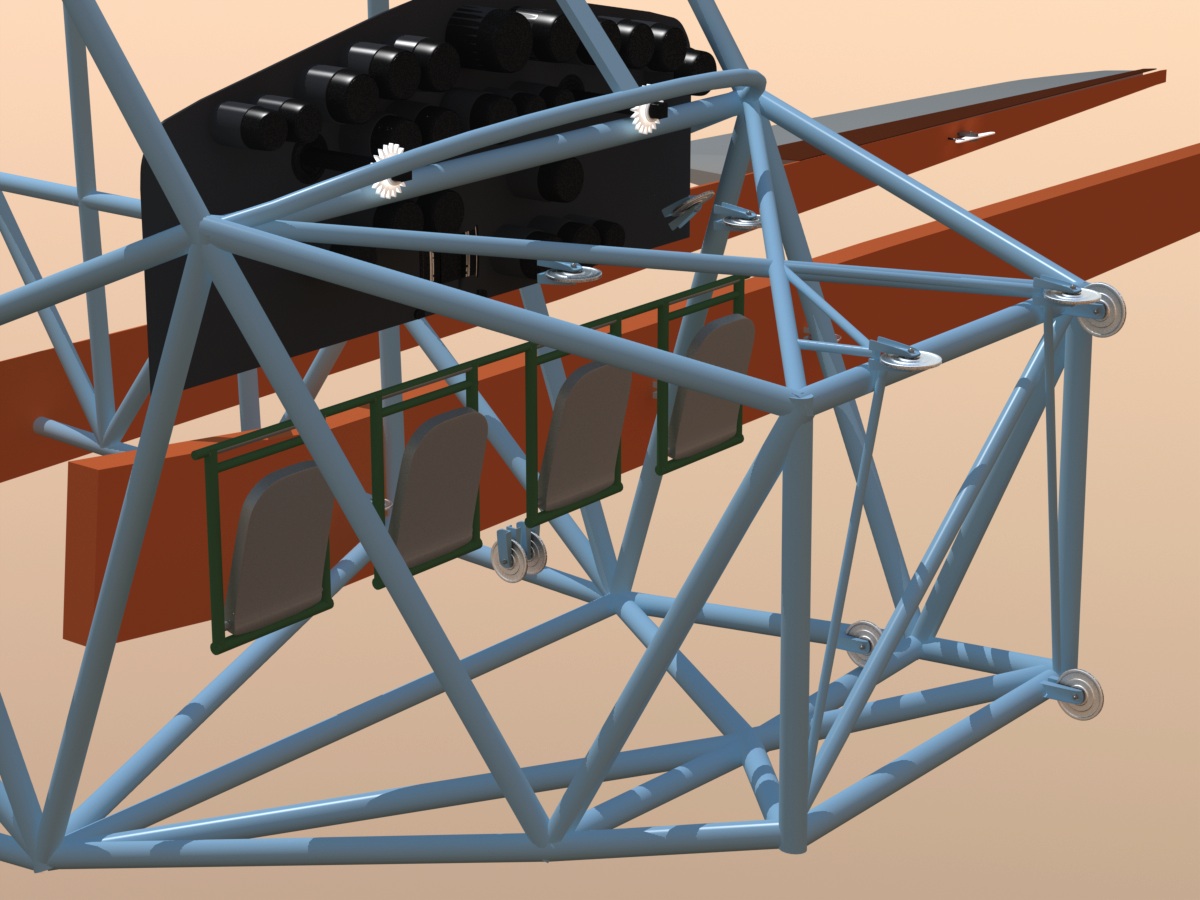
Next step will be all the cables and pulleys for the controls. Here, I've started on the pulleys that control the elevator. Not visible here, but I've also installed the pushrod and bellcrank for the aileron controls, and some of the pulleys along the spar, out to that area.
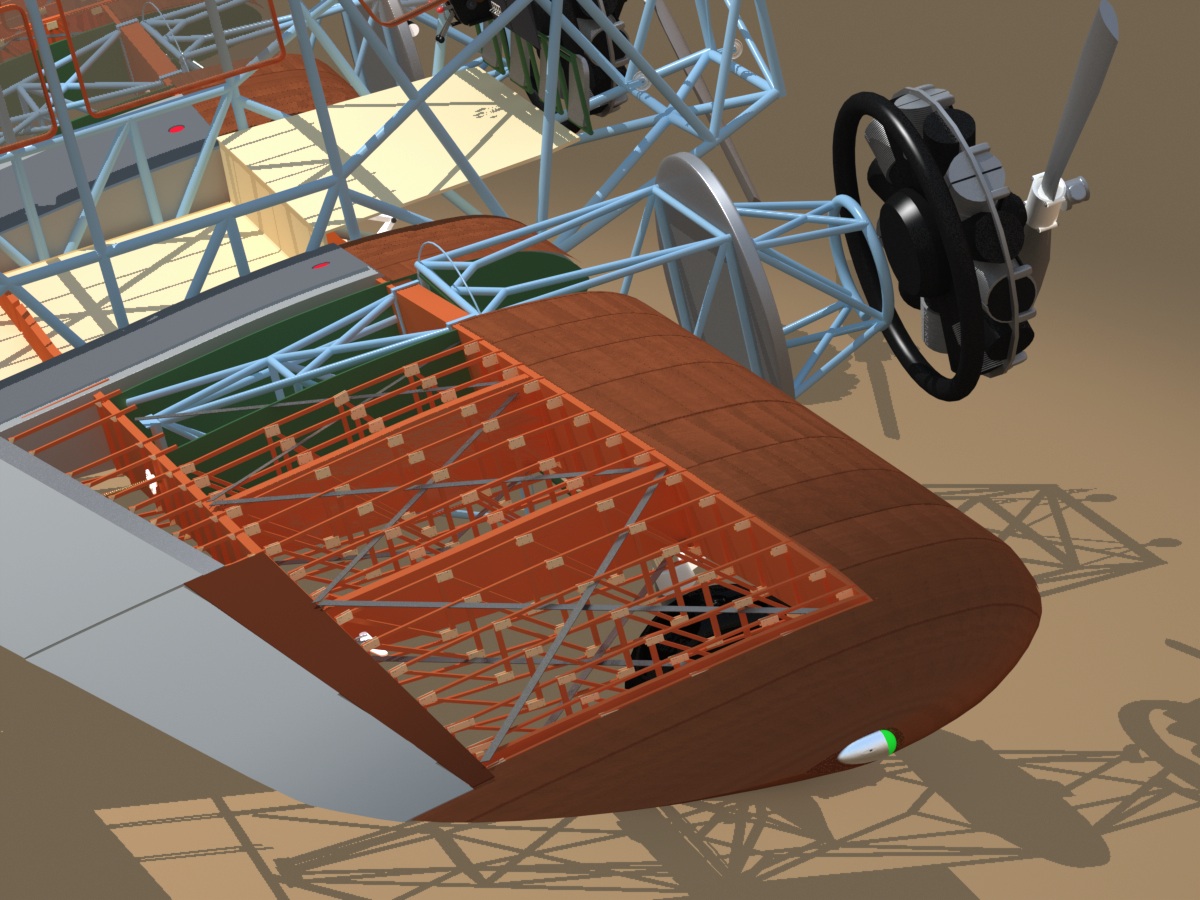
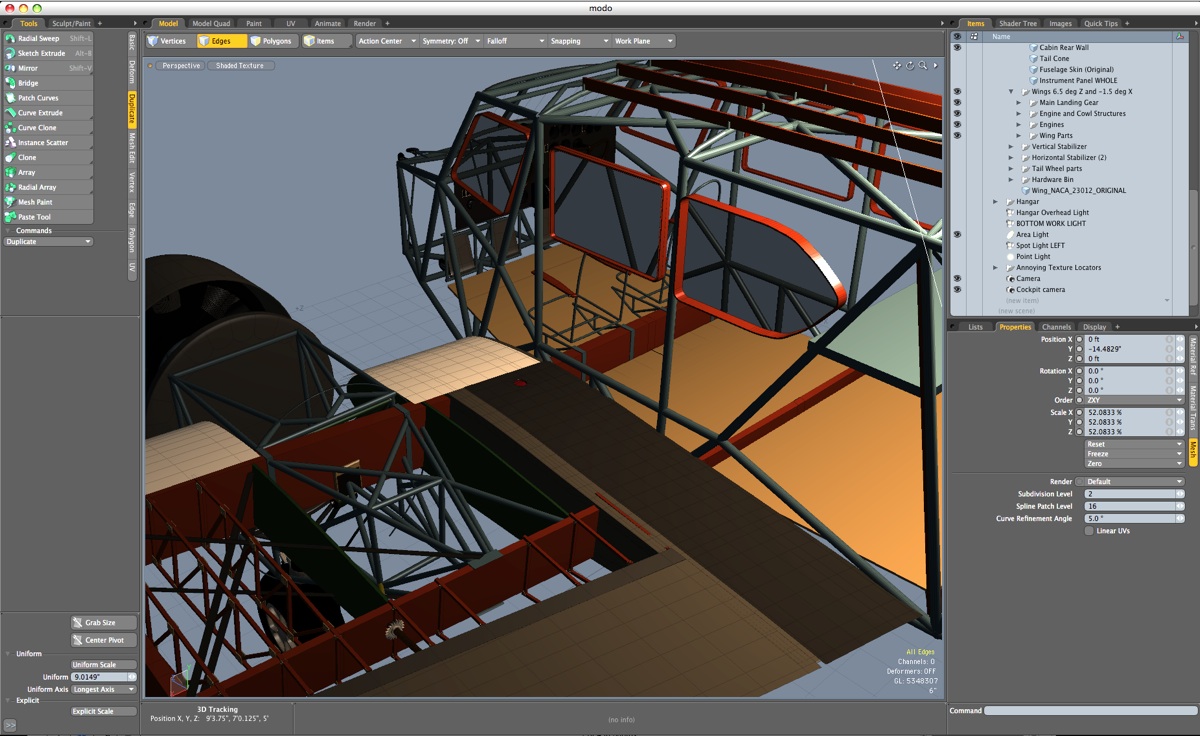
Status check...
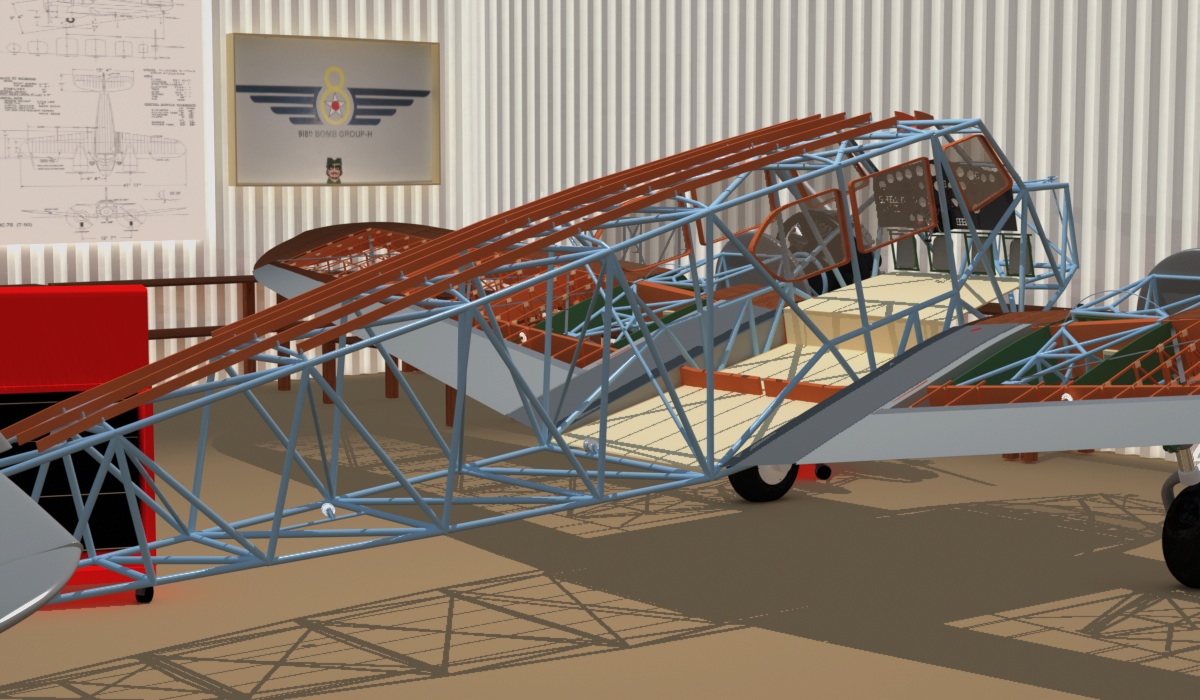
I've been showing close-ups for a while, so here's a slight step back to see what's been done so far, and what's left. This next image of the plane in a hangar also shows a nice painting done by Terry Sullivan, which is in his actual hangar. It's from the movie, "12 O'Clock High", featuring Gregory Peck. You'll see that closer, in future images.
- The tube structures in both the fuselage and wings are essentially complete, with only minor details to be added.
- The ribs in the wings are all done, lacking only some minor mods, where the tensioning wires pass through.
- The landing gear is complete, aside from wiring and brake details, which will be added later.
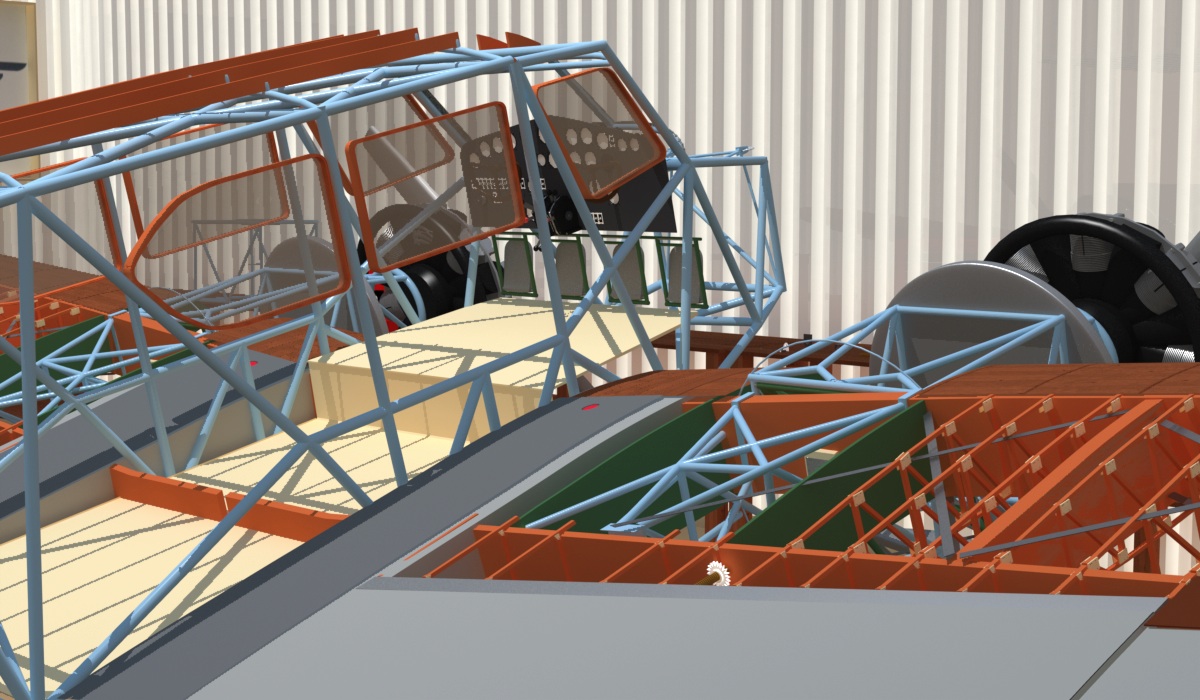
- The cockpit and cabin area is started, with quite a few details left to add.
- Dummy engines are in place, but need to be built to scale. Prop tips will be rounded too, as on the actual aircraft.
- Some of the pulleys for the control cables have been added, and there are more to come. The sprockets and jackscrews are in place for both the landing gear operation and the flap actuation. Later, the control cables on the pulleys, and the chains for the jackscrews will be added.
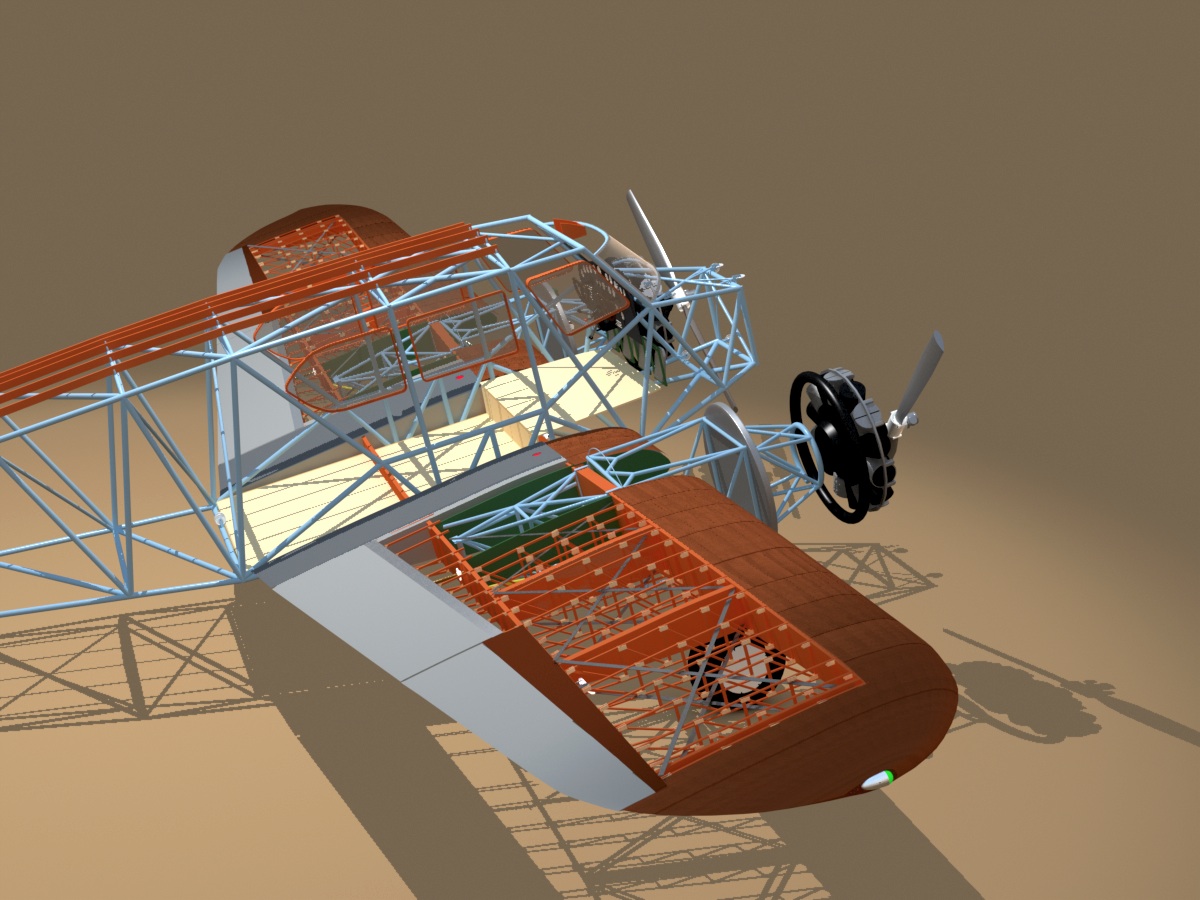
The in-wing guide wires (stainless steel strips) have been added, but still need their attachment points to the spar, as well as a few turnbuckles. I've added the aileron bellcrank and pushrod. (just in front of the aileron) I've also added the wingtip navigation lights, and their fairings.
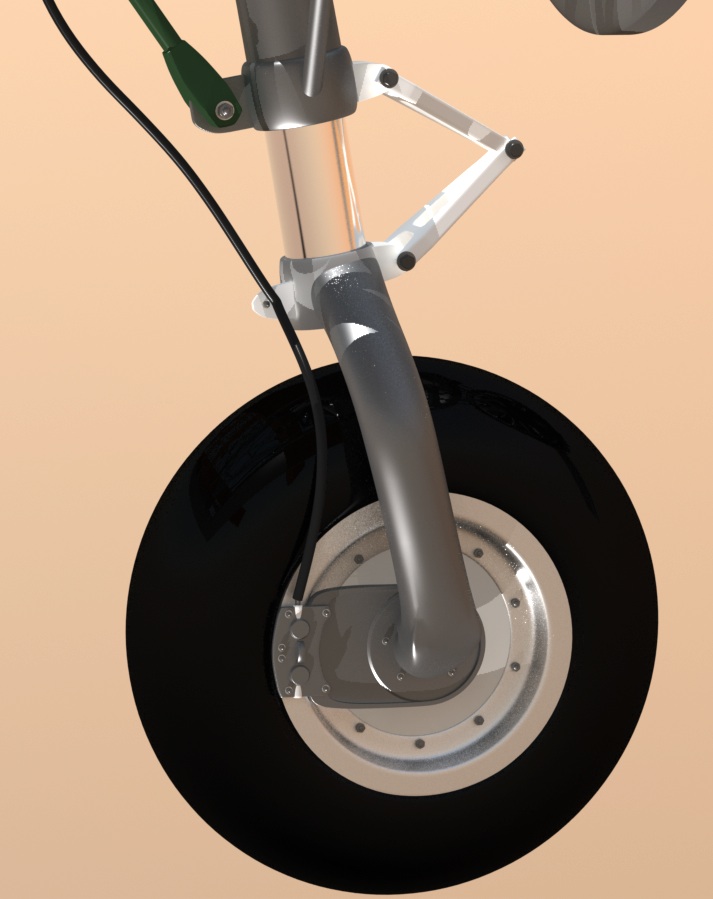
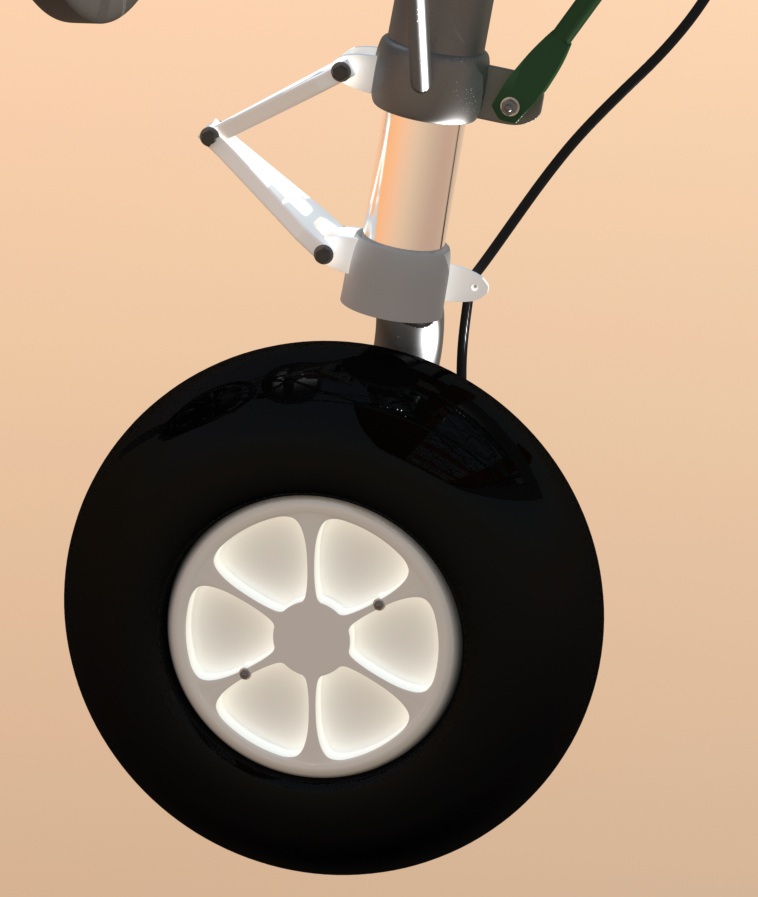
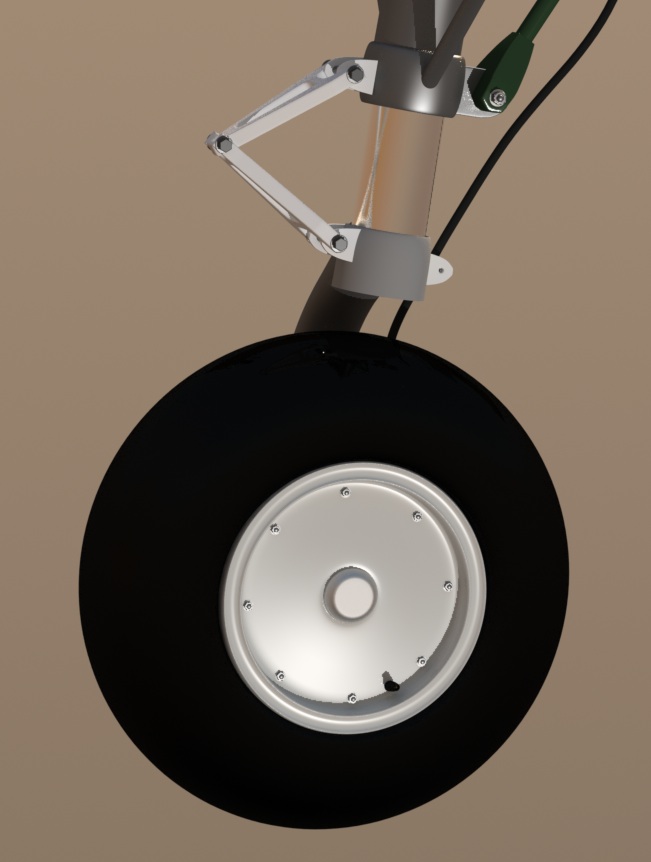
Wheels and Brakes:
I'm searching for more documentation on where the control system pulleys go, so in the meantime, I took the opportunity to start on the wheels and brakes. This was a compromise, using the original-style wheels, but modern brakes... a combination you might see on some aircraft.
What's next...
This model is developing pretty well, and the next parts will be a challenge. Aside from various small details in general, the next major steps will be the finishing of the cable and pulley system for the controls, the instrument panel faces and final details, and the many wood pieces that attach to the tubing structure, to support the fabric covering and give the aircraft it's final shape. This is an excellent project to learn MODO's tools with, and it's been made a real pleasure, by having good documentation.
I was alerted by Terry Sullivan that the new-style brakes won't work with the old-style wheels, so I've remodeled the wheels to match his.
Click the "Page 07" link below, to continue.
- Page 01
- Page 02
- Page 03
- Page 04
- Page 05
- Page 06
- Page 07
- Page 08
- Page 09
- Page 10
- Page 11
- Page 12
- Page 13
- Page 14
- Page 15