- Page 01
- Page 02
- Page 03
- Page 04
- Page 05
- Page 06
- Page 07
- Page 08
- Page 09
- Page 10
- Page 11
- Page 12
- Page 13
- Page 14
- Page 15
Cessna T-50 "Bobcat" Primary flight controls finished!
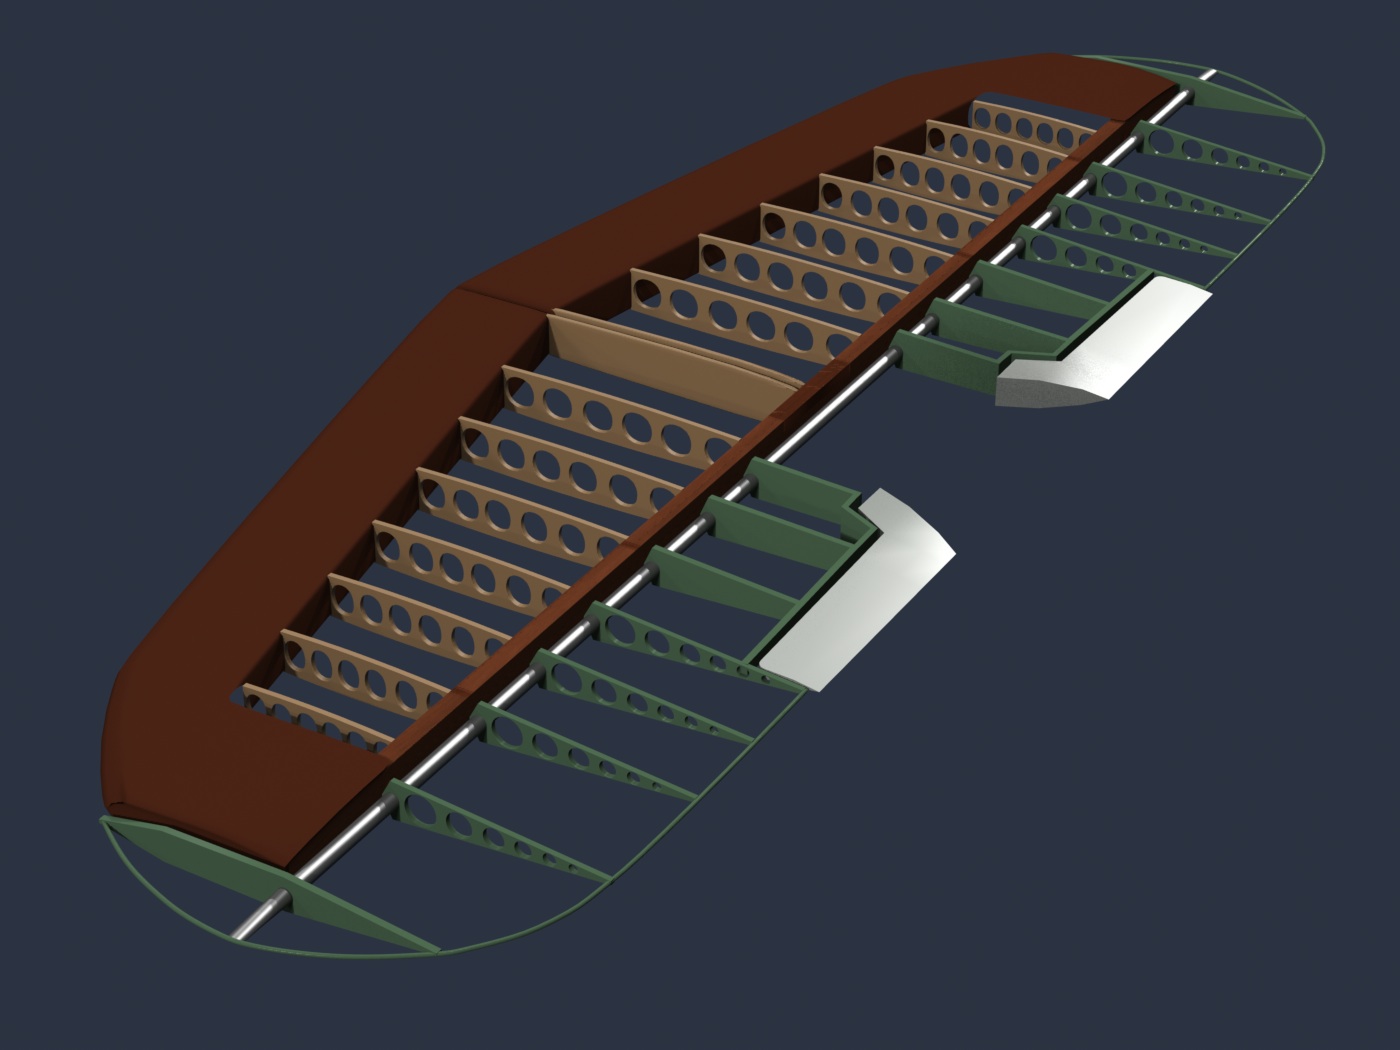
With the addition of the aileron control system, all the primary flight controls are finished I still have to add the trim controls (overhead, in the cockpit) and the chain drive systems for the flaps and landing gear, but that will be easy. Once the trim controls are installed, I'll know I'm finished checking for interference issues with the exterior skin, and can come back to that, adding some final patches, as well as the fabric "sag".
"MODO" has made this project a total pleasure. Thank you, The Foundry! ( http://www.The Foundry,com )
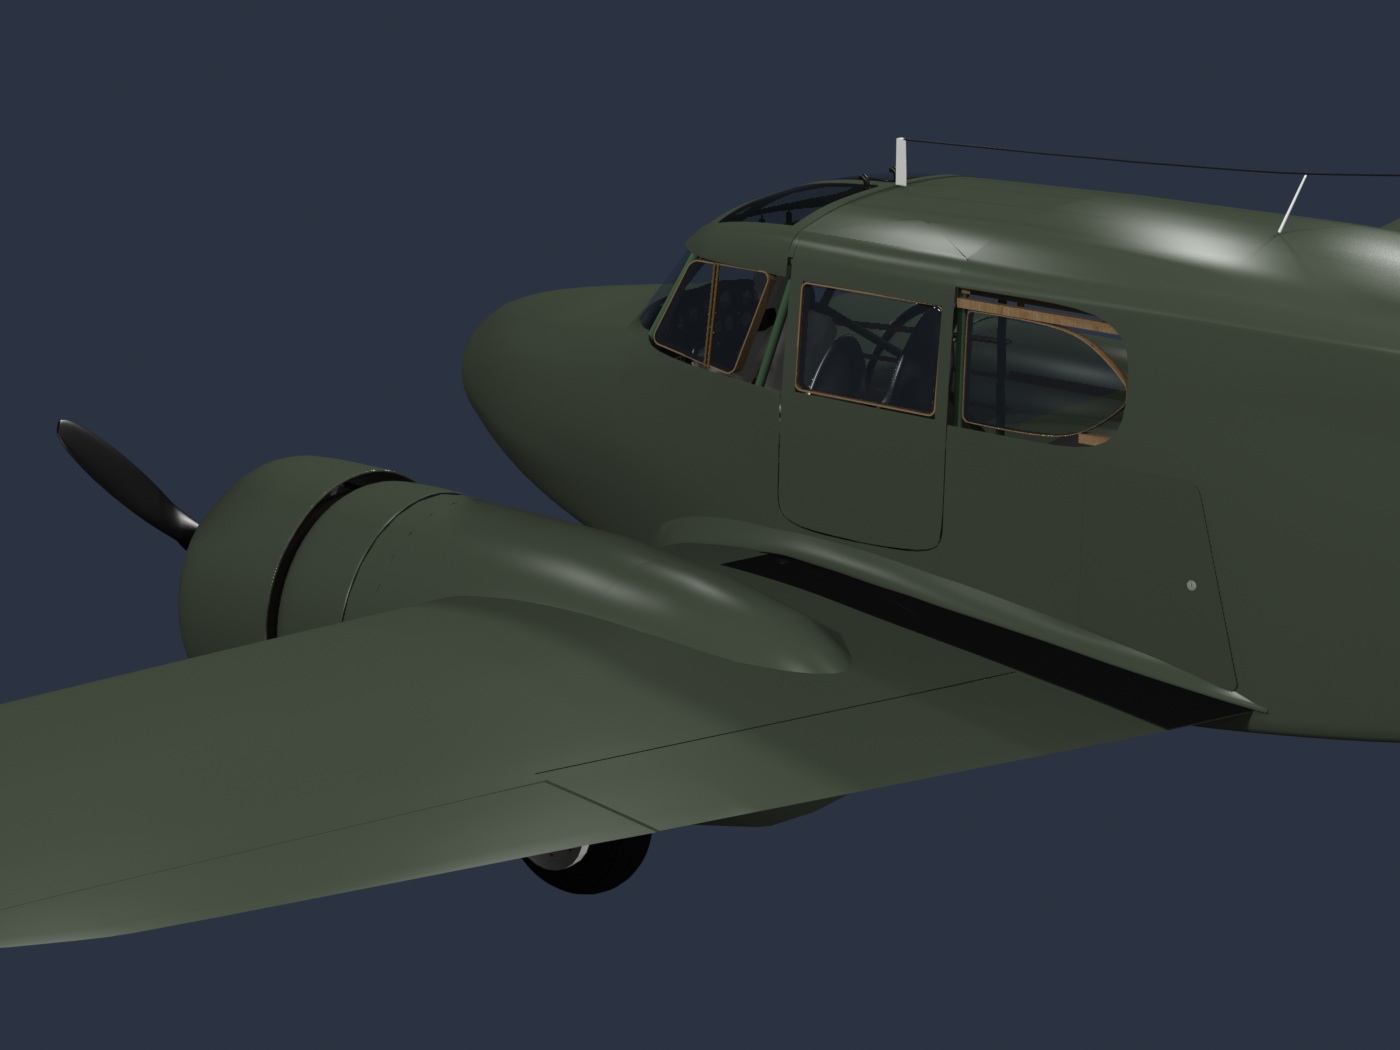
First, I finished the exterior skin, all the way back to the tail.

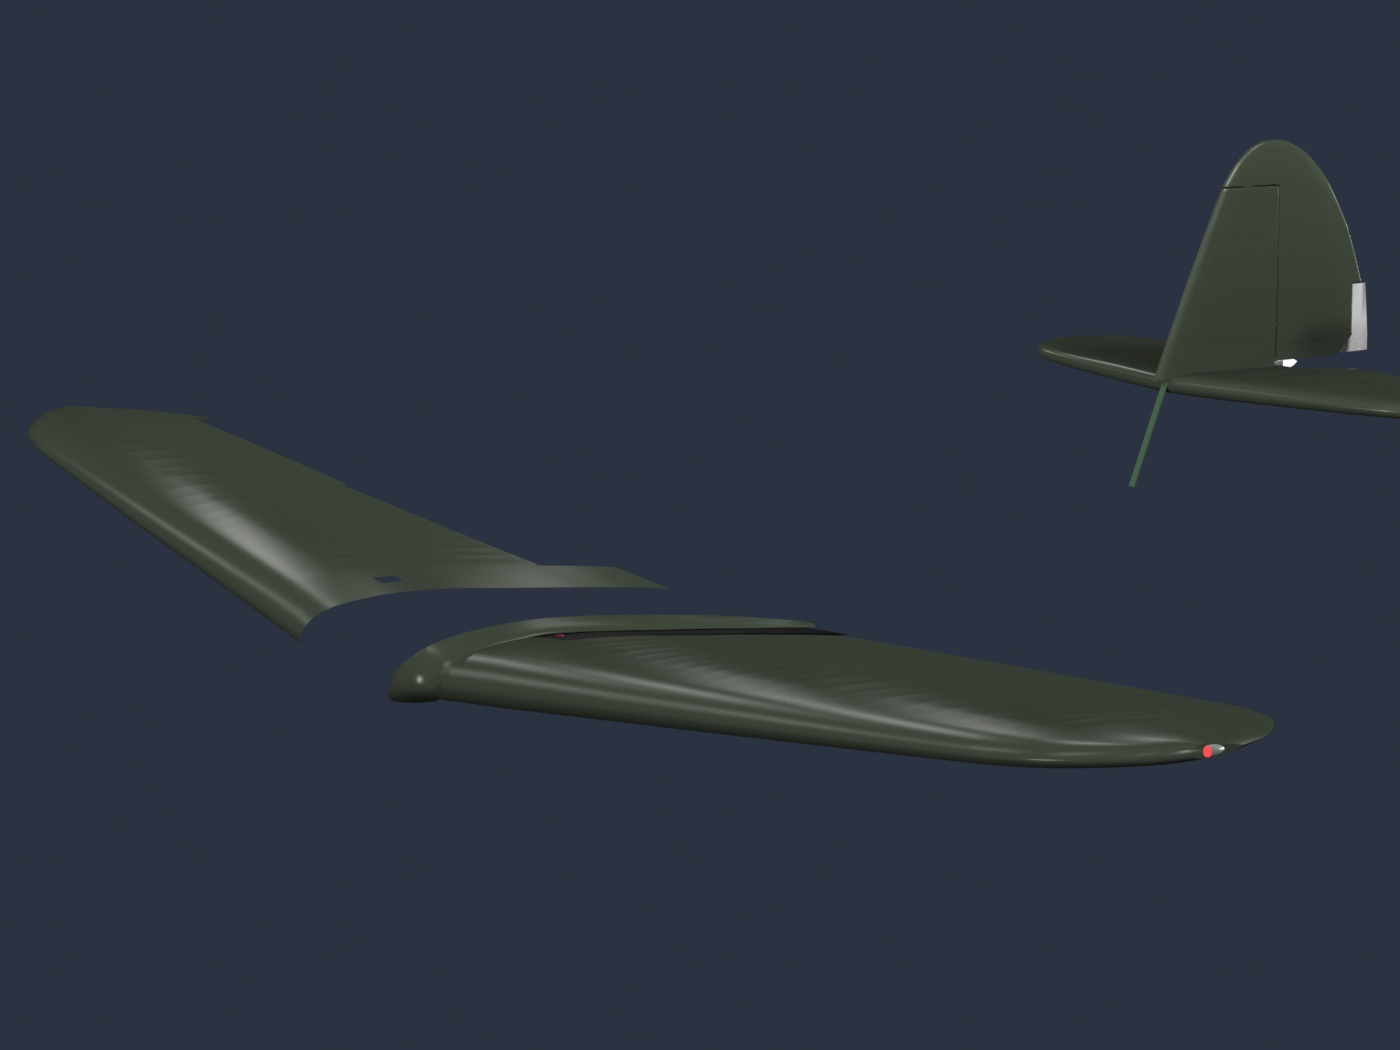
The basic skin (minus the "sag") is finished for the wings and tail, too.

Final details of the tail interior structure. (lightening holes, etc.)

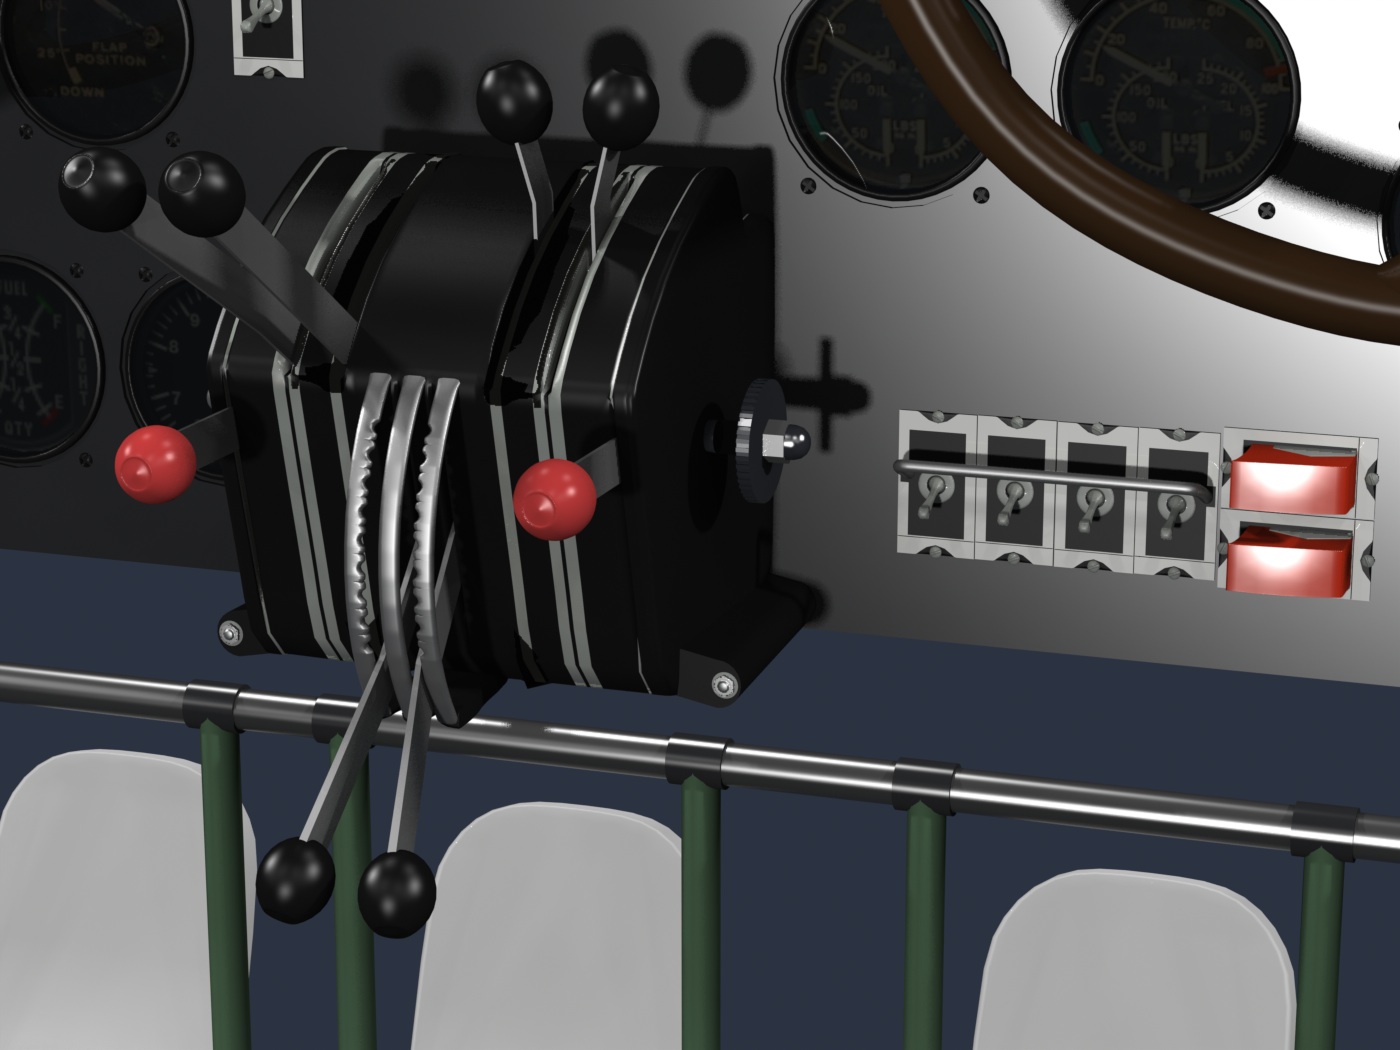
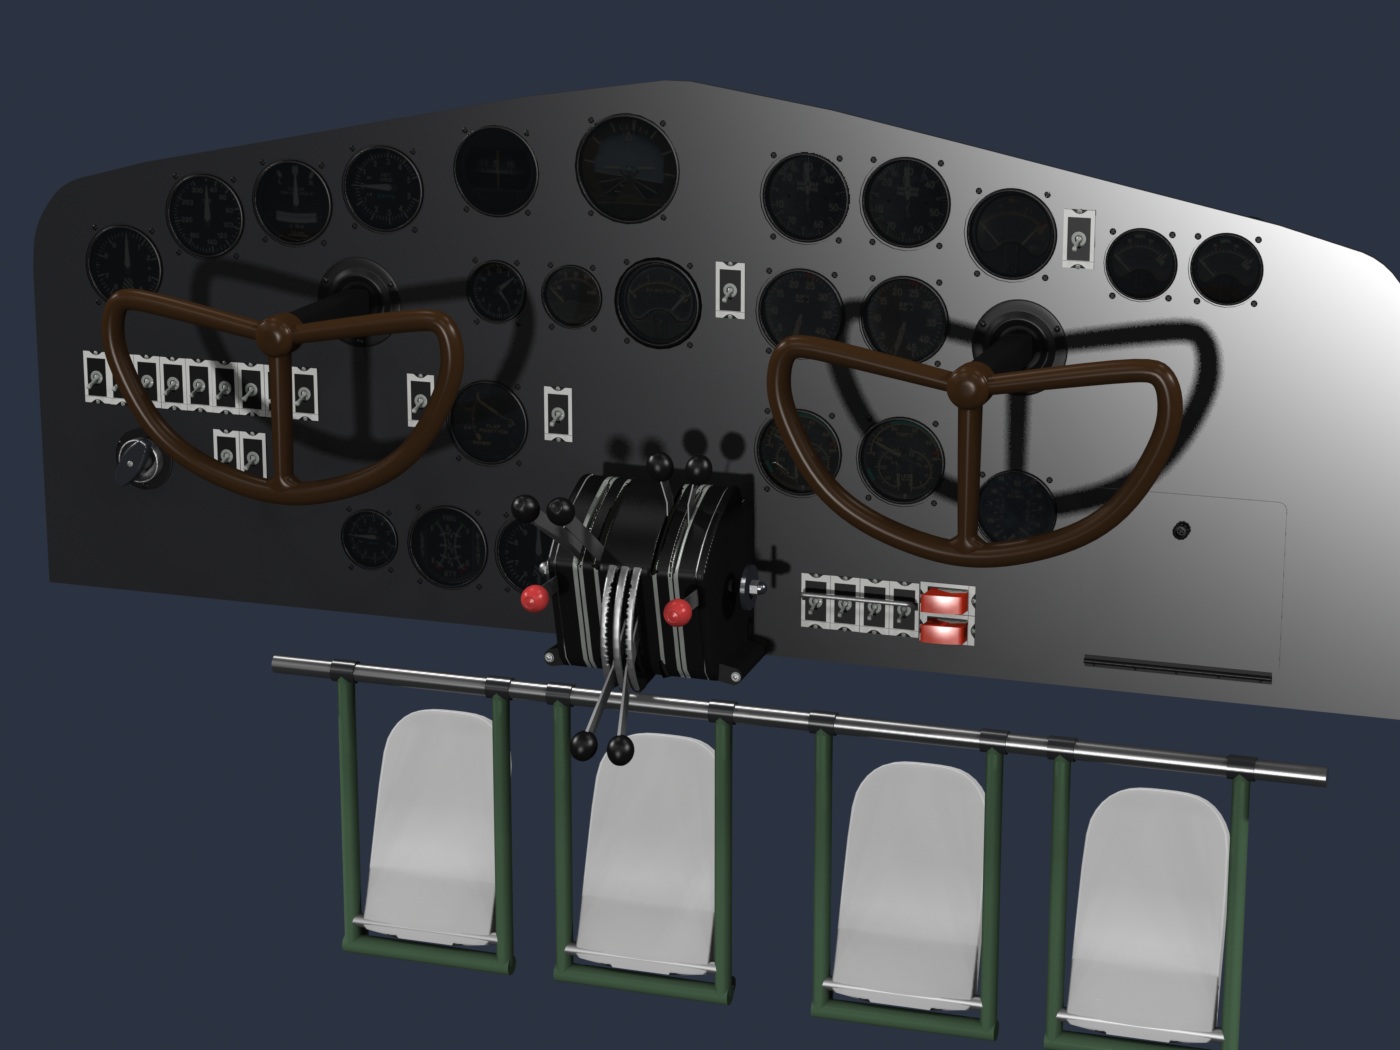
Added a "gang bar" over the four magneto switches, and safety covers over the two starter switches.
Here's the forward skin, just before cutting out the cabin door area. This door is only on the left side of the plane, so from here on, the fuselage is no longer symmetrical.
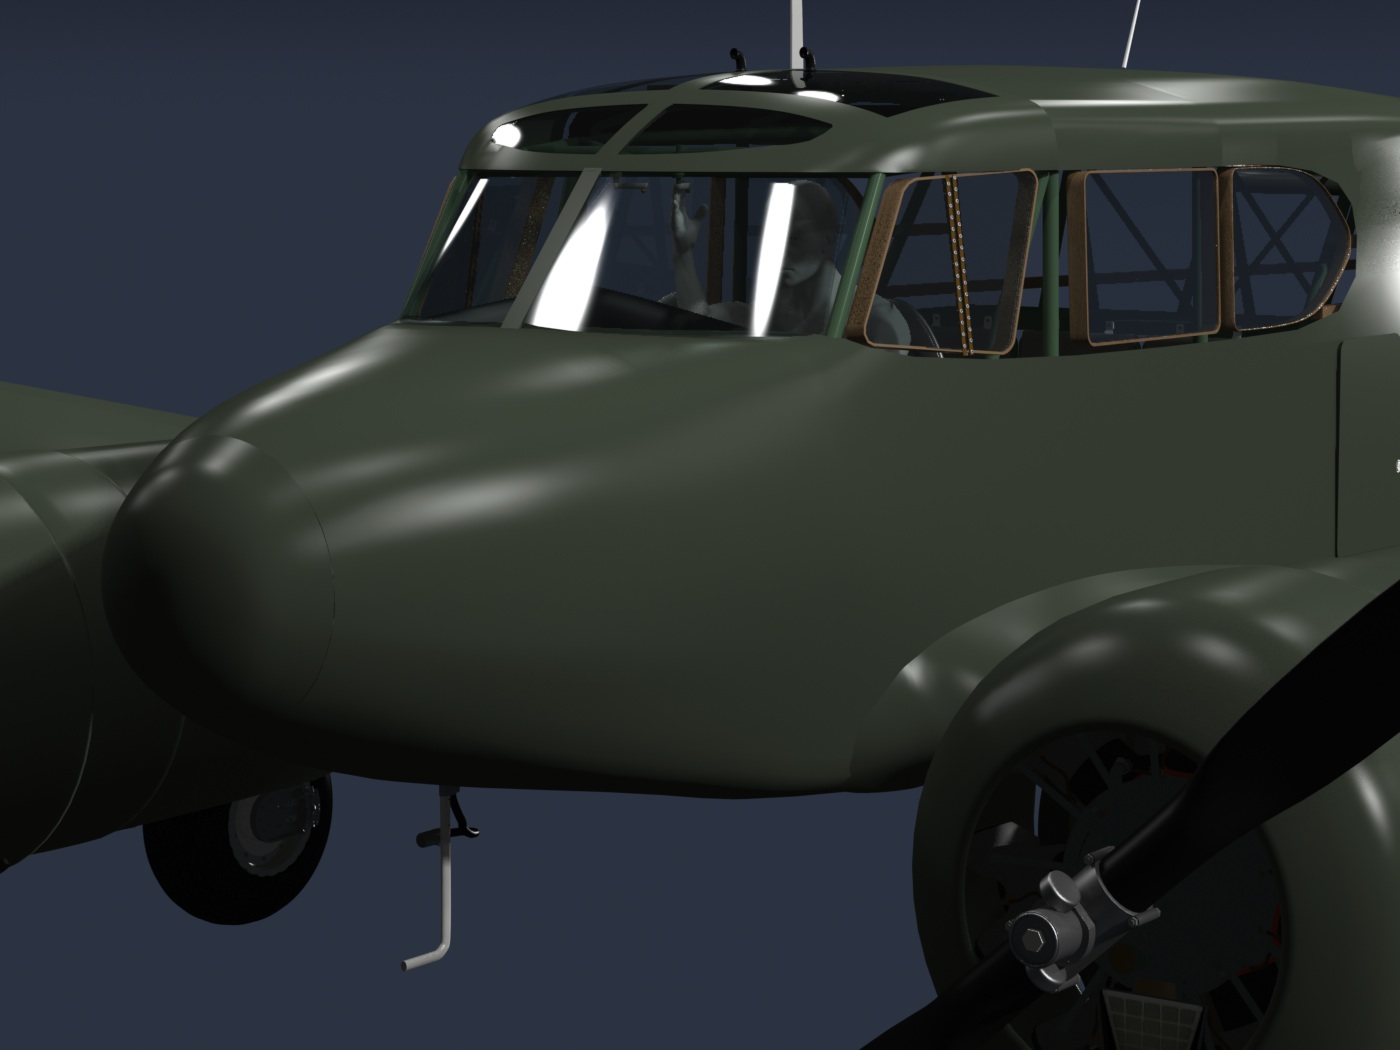
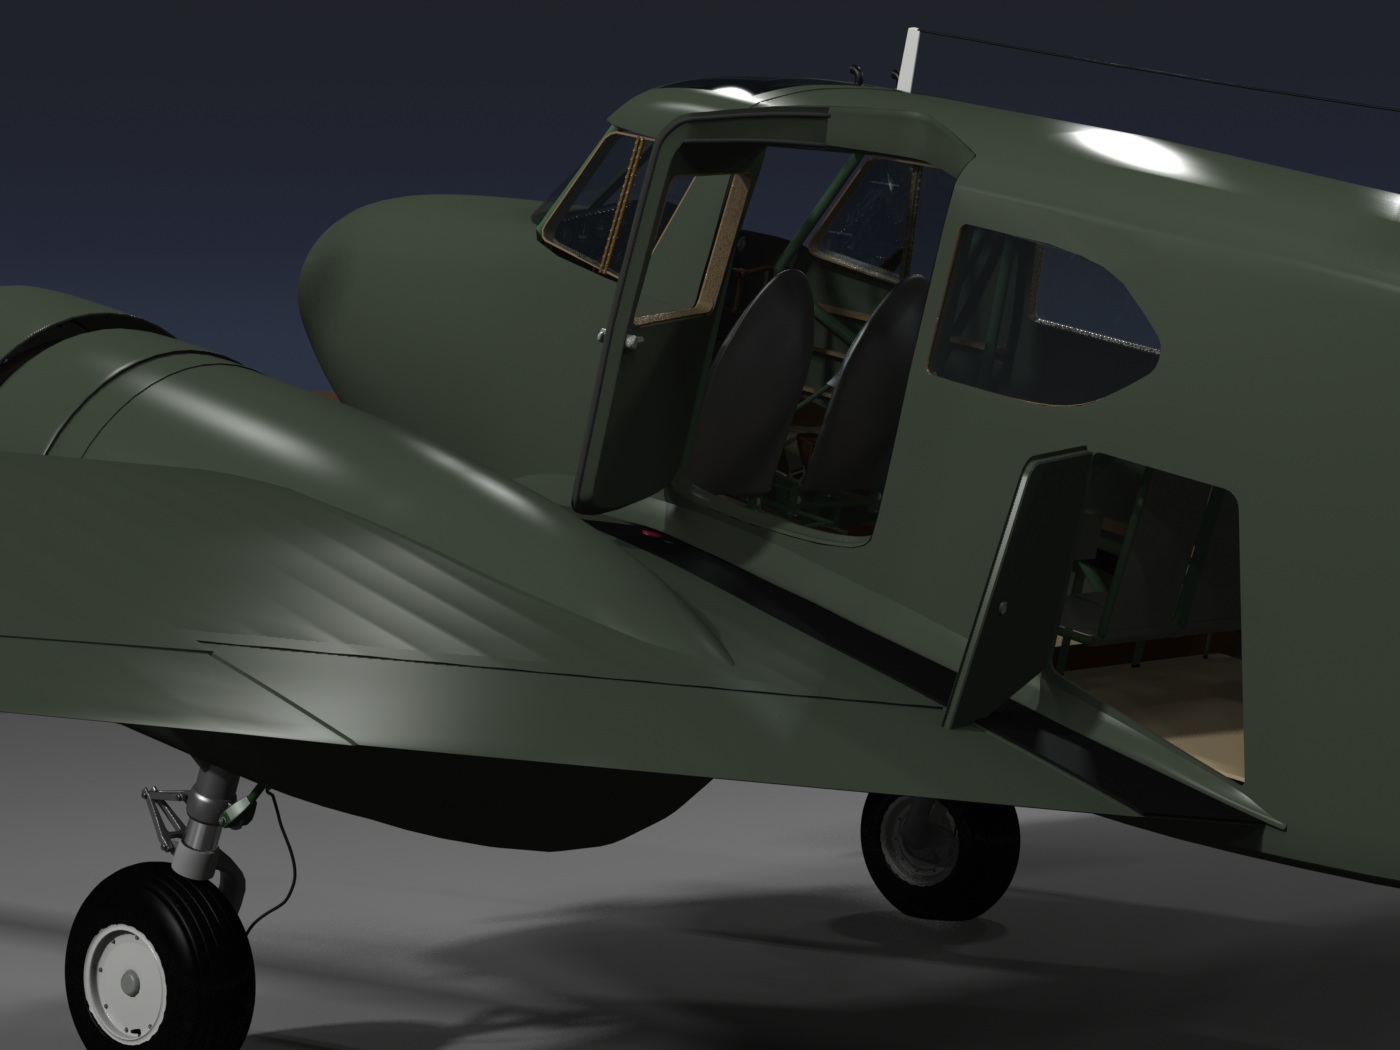
Here's the cabin door cutout, along with some more tweaking of the skin around the windows.
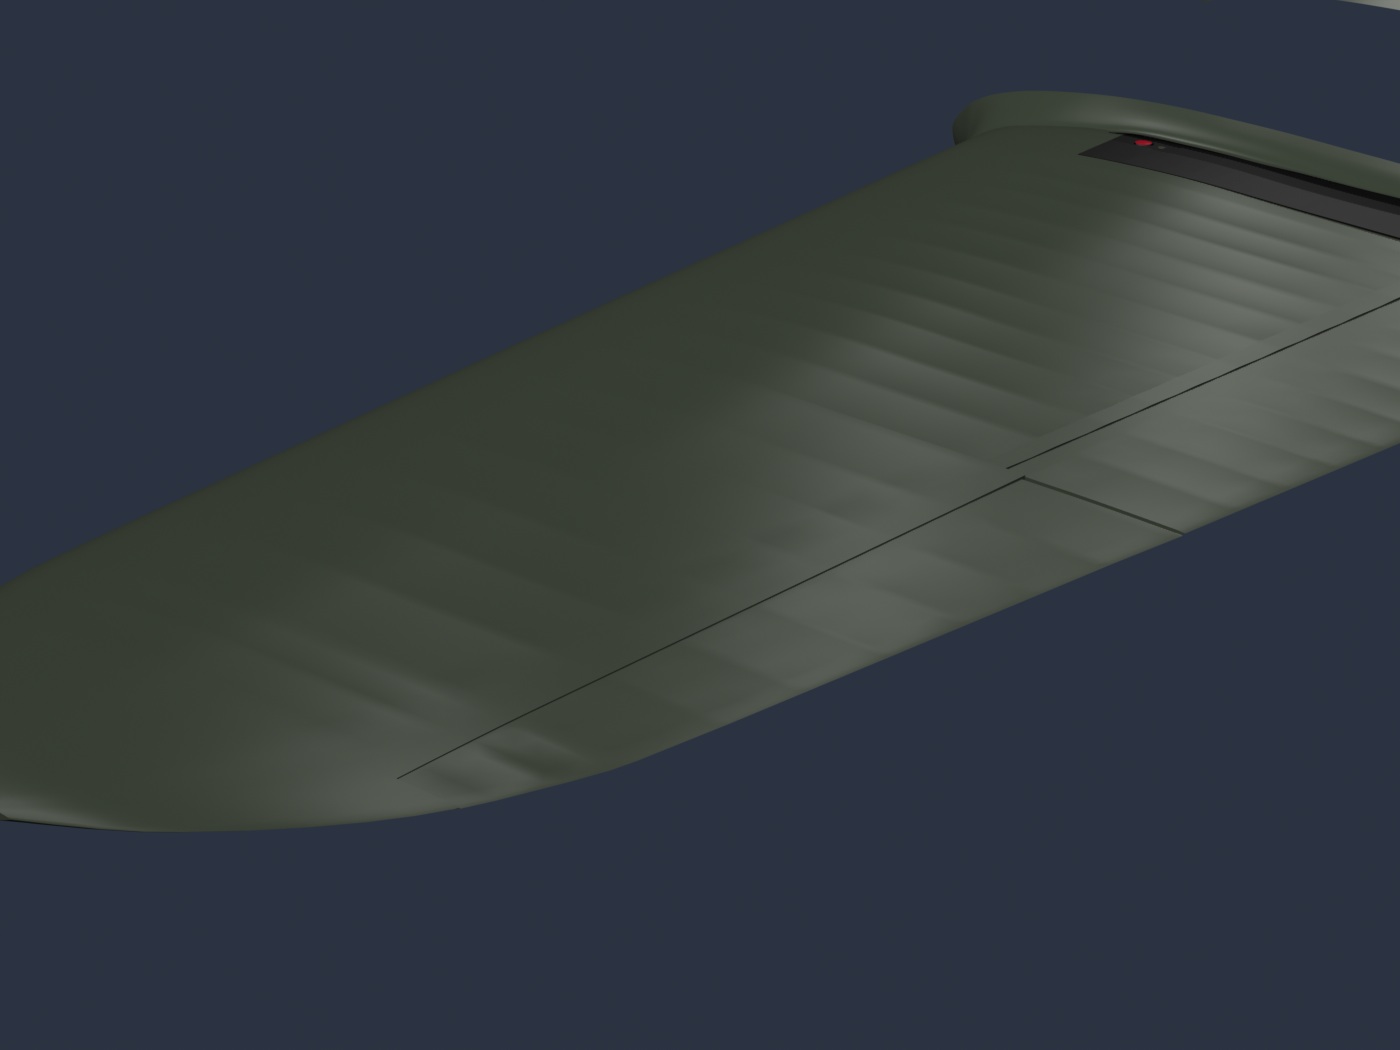
Creating the fabric sag in the skin:
I've finished the skin sag effect on the wings and tail surfaces. (Still have some work to do on the fuselage skin before I do the sag on it) I've kept the effect subtle, because later, when I simulate the rib stitching, that will accent the effect.
The fuselage... almost there.
In the home stretch now...
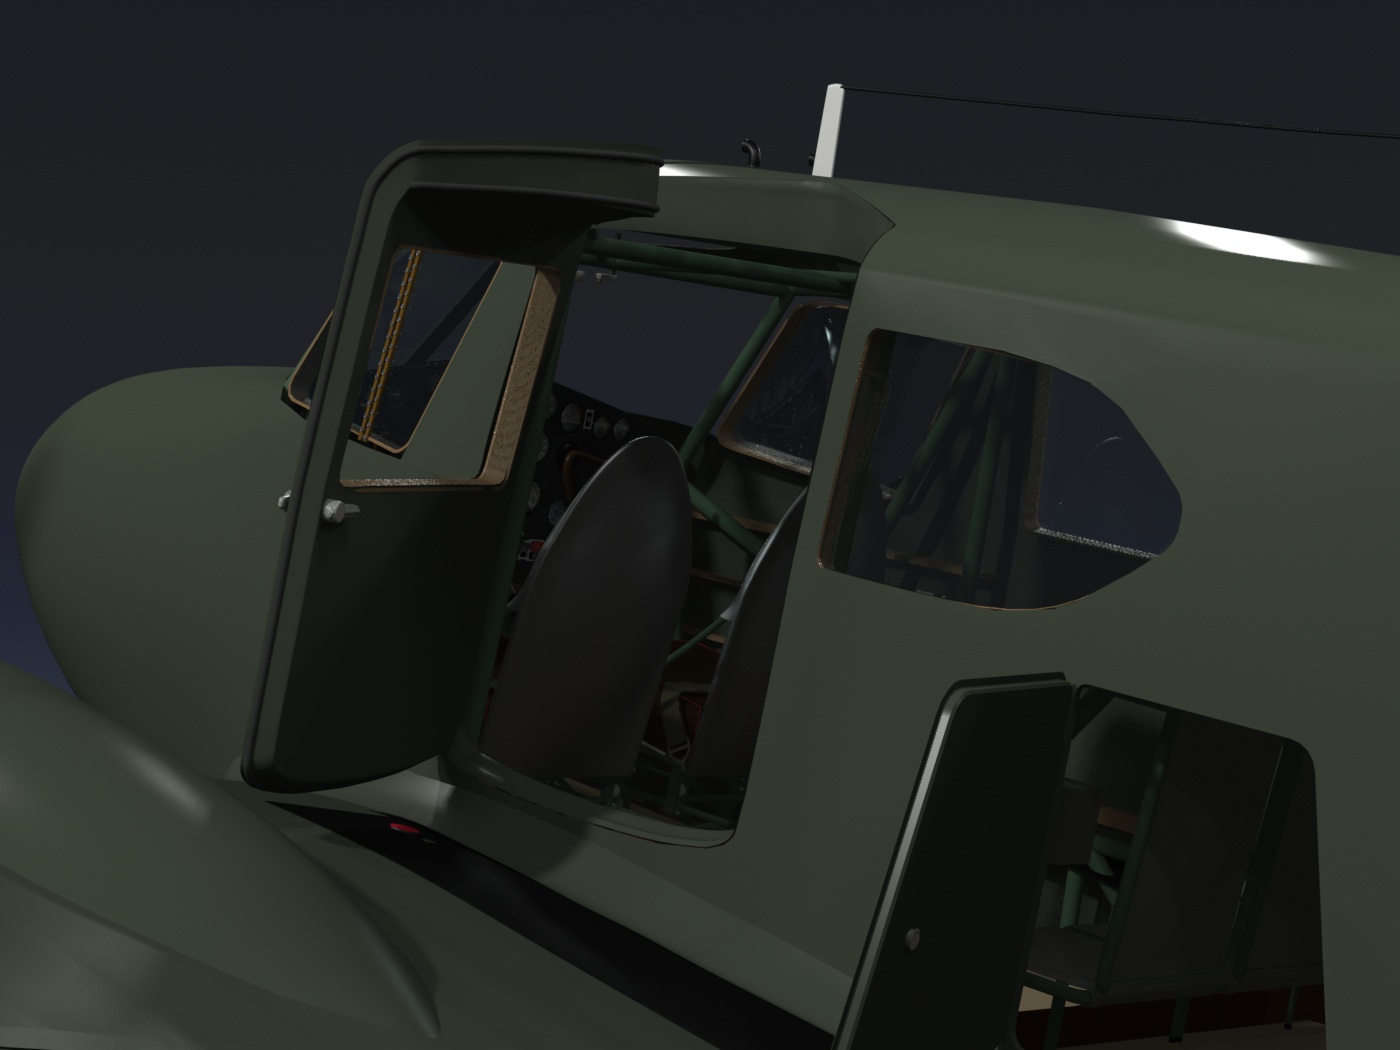
The last parts of the external (fabric) skin to complete are around the cabin windows, and these have a little patching left, before I can add the fabric sag, as I did on the wings. I've finished the cabin door skin and luggage door skin in these images, and am still working on the final details around the other windows. Then, onto UV-ing for two color schemes... the Army Air Force olive drab scheme, and the "Songbird" or "Sky King" color scheme.
Although not shown in these renderings, I've also added bolts and receiver plates in the door openings for the latching mechanisms, and am working on the fabric interior, which covers the tubing structure. (Images of those coming soon.)
To continue, click the "Page 14" link below.
- Page 01
- Page 02
- Page 03
- Page 04
- Page 05
- Page 06
- Page 07
- Page 08
- Page 09
- Page 10
- Page 11
- Page 12
- Page 13
- Page 14
- Page 15