- Page 01
- Page 02
- Page 03
- Page 04
- Page 05
- Page 06
- Page 07
- Page 08
- Page 09
- Page 10
- Page 11
- Page 12
- Page 13
- Page 14
- Page 15
Cessna T-50 "Bobcat" - More small detail pieces...
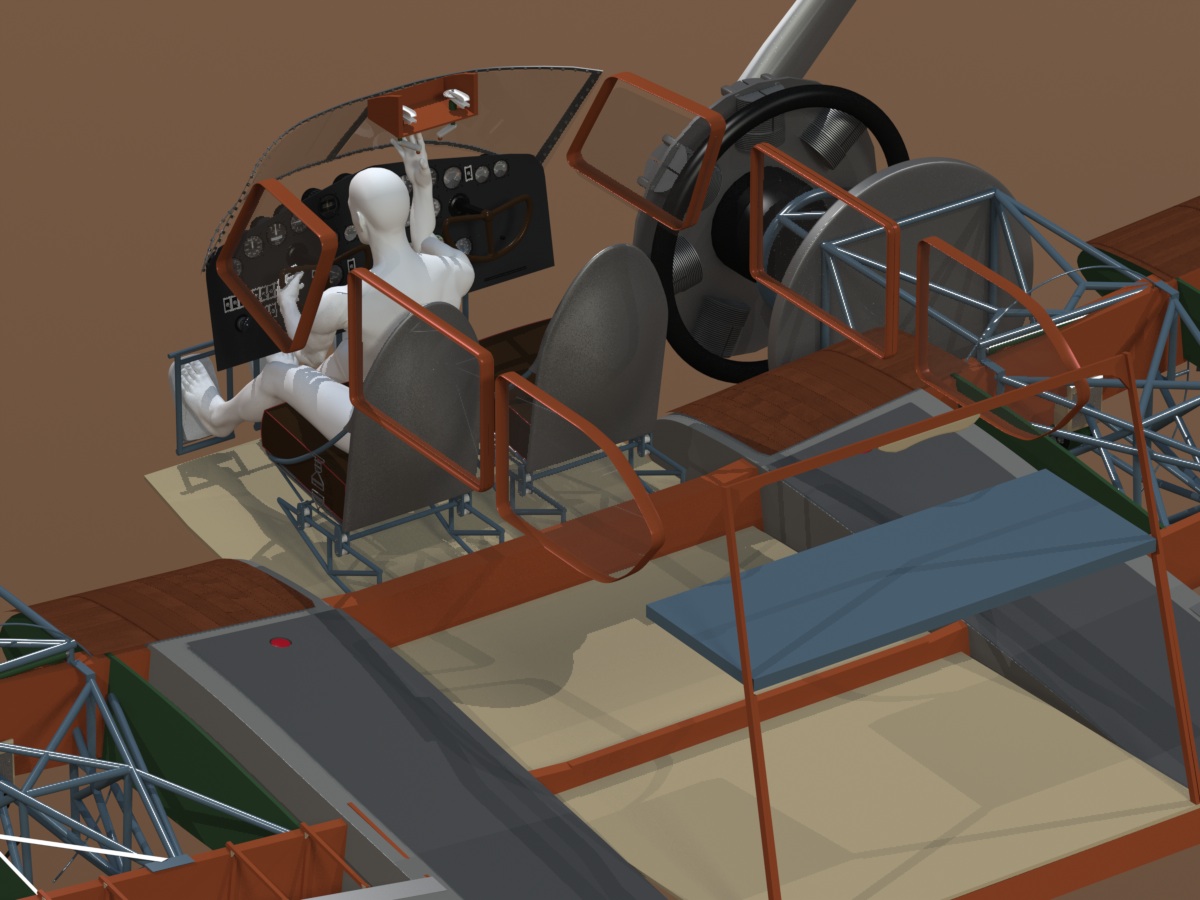
Since I've built the seats, I need to build harnesses. So, here's a start on the 1940's style harness hardware. I'll do the belts themselves after the hardware is closer to scale.

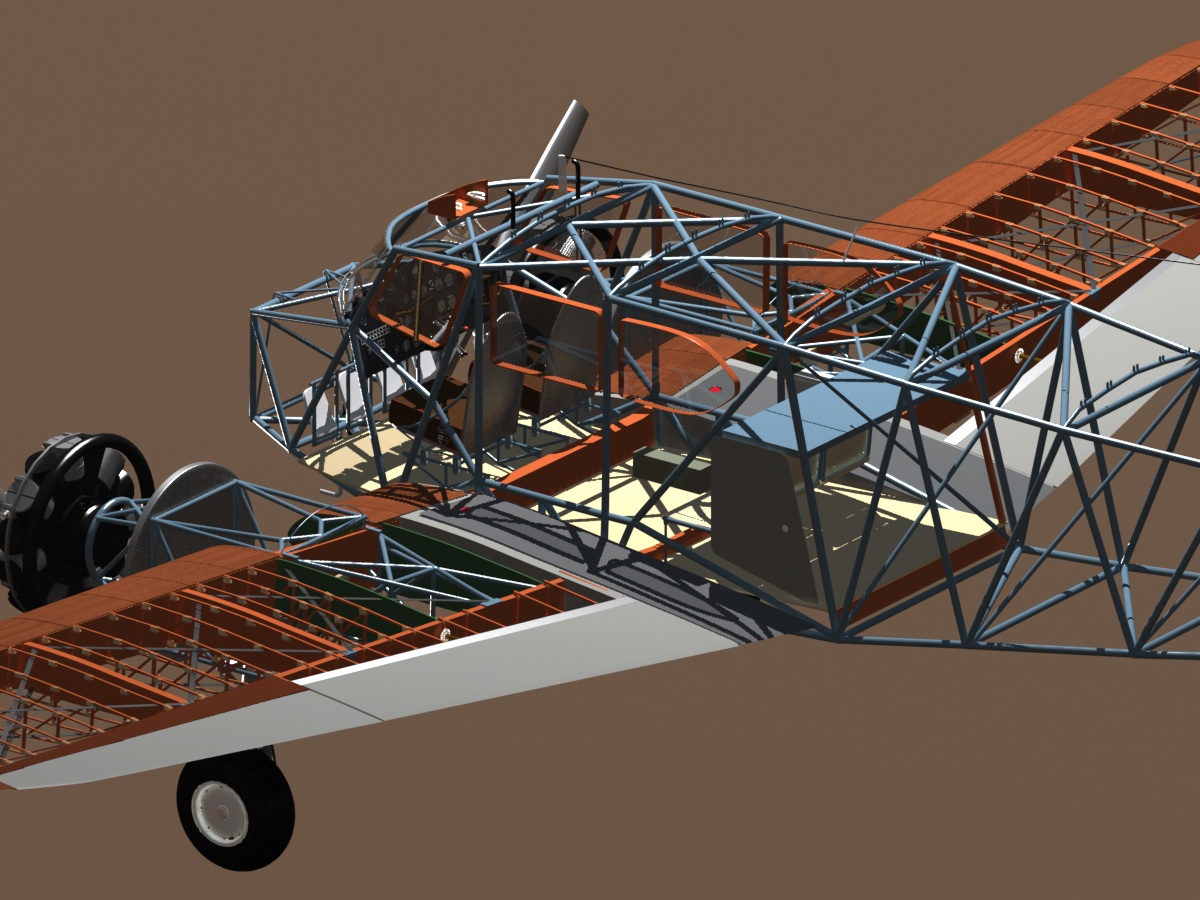
I set up a couple of male figures to check the ergonomics, and most things now seem to be in the right place. During this check, I did find things out of whack, and enlarged the scale of the cockpit seats, for example.
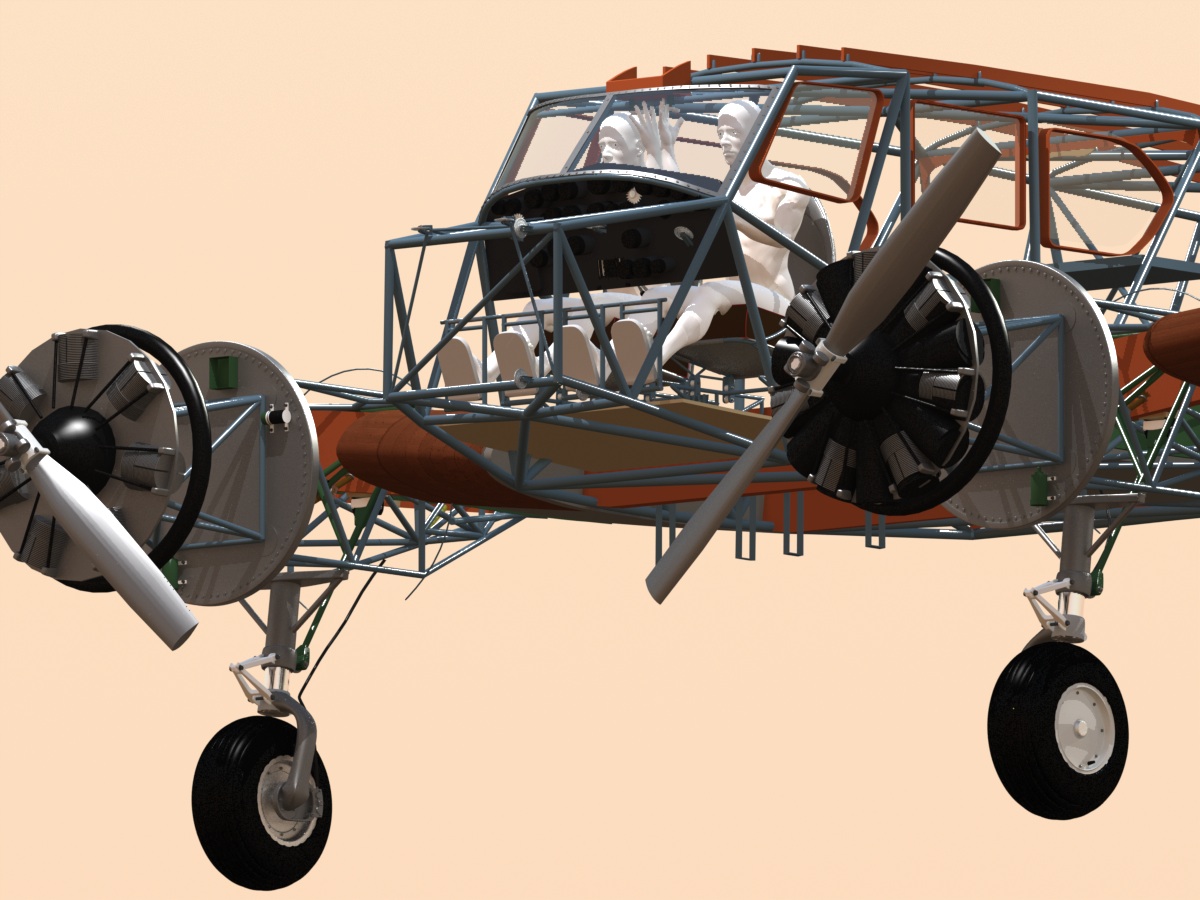
Heres a better look at the pilot. You can see that he can reach the rudder pedals, hold the control yoke, and operate the overhead trim controls, so I'm convinced that things are very close to being scale. I still continue to tweak these things, whenever I discover errors.
For Jon Larson and Terry Sullivan...
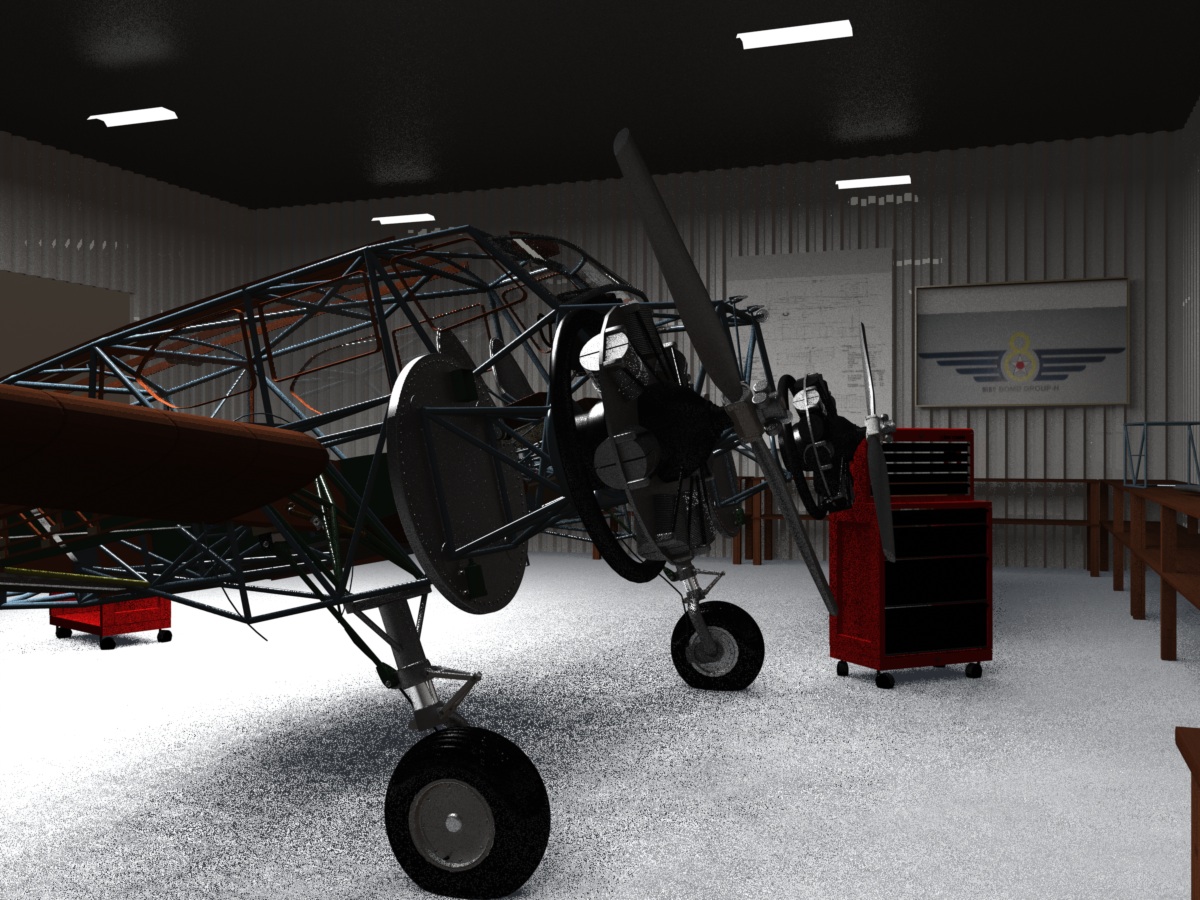
Since Jon and Terry have been so great, in helping me document this project, I thought they might appreciate this scene. "LSJ Restorations" . (That's Larson, Sullivan, and James)
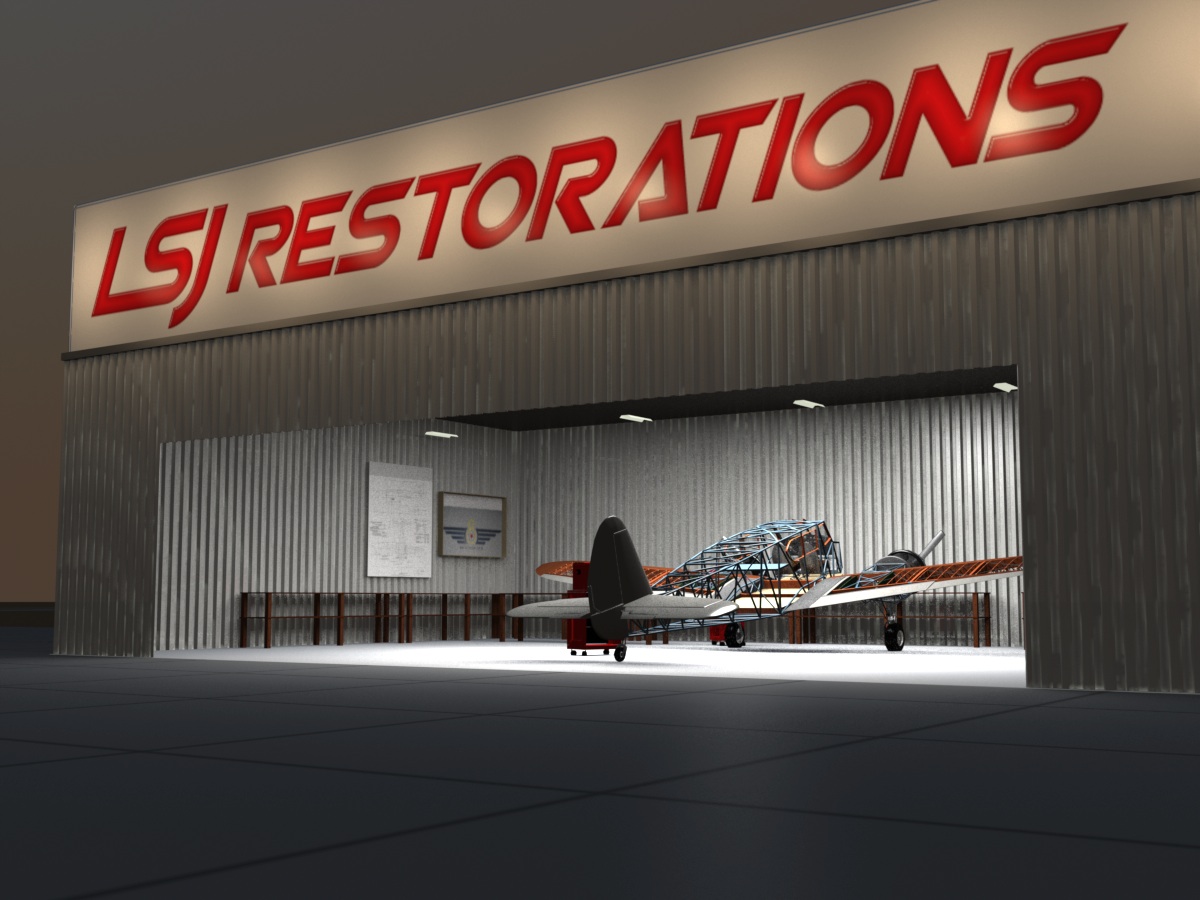
A quirk of MODO's renderer, when using "area lights"... something I was experimenting with. That's what created all the "noise" on the floor. (I'm not using those for most future renders.)
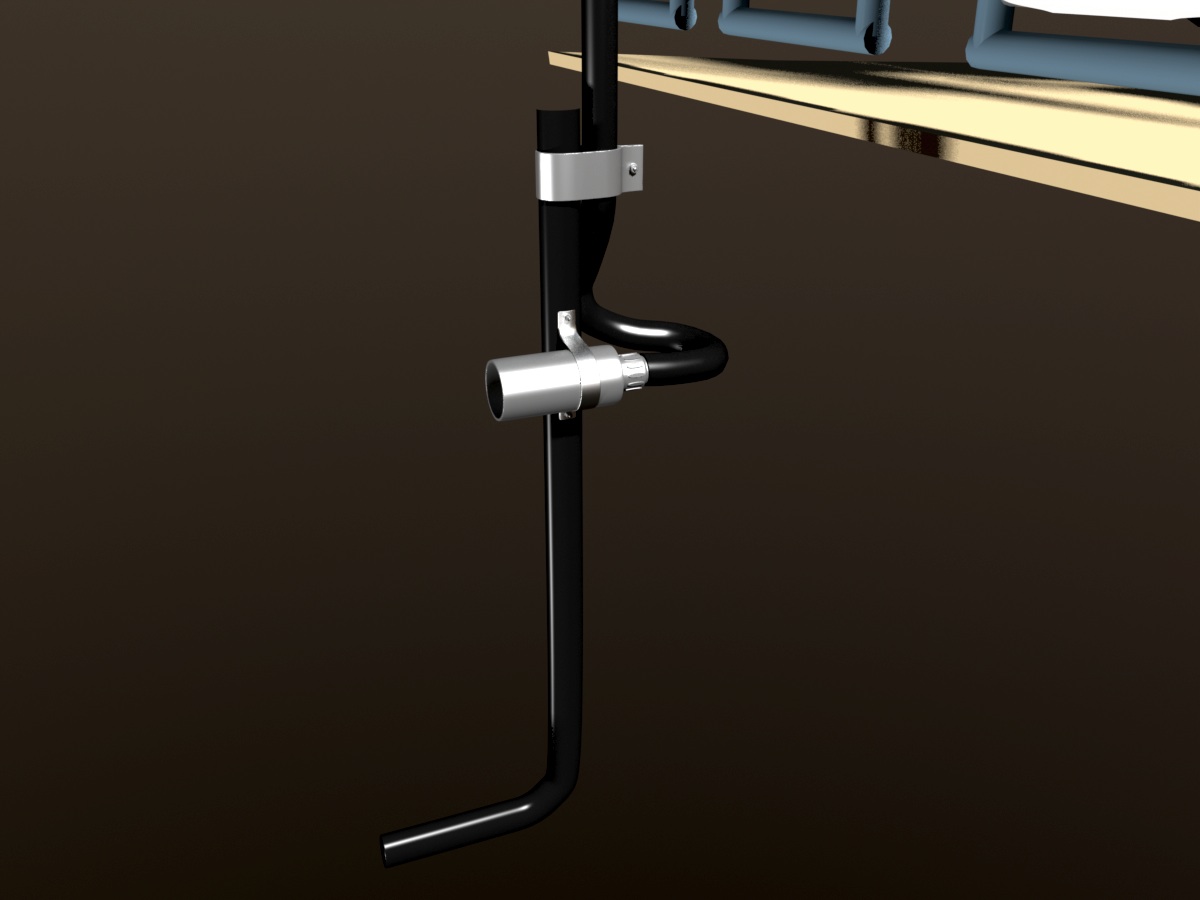
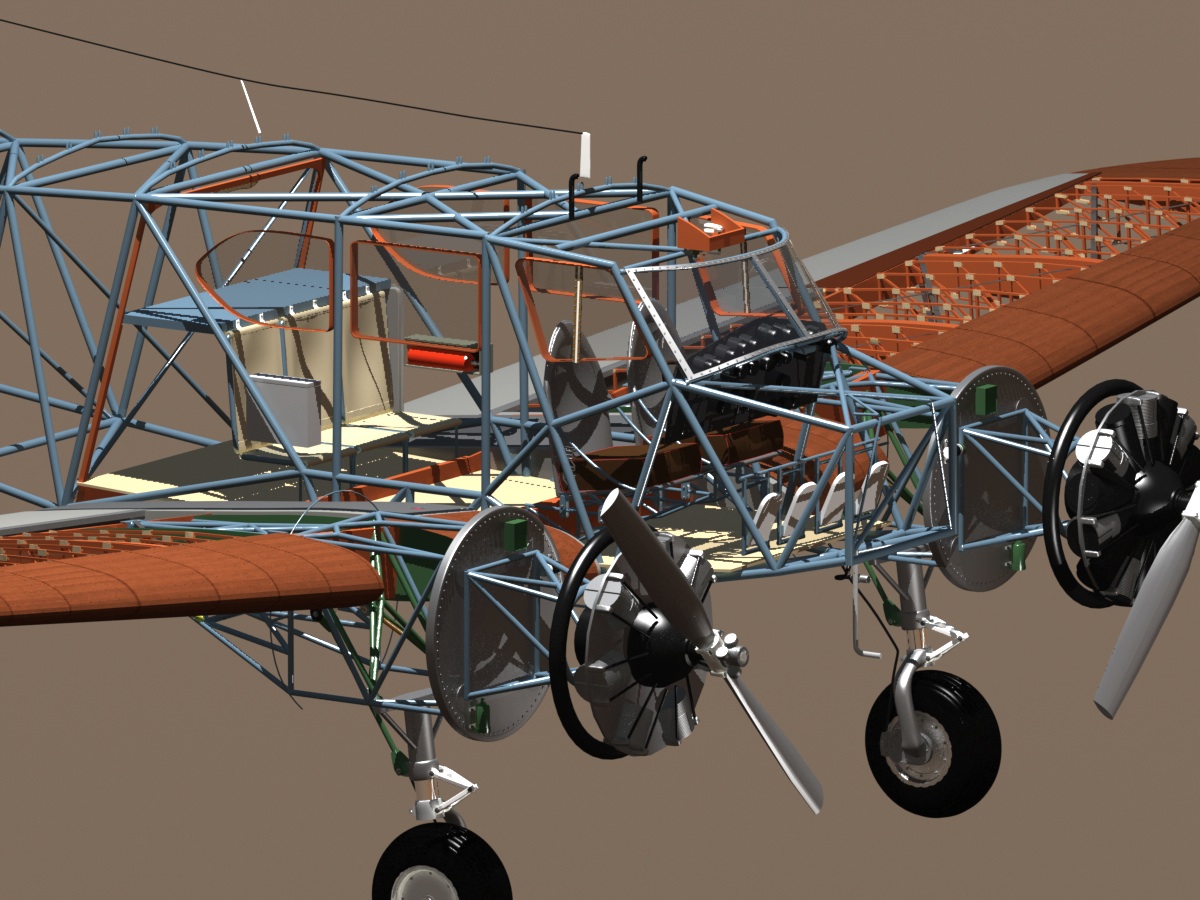
This detail is the pitot tube and venturi that is installed in the bottom part of the T-50's nose.
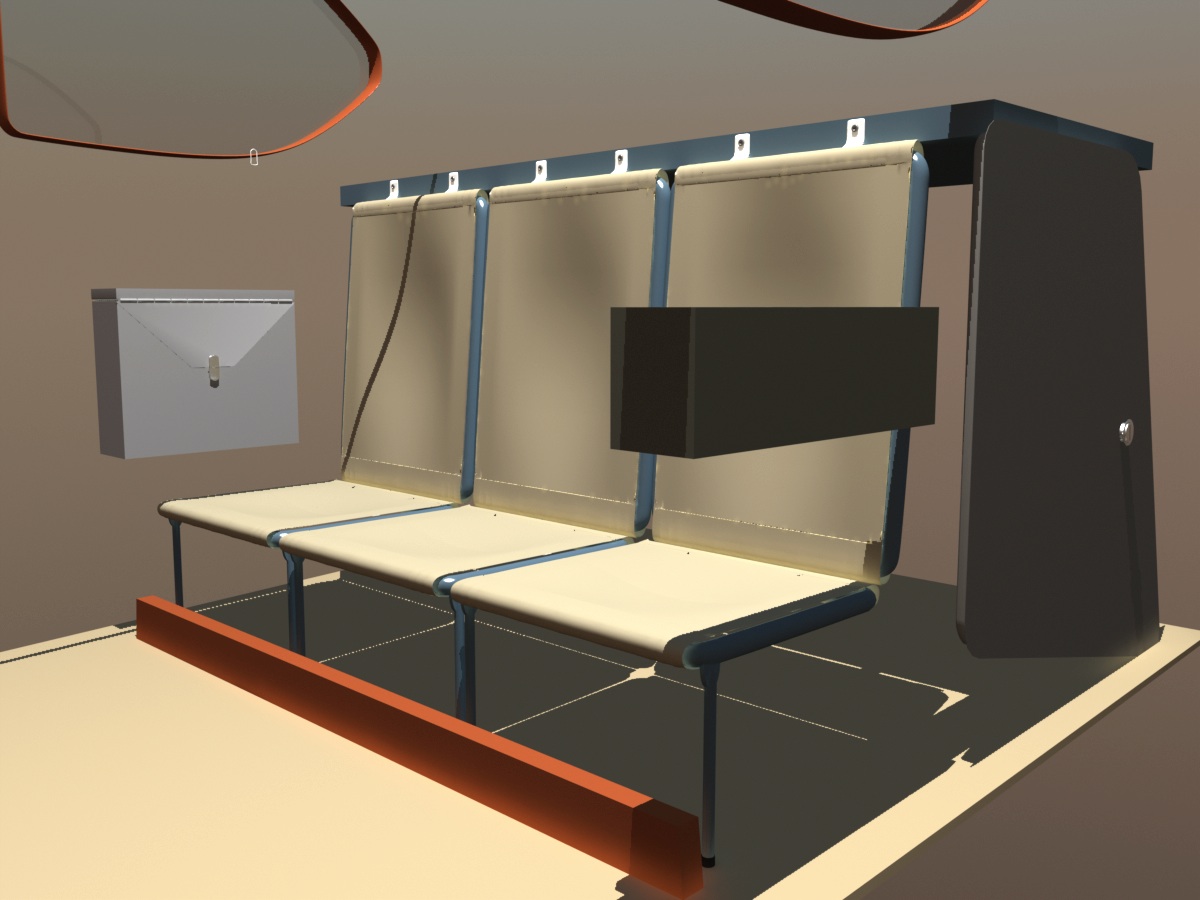
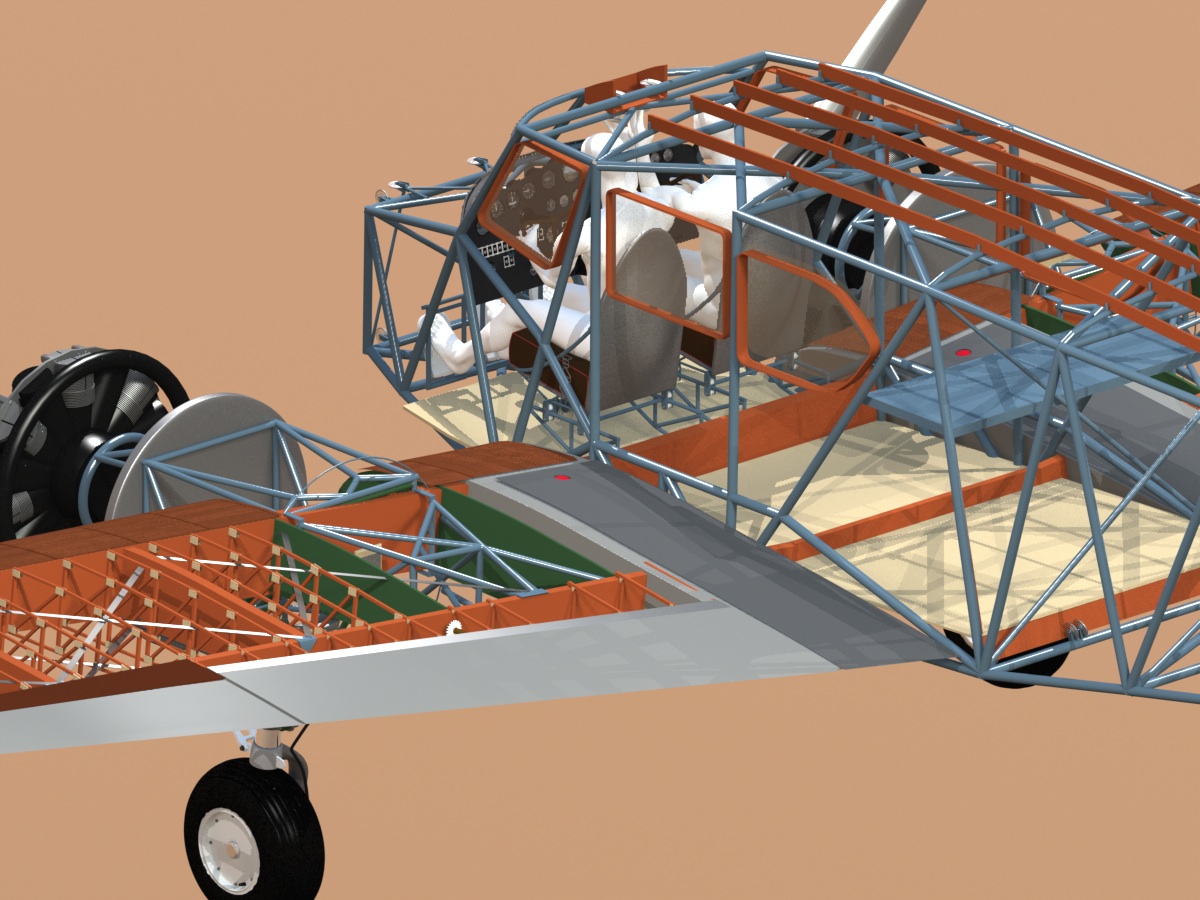
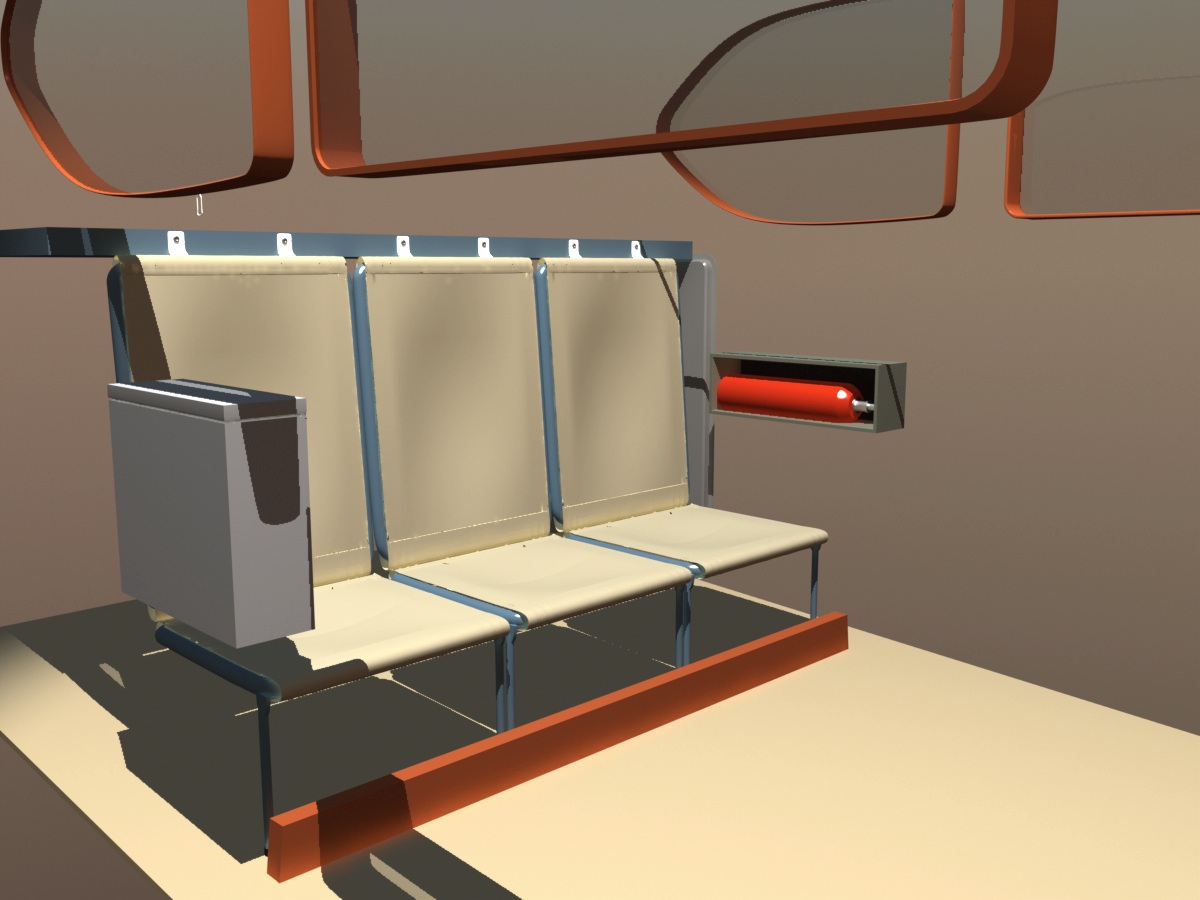
The original passenger seats in the T-50 came in at least two varieties, depending on whether an auxiliary fuel tank was installed or not, and were quite spartan, regardless. I'm modeling the folding version without the internal tank. The metal box on the right side of the passenger compartment is labeled "data case" in some photos I have, and the box on the left side of the passenger cabin is a glove compartment-sized box that holds a small fire extinguisher. ((next image) I've also installed the luggage door and lock.
What I've got so far...
At the end of a long modeling session I always enjoy making all the parts visible, and taking a step back to view the whole model. Here are three renders, each zooming in a little.
Among the small details added in these steps was the pitot tube/venturi under the nose, rebuilt cabin windows for more accuracy, including the "split" in the pilot's "clearview" window, the rear passenger seats, data case, and fire extinguisher, the luggage door and lock, the overhead air intakes (they look like little periscopes) for the cockpit, and the antenna mast, along with it's wire, on the top of the fuselage. If you're really into the details, you might also notice that I moved the front spar and leading edge sheeting forward, and adjusted the remainder of the wing, to compensate for that change. Another subtle change (from the typical rendering distance) is that I've rebuilt the tires, to include real tread.

Click the "Page 09 link below, to continue.
- Page 01
- Page 02
- Page 03
- Page 04
- Page 05
- Page 06
- Page 07
- Page 08
- Page 09
- Page 10
- Page 11
- Page 12
- Page 13
- Page 14
- Page 15