NOTE: I am not at liberty to redistribute the documentation used to build this model.
Further details on this model's construction are included on my "Modeling with MODO, Volume Two".
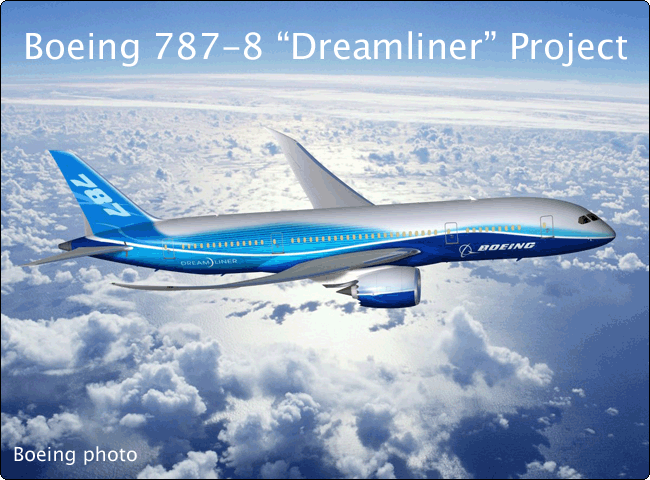 Boeing 787-8 "Dreamliner"
This project began shortly after I transitioned to "MODO" 3D software, and was a way for me to learn MODO's subdivision surface modeling tools. At the time I started this project, I was very new (about 40 days) to MODO, so the speed at which this model developed is especially remarkable.
I began with a minimum of research material, including about 30 photos, and a line drawing 3-view, and just dove in. As time goes on, I'll refine the details, but the point here is to show you how fast you can produce good quality work, with the right set of tools. Hope you enjoy the project.
NOTE: Most the images in this article are actually rendered at around 1200 pixels wide, so if you download them, they'll be quite a bit larger than what you're seeing here.
Setup and Start:
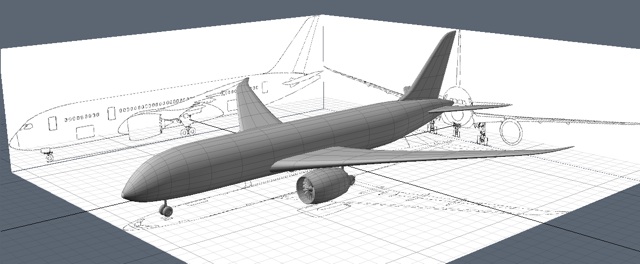 I used a typical setup for this kind of modeling, with the sliced-up 3-view drawing imported into MODO, and used as backdrop references.
The first part made is the (one-piece) fuselage. shown here. I simply dropped in a cylinder, scaled it to the right length and height, then started dragging points around, to "trace" the backdrop images. This step took about 10 minutes in MODO. (Fast!) Next, I dropped in some simple cubes, which were dragged around like the fuselage cylinder, to produce the wings and tail surfaces. This took a little longer... say an hour, because some of the edges needed work, but nothing too serious just yet.
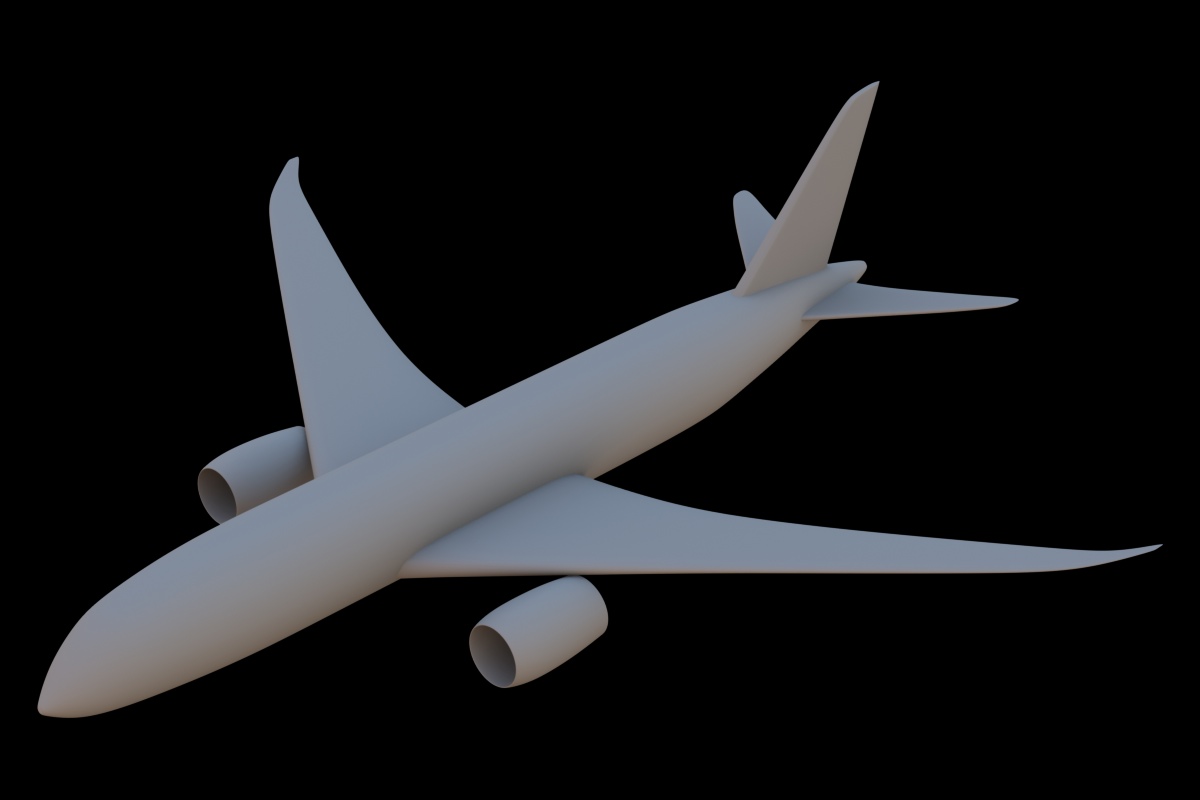
The next image shows the model in it's raw polygon form.
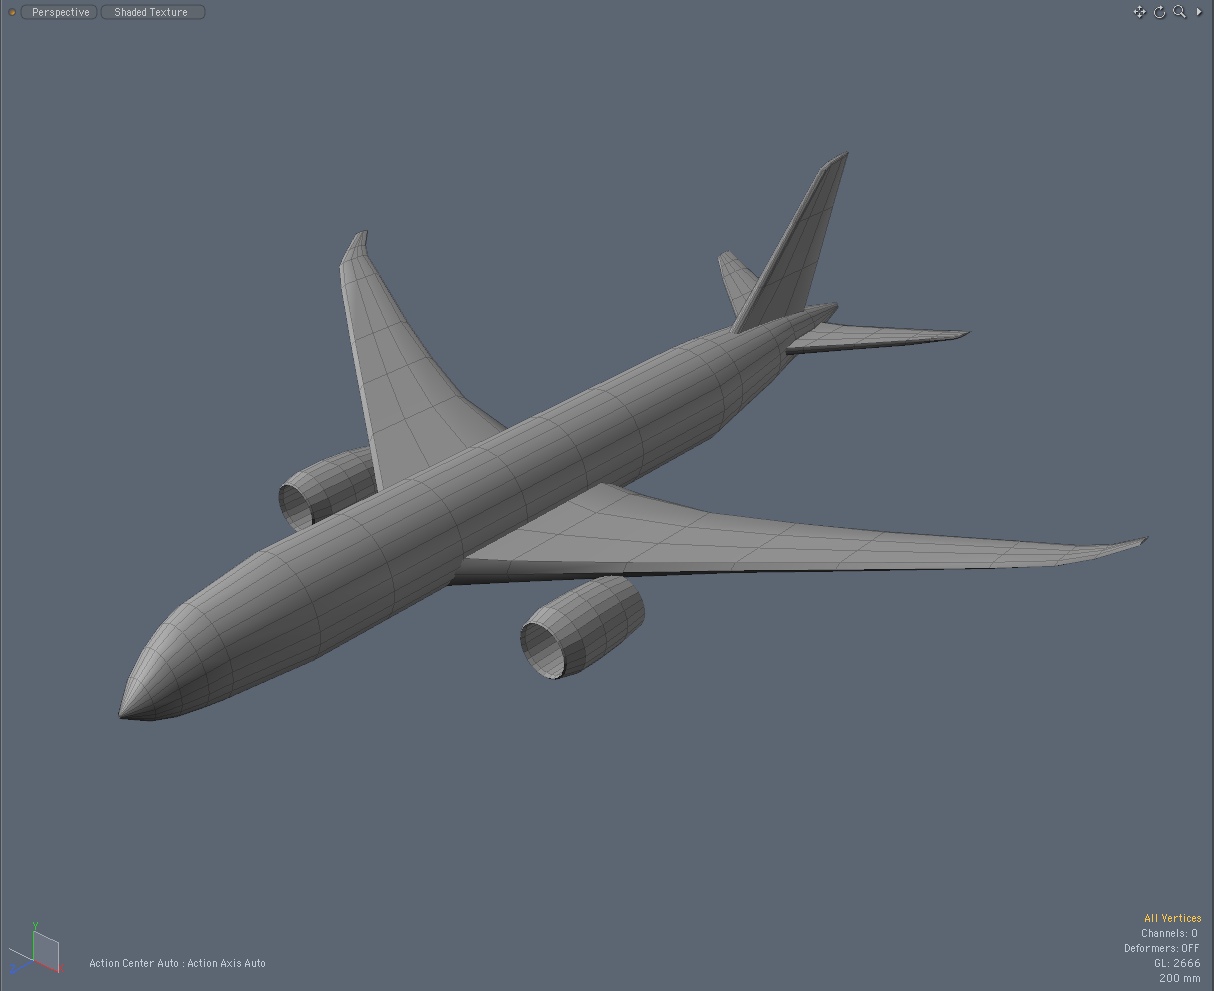
Below, the same model, after toggling the subdivision mode on.... Smoother.
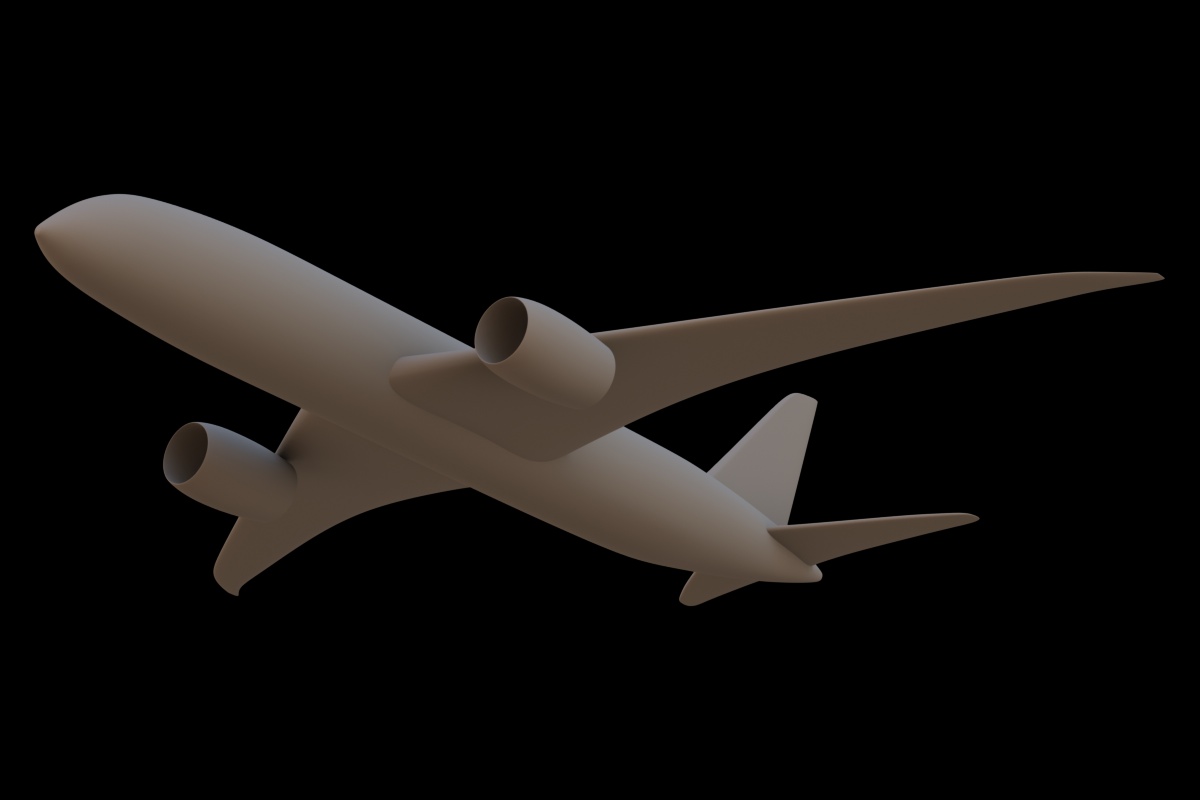
After about 2 hours total, I made the next two renderings, to check my progress.
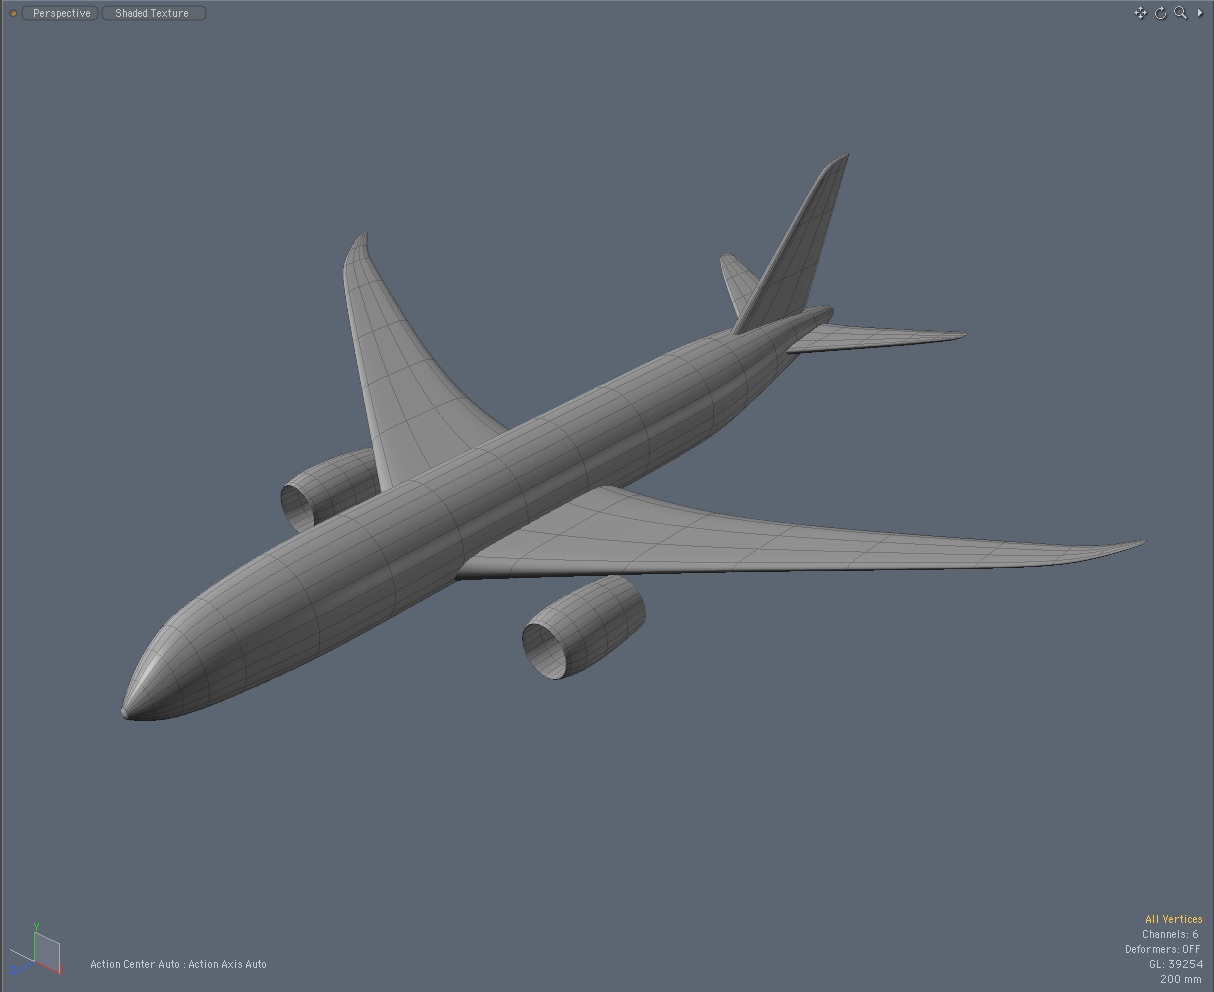
Some quick modeling, and some "stand-in" parts:
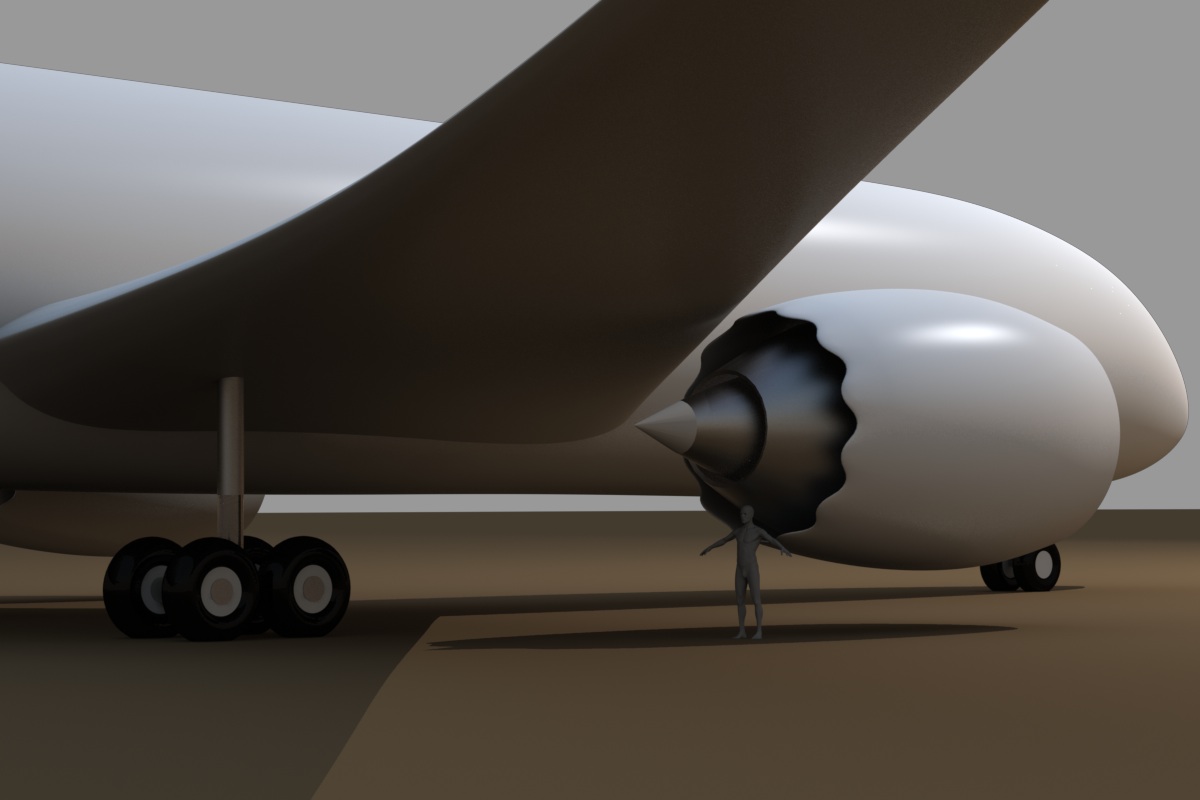
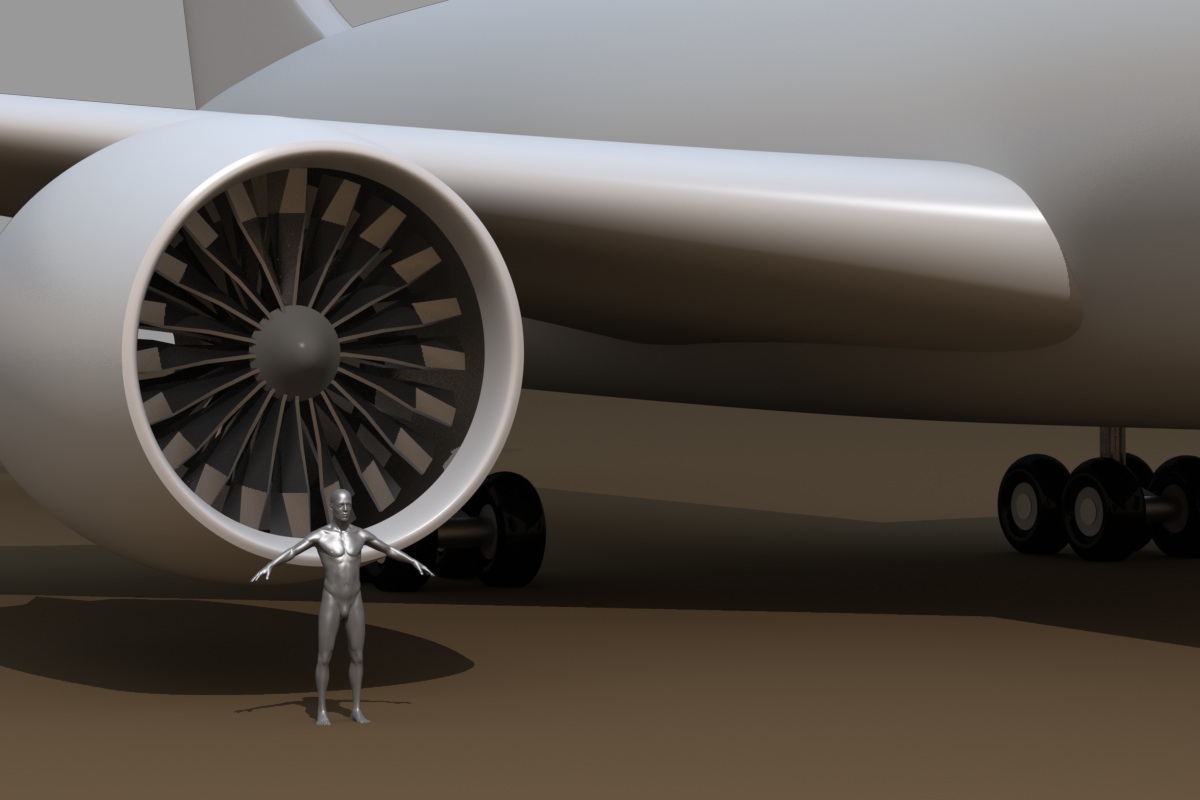
Every aircraft seems to have particular things that give it it's character. At first glance, I'd say that the 787's trademarks are it's swept and highly curved wings, the rakish shape of the nose, and the "scalloped" edges (for noise reduction) around the rear of the engine nacelles. So, I wanted to add a few of those things first, to make it start to look right.
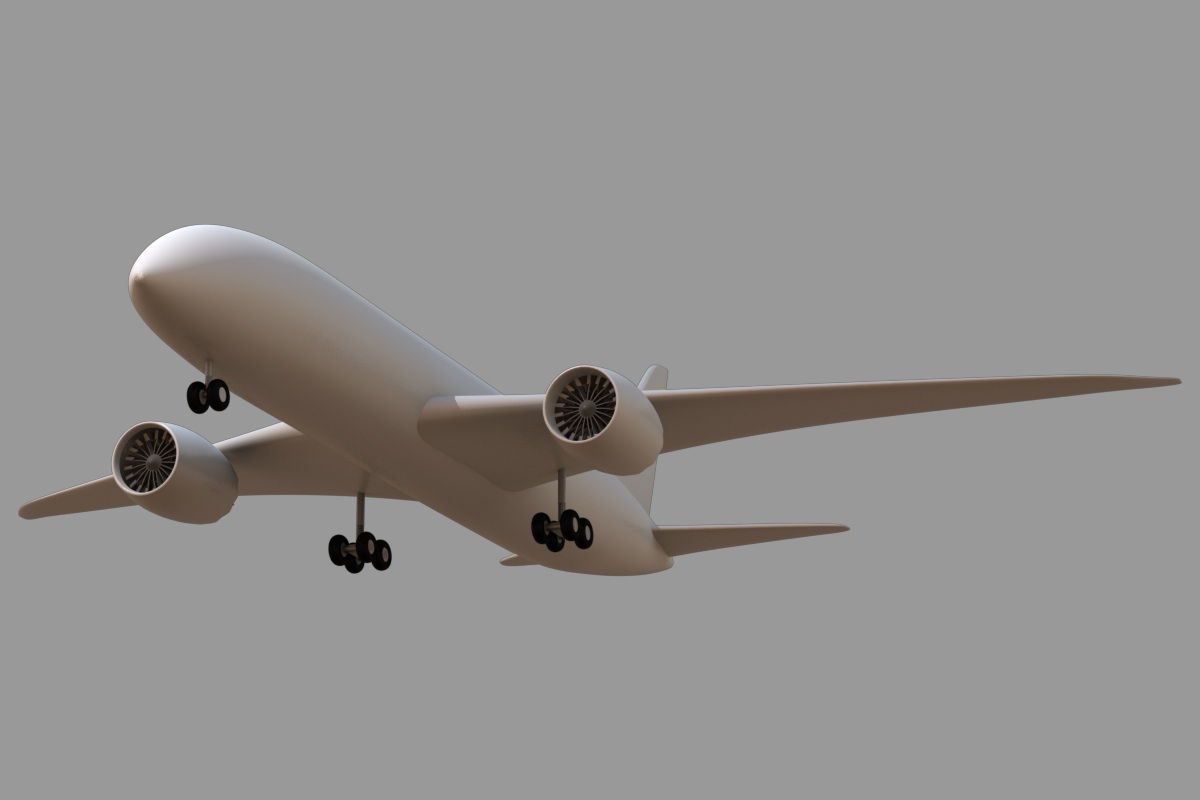
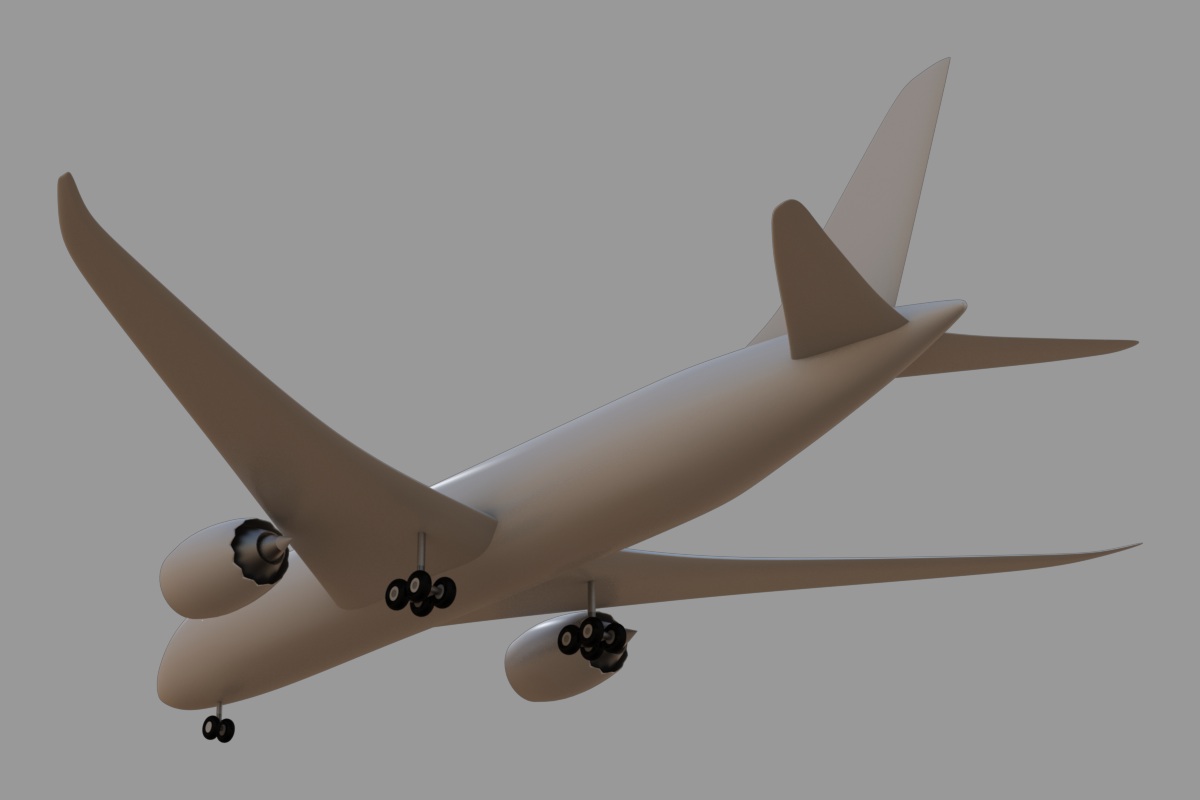
After another couple of hours work, here are some renders. I've used a stock male figure in the ground-based images, to give you an idea of the scale of the aircraft. (Big!)
And, a couple of "flying" shots...
Thank you, MODO team!
What you see so far is only about 4 hours of work. Naturally, things will slow down, when I start adding windows, moveable control surfaces, etc., but to be able to get this far so quickly, and still have the model accurate, is remarkable to me. The toolset I'm working with now is that perfect combination of very fast and very precise. Can't wait to see how this one develops. next... The windows, doors, etc, to give it some more character.
Click the "Page 02" link below, to continue.