Boeing 787-8 "Dreamliner" - Doing it the Boeing way…
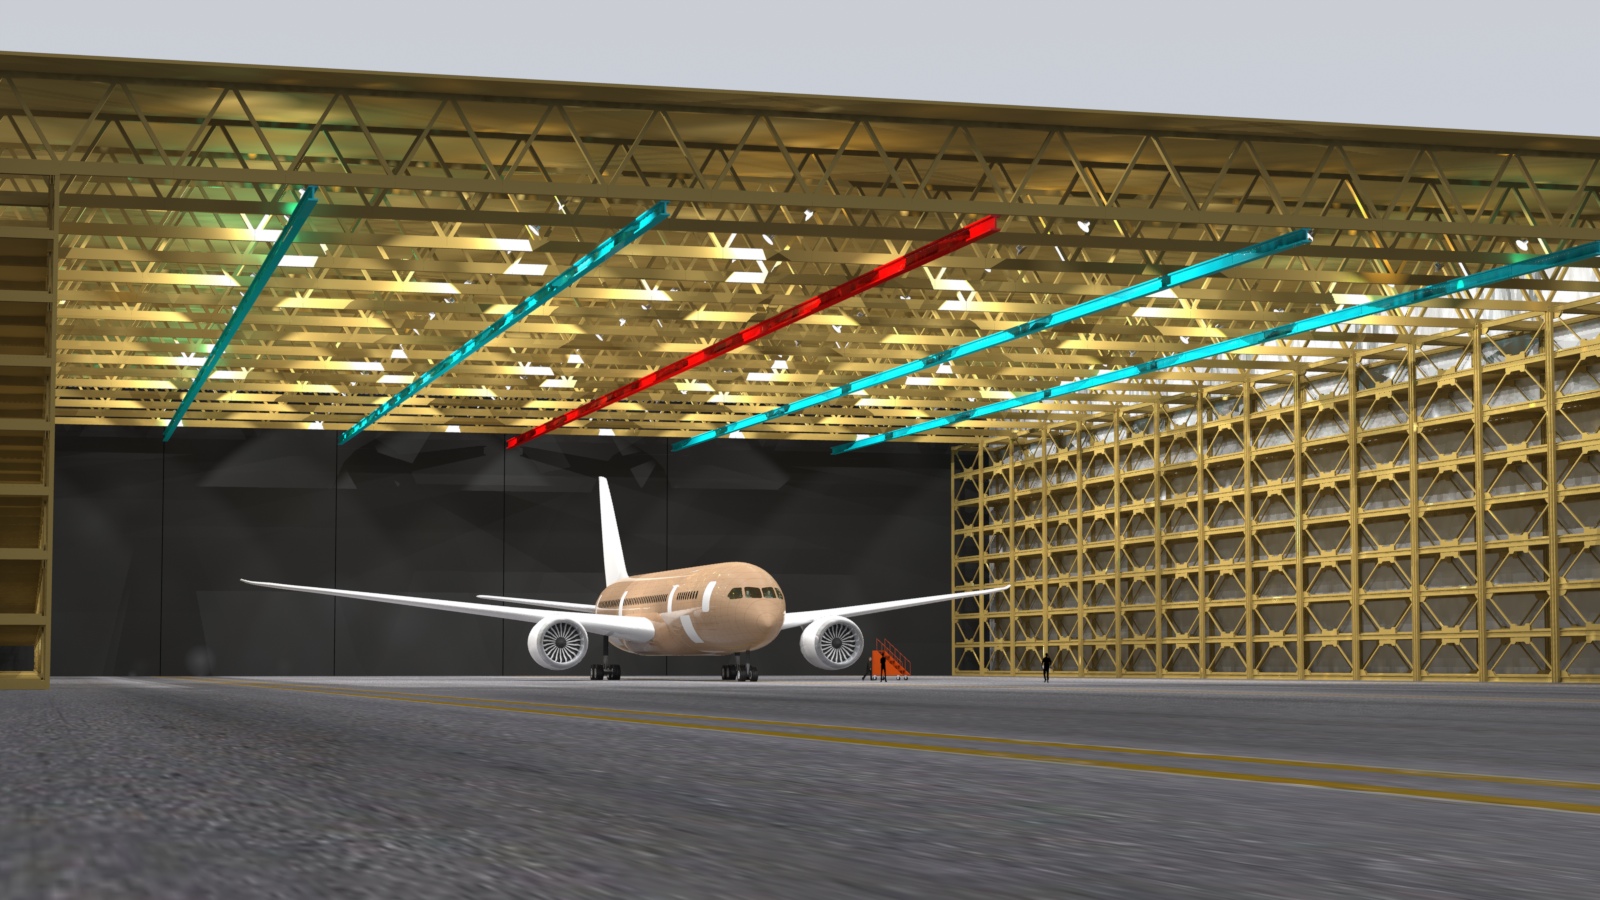
This model just didn't look right, standing out on a ramp alone, especially since it doesn't have much detail yet. So, I built a "factory", based on photos I have from Boeing. Using a lot of instances here, to create the structure, and the lighting. All of these images are larger than they're displayed here, in case you want to drag them to your desktop and have a closer look.

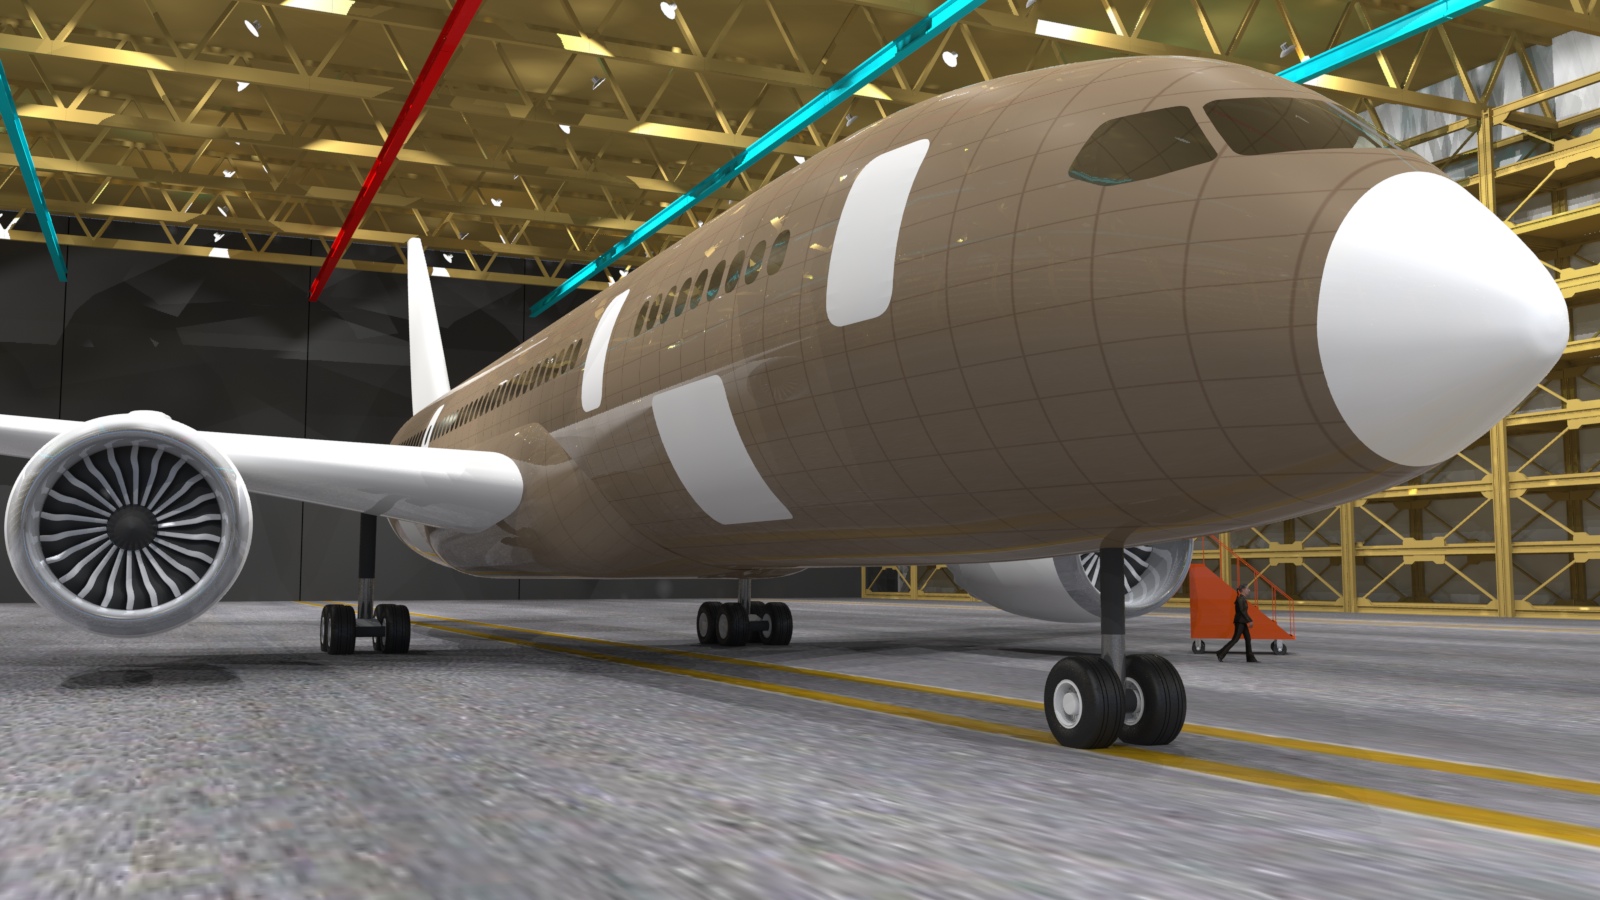

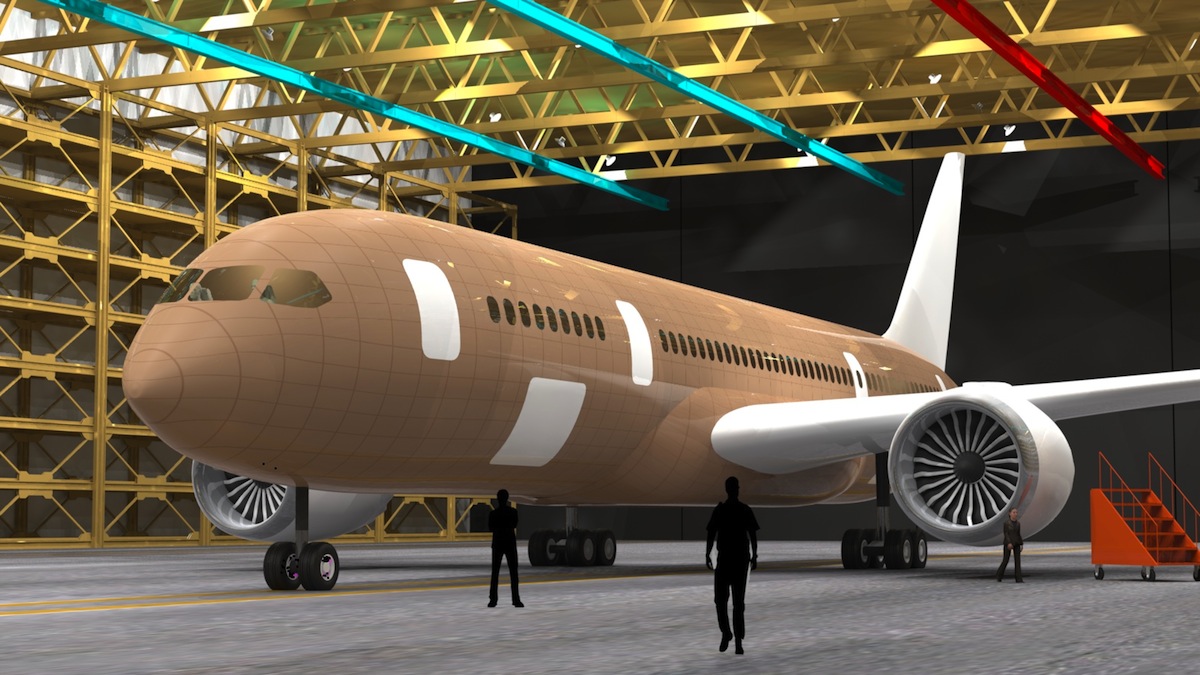
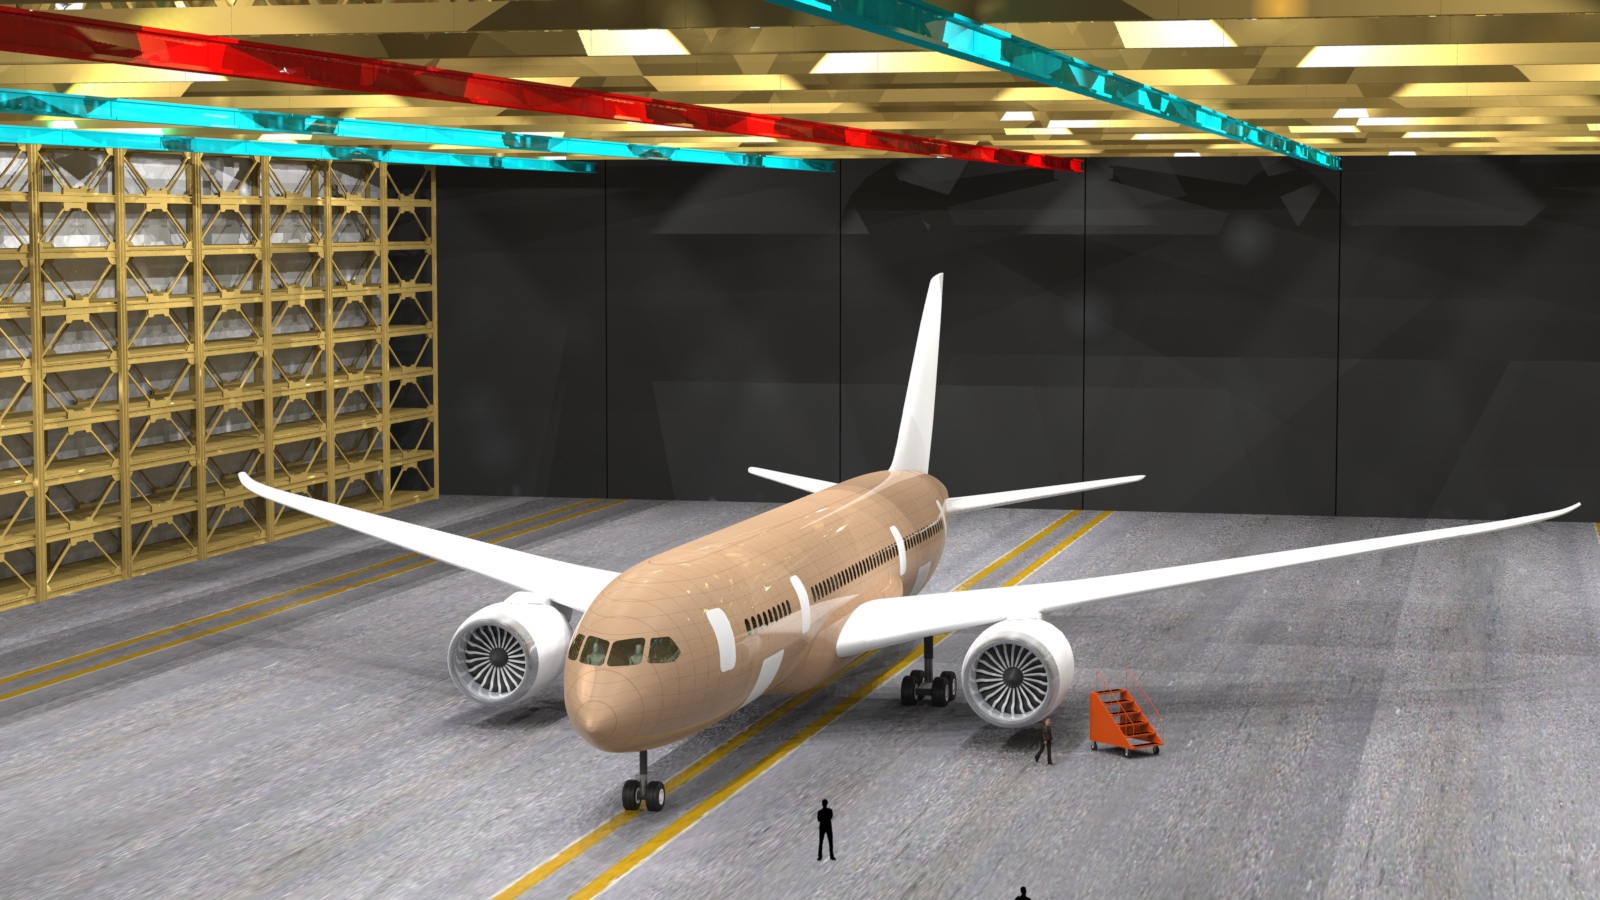
A little paint...
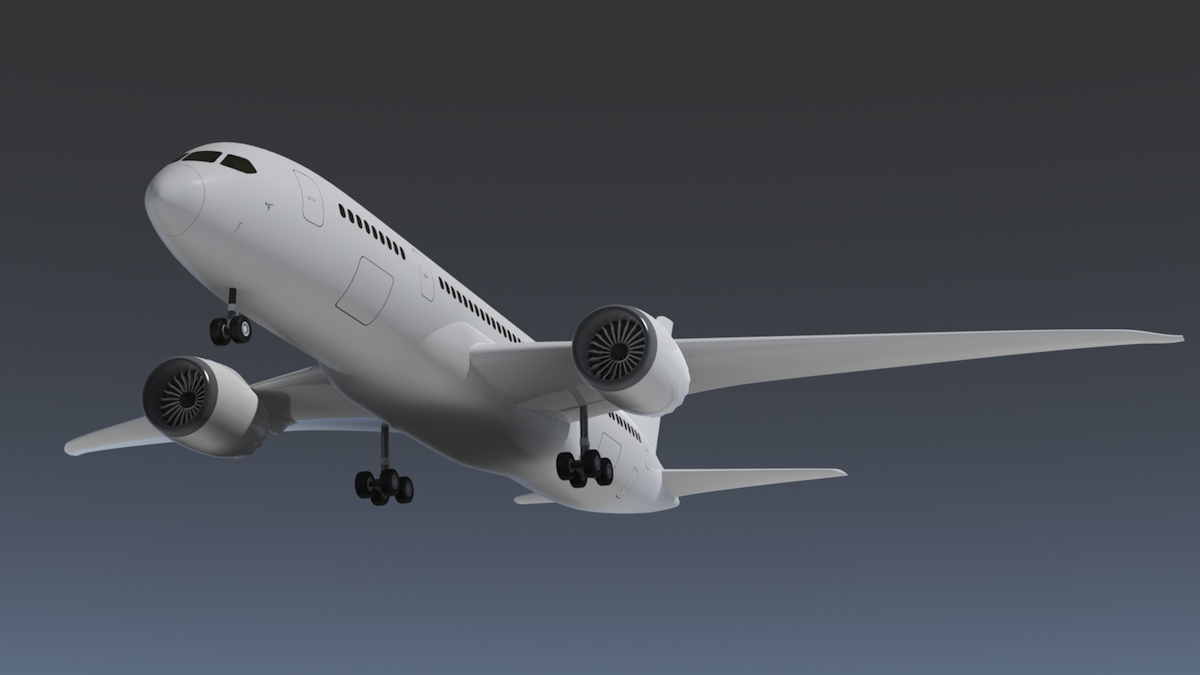
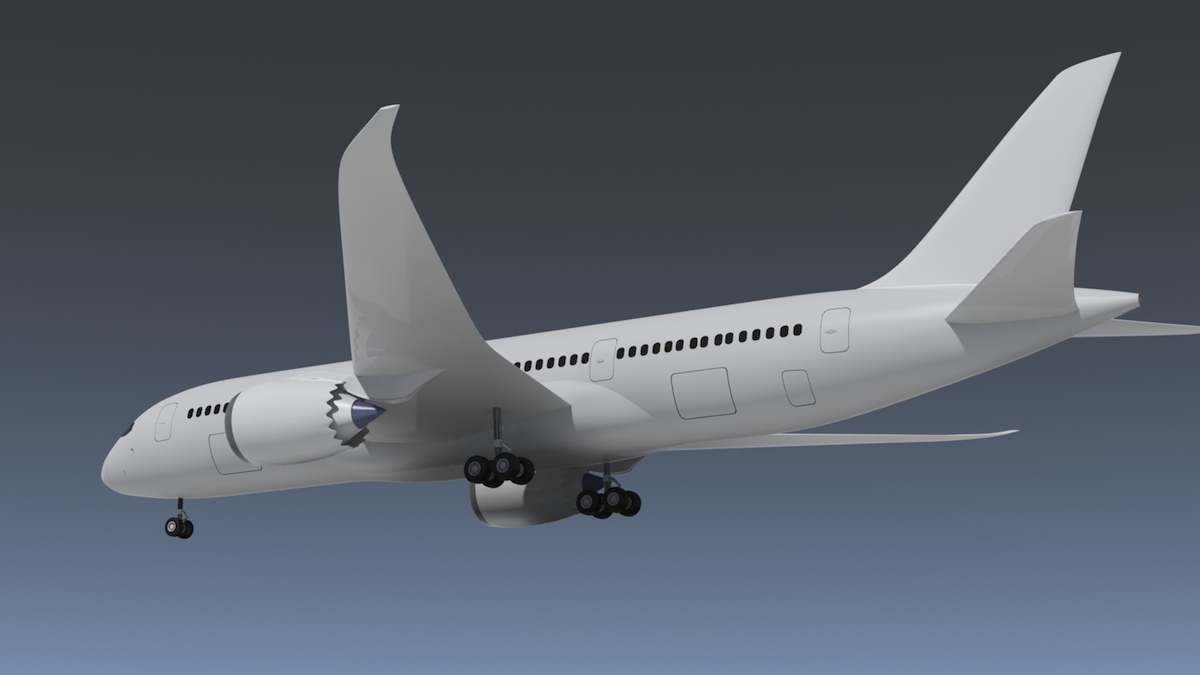
This model is far enough along to start thinking about the final colors. So, it's been colored a basic "airliner white". I've also added some details, including the pitot tubes and AOA sensors at the nose, a seam for the nose cone, seams around all the doors, and door handles.
Wings deserve some more thought…
 To see how I've done the control surfaces on my Boeing 727-100, click here.
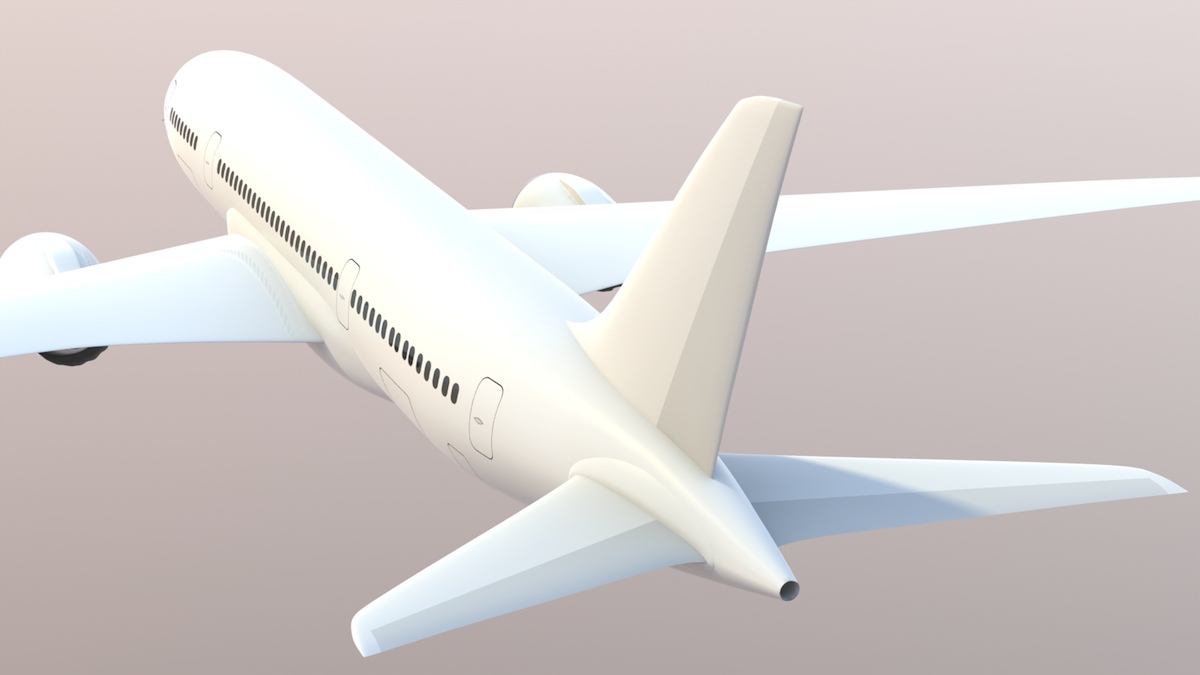
This aircraft is different, in that the wings bend upward about 10 feet, when in normal flight. All aircraft wings flex this way somewhat, but usually, I disregard it, because the difference is so small. On this aircraft however, it's nearly a "trademark", and so I'm giving some thought as to how to present it.
After I build the wing's control surfaces, gear doors, etc., I could duplicate it, and bend one set. That would give me the correct "ground" and "in flight" look, but would make the file huge. I don't think I can use morph maps, because there are too many separate parts. I want to give this some thought before doing it, so I'll do the tail control surfaces and other details, in the meantime.
Tail parts:
The first thing I did was to make the bulge at the intersection of the fuselage and horizontal stabilizer.
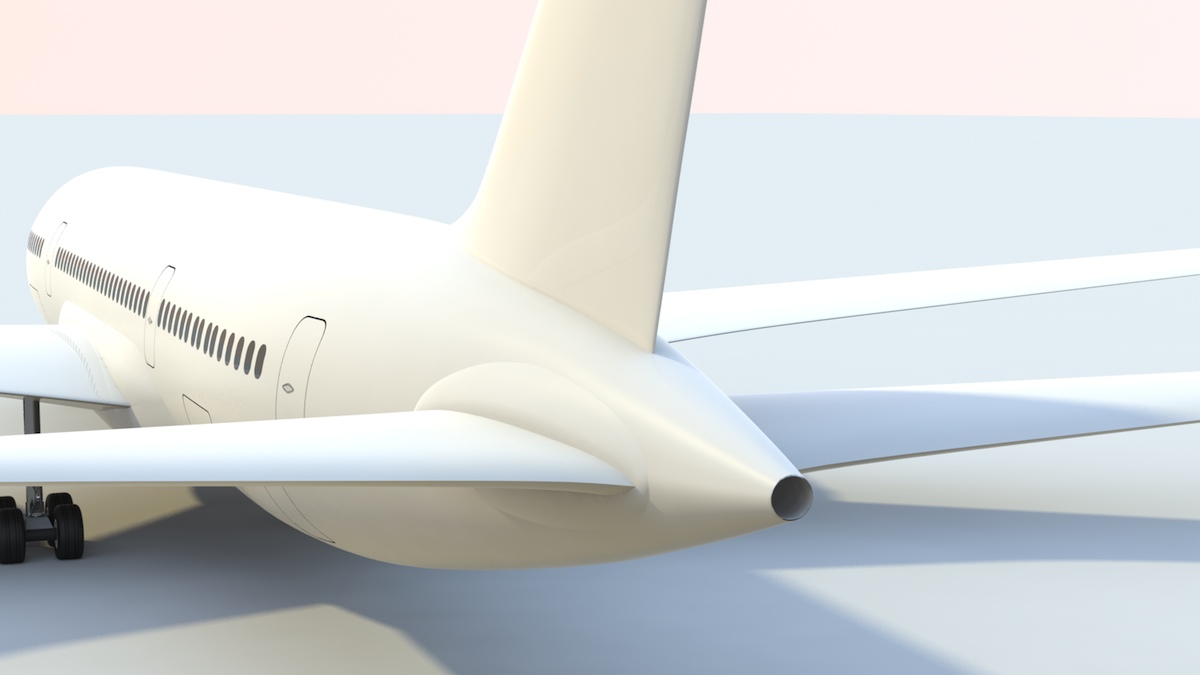
Next, using boolean cutters, I cut the elevators out of the horizontal stabilizer, and the rudder out of the vertical stabilizer.
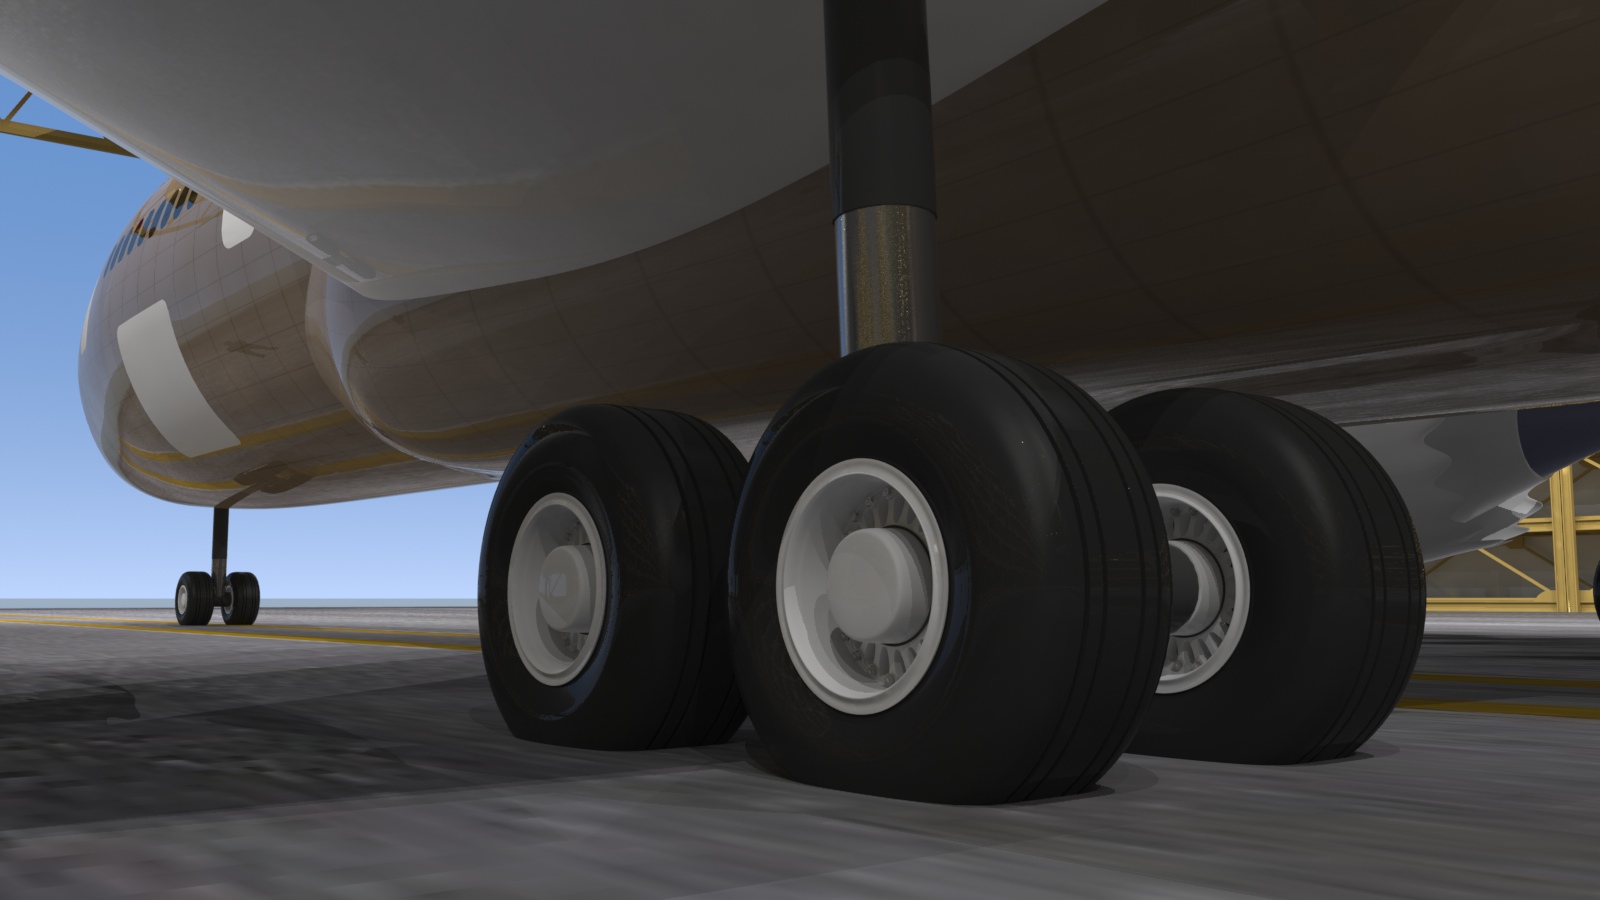
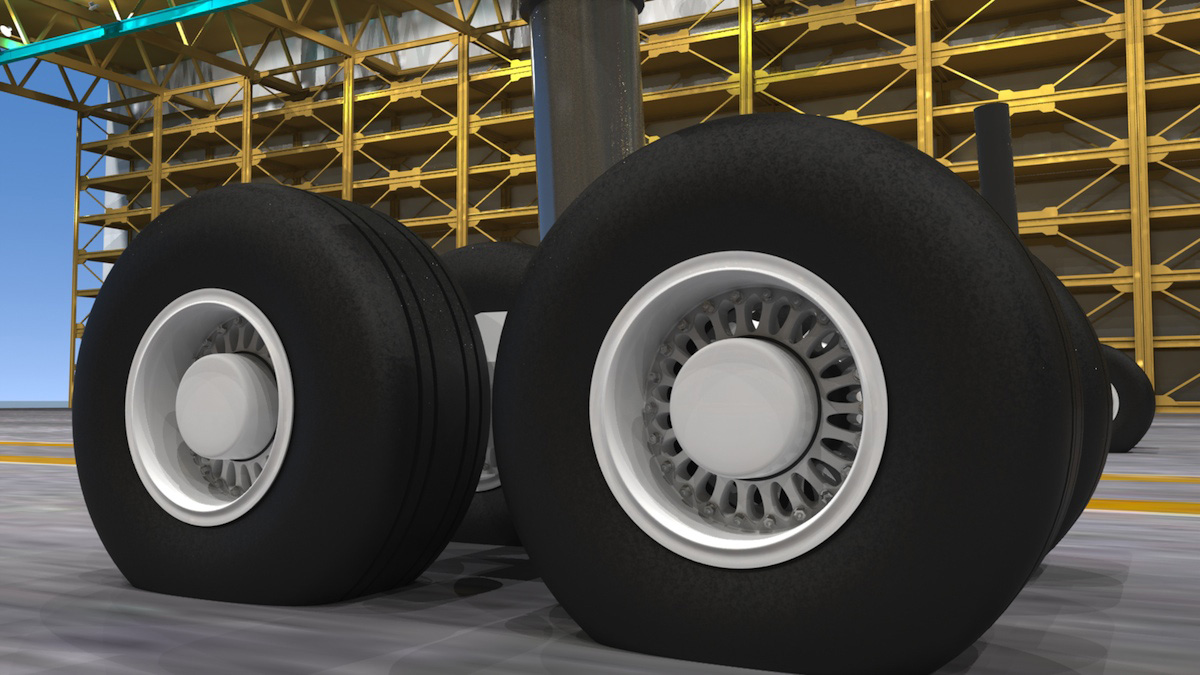
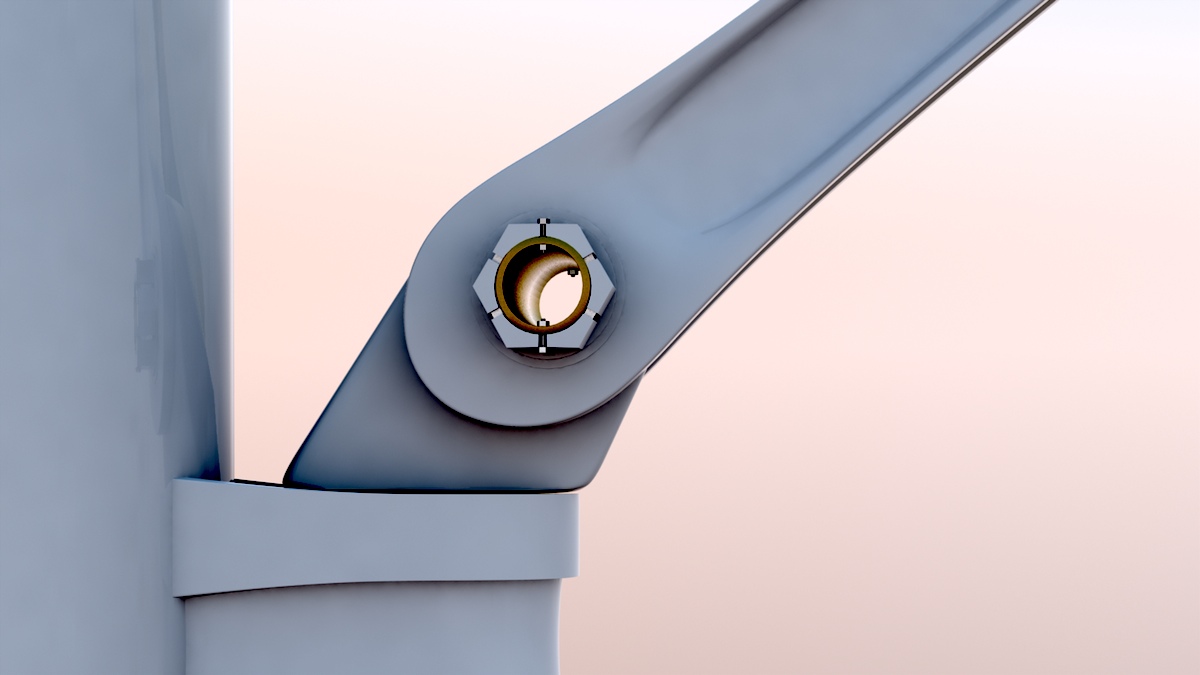
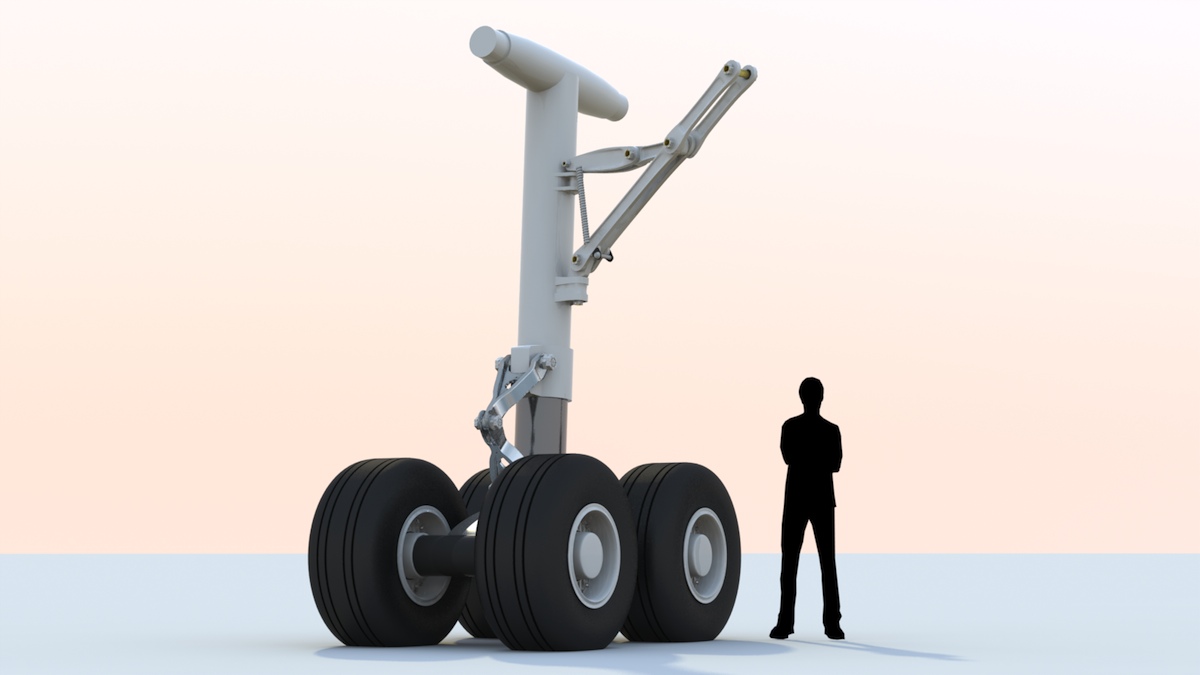
Main Landing Gear:
Starting on the main gear details...

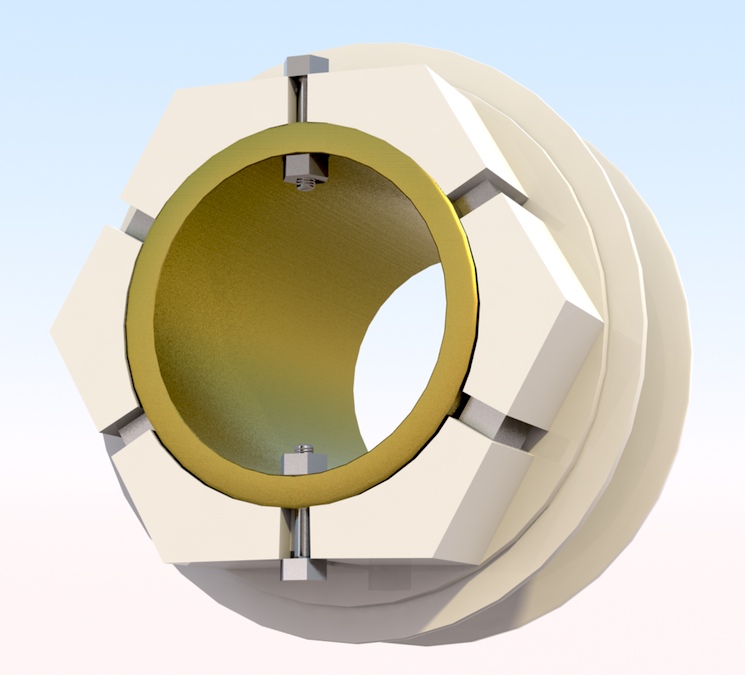
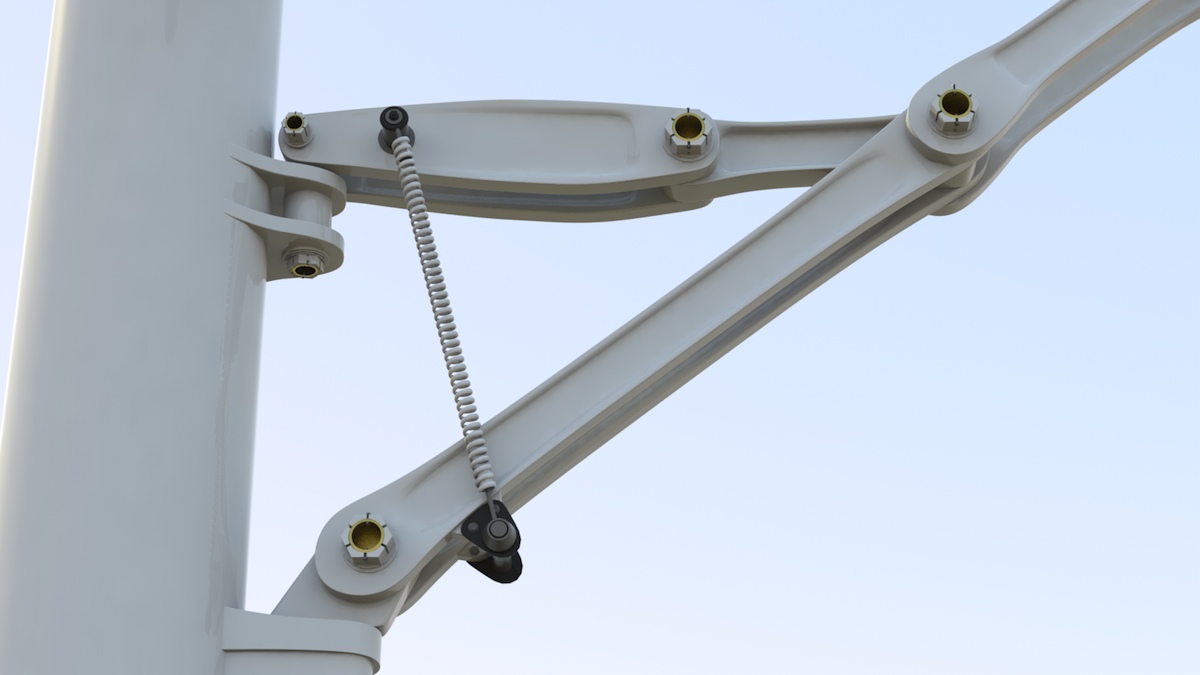
Special Nuts:
Like everything else on this aircraft, it's built using more modern methods and parts than the landing gear on older jets, like my Boeing 727-100 Project. One of the items that's used many times in the landing gear linkage (at various scales) is this new-style piece of hardware, that looks like a nut, along with a locked-in bearing. Here's my reference photo, and the part I've made in MODO.
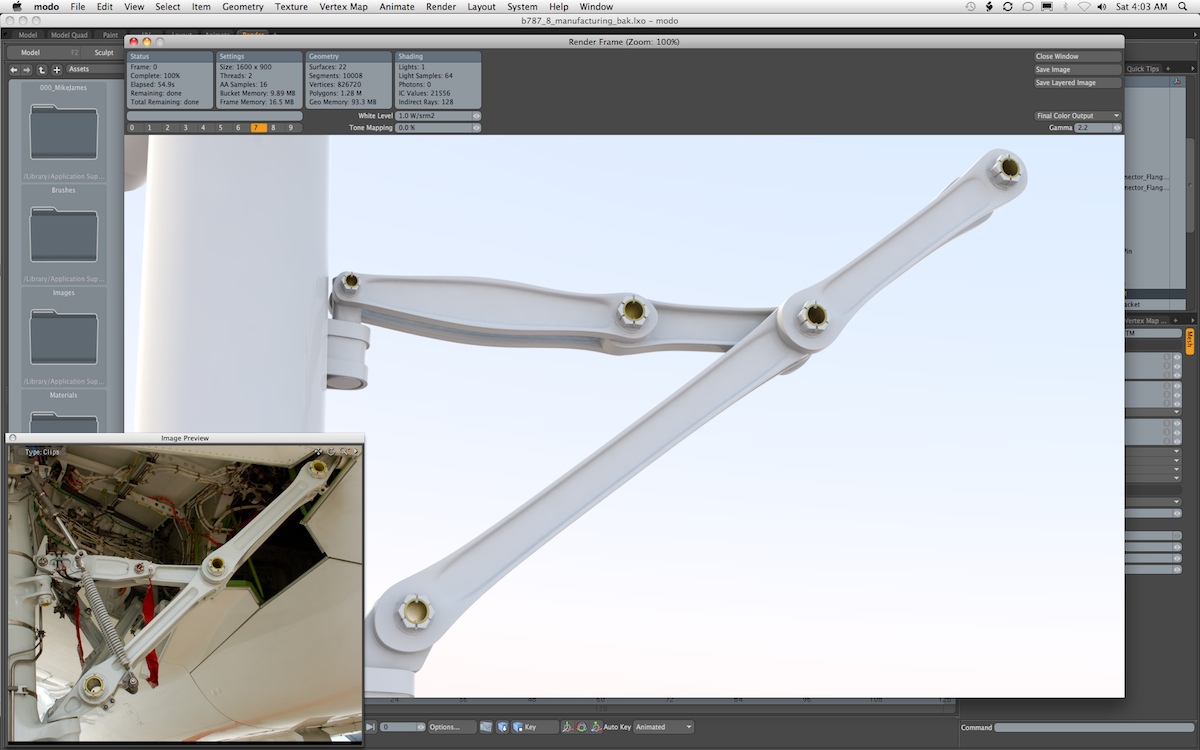
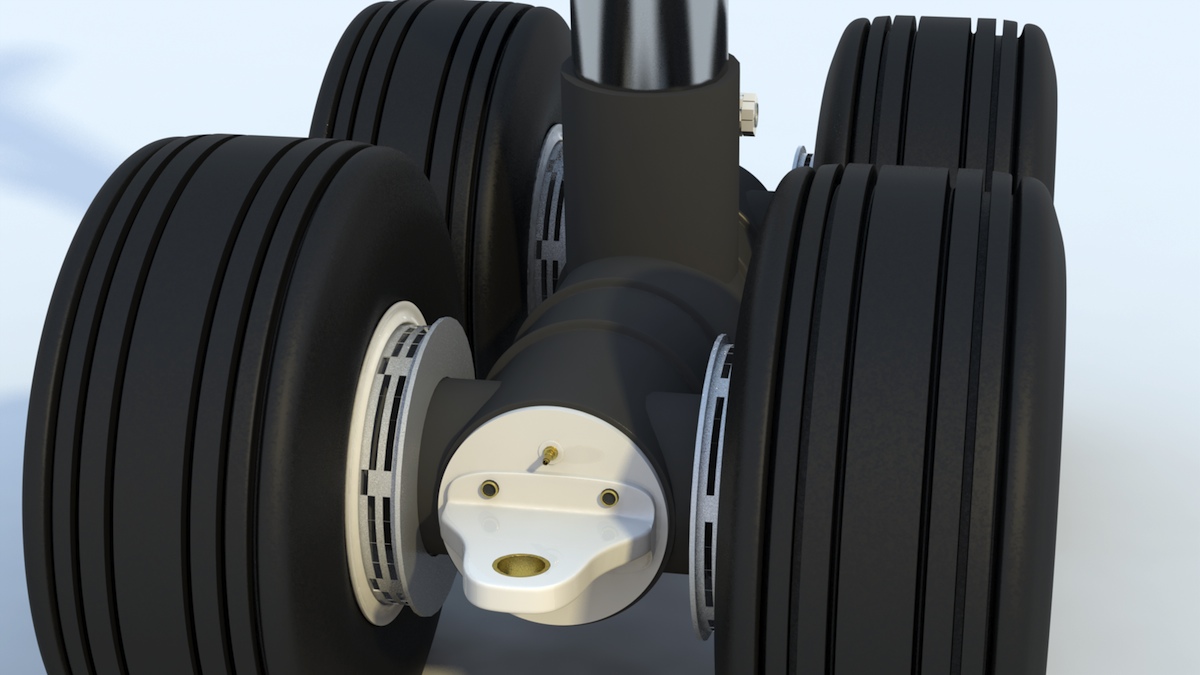
These are all metal parts, but many of them have been painted white in the reference photo. I thought this was worth doing, because It's a detail that adds to the authenticity. I've left them as hard-poly models, since most viewers would never see them as close as this first image, and therefore I could save some polygons, compared to a sub-d version.
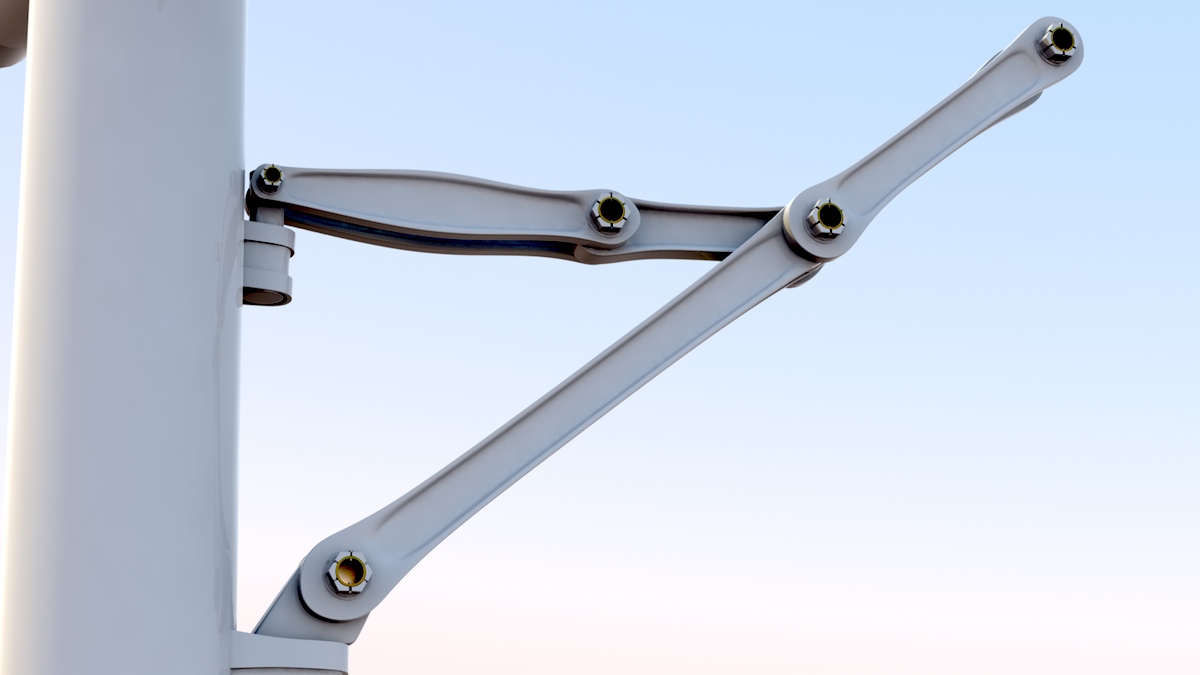
This is the opposite (front) part of the main landing gear, where I've started to install some of the hydraulic and electric parts for the brakes.
Click on the "Page 04" link below, to continue.