NOTE: I am not at liberty to redistribute the documentation used to build this model.
Welcome to the Cessna 310K Project
If you enjoy vintage Cessna aircraft, this is a project you;ll enjoy, and it's part of the evolution of things to do, after my Cessna T-50 "Bobcat" project.
This model is available via my 3D catalog.
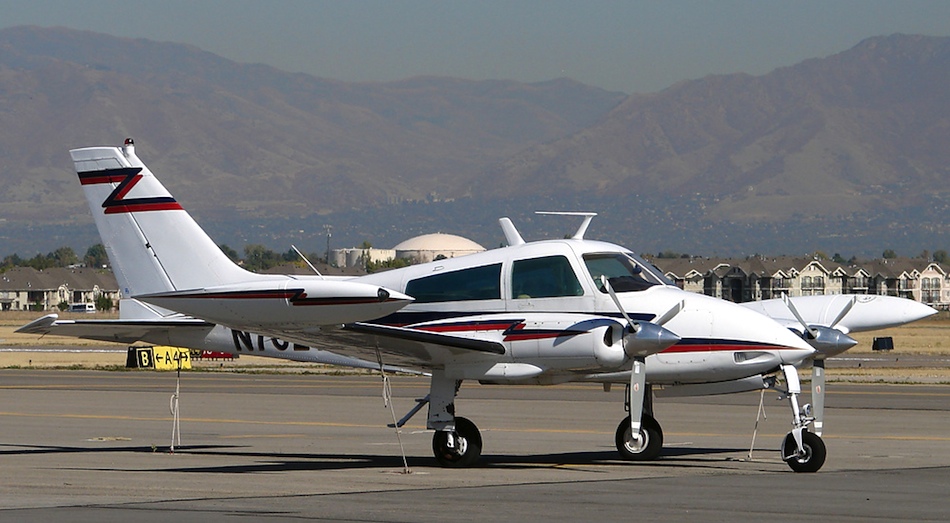
Since the days of the 1950's TV series, "Sky King", I've been fond of the Cessna 310 series of aircraft, and thought it was finally time to do a 3D model of one. My favorites are the ones in the middle of the series, (G thru K models) because they've adopted the more modern swept surfaces that make them look sleeker, but still have the relatively-short nose, ultimately replaced by longer ones, like the 310R. So, the 310K is the perfect choice for my tastes.
This project has been on hold for a few years, due to a lack of documentation. I've recently been lucky enough to become acquainted with a pilot who has owned and restored some 310's, and he's been very generous in his sharing of information.
Like the T-50 project, this one will be a complete model, including interior structural parts, cockpit, lighting, etc.. It's a long-term project, which will take several months. If you'd like to follow along, here we go…
Setup and Start:
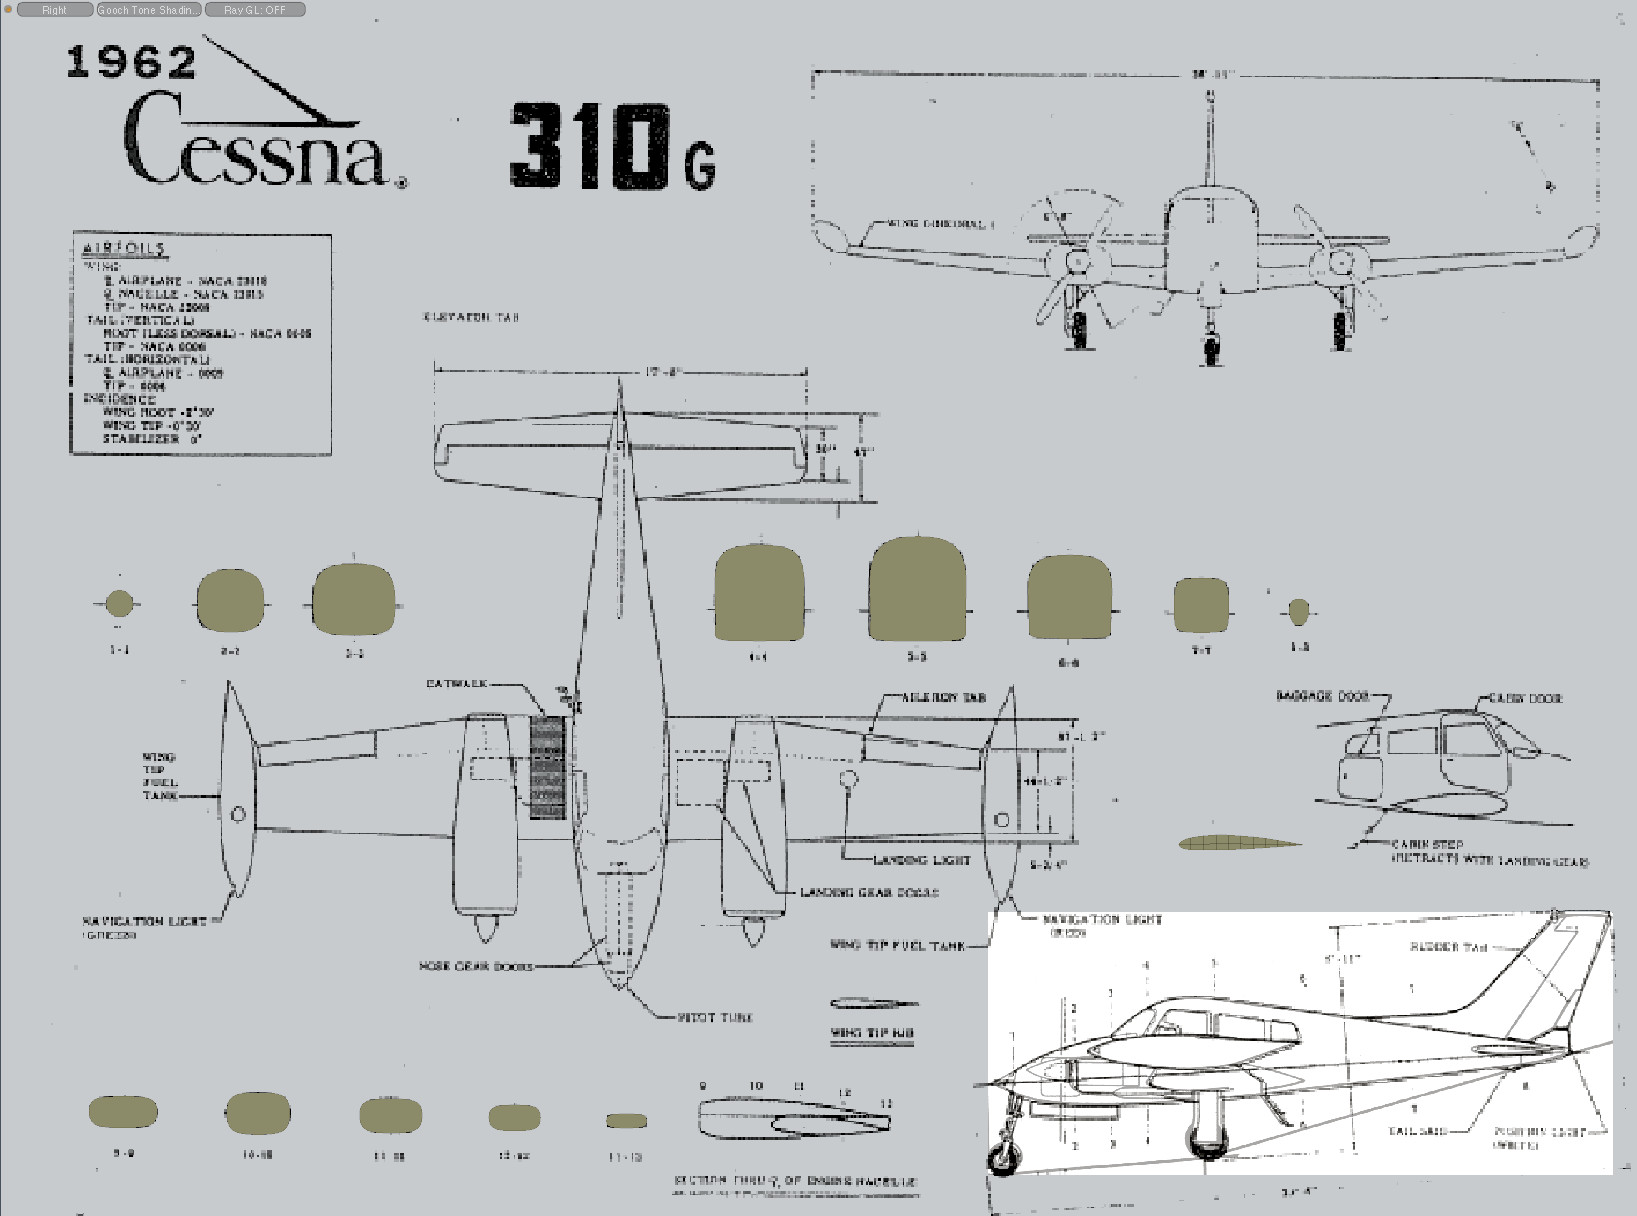
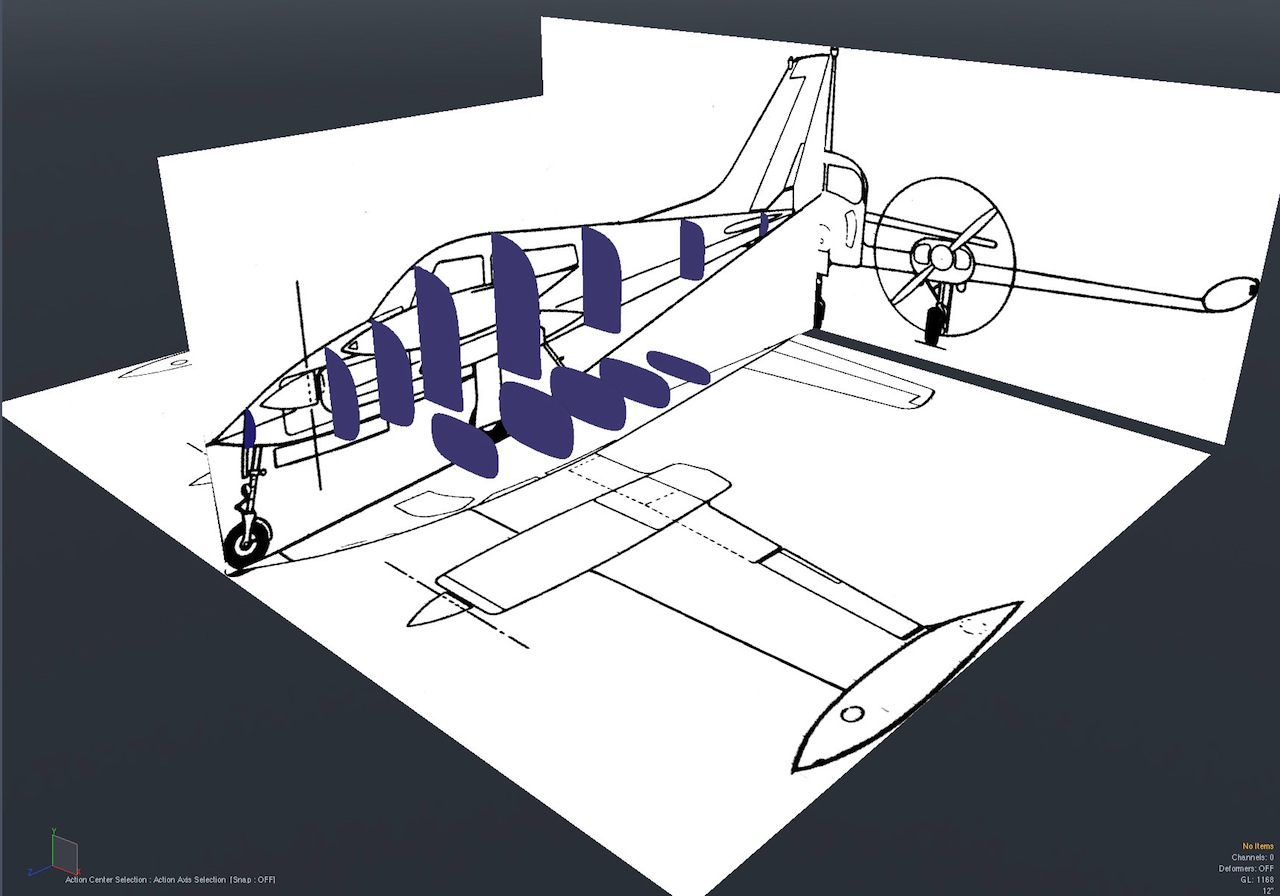
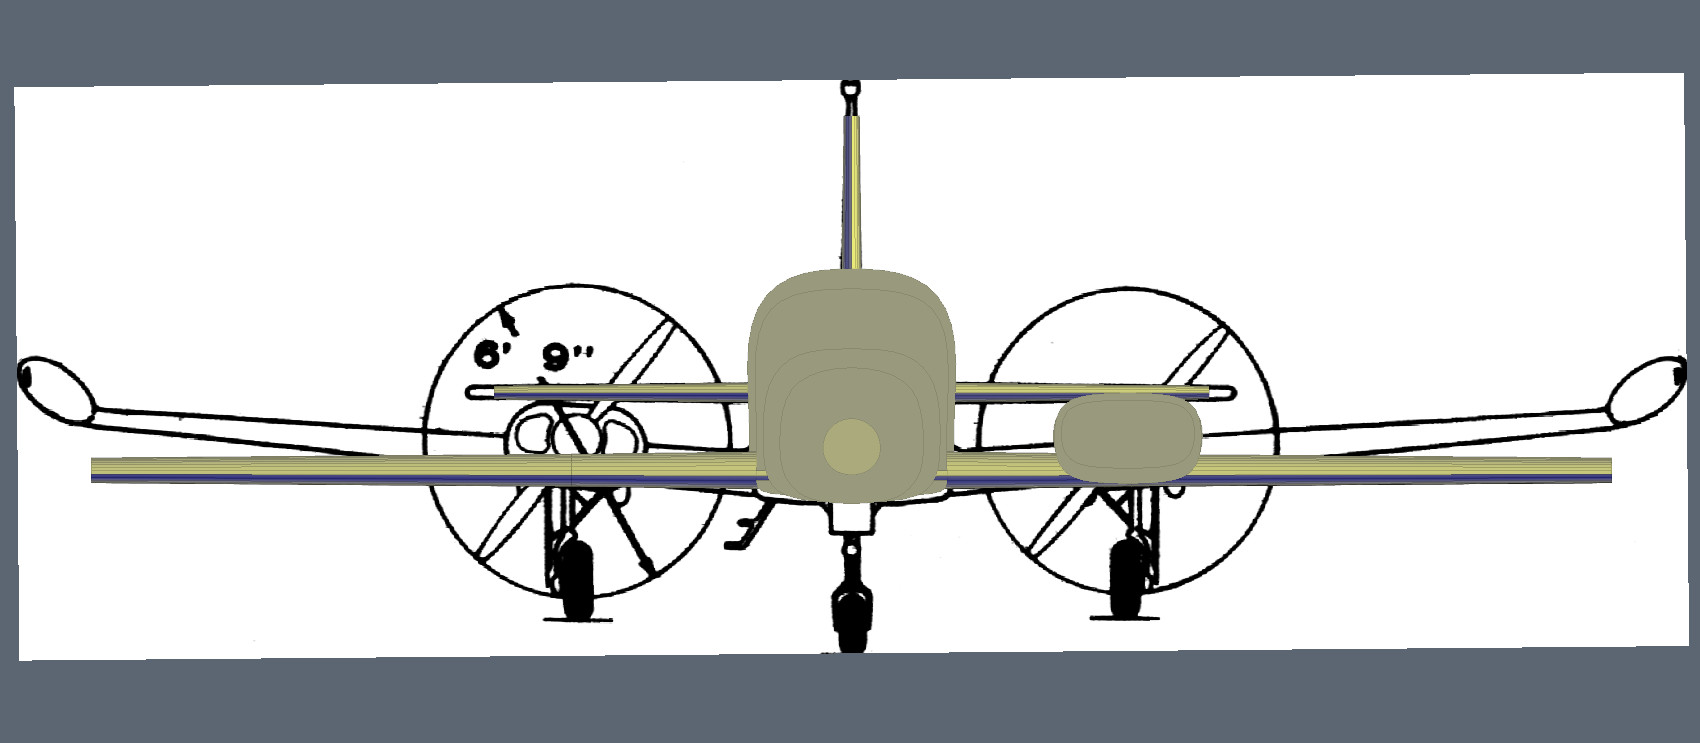
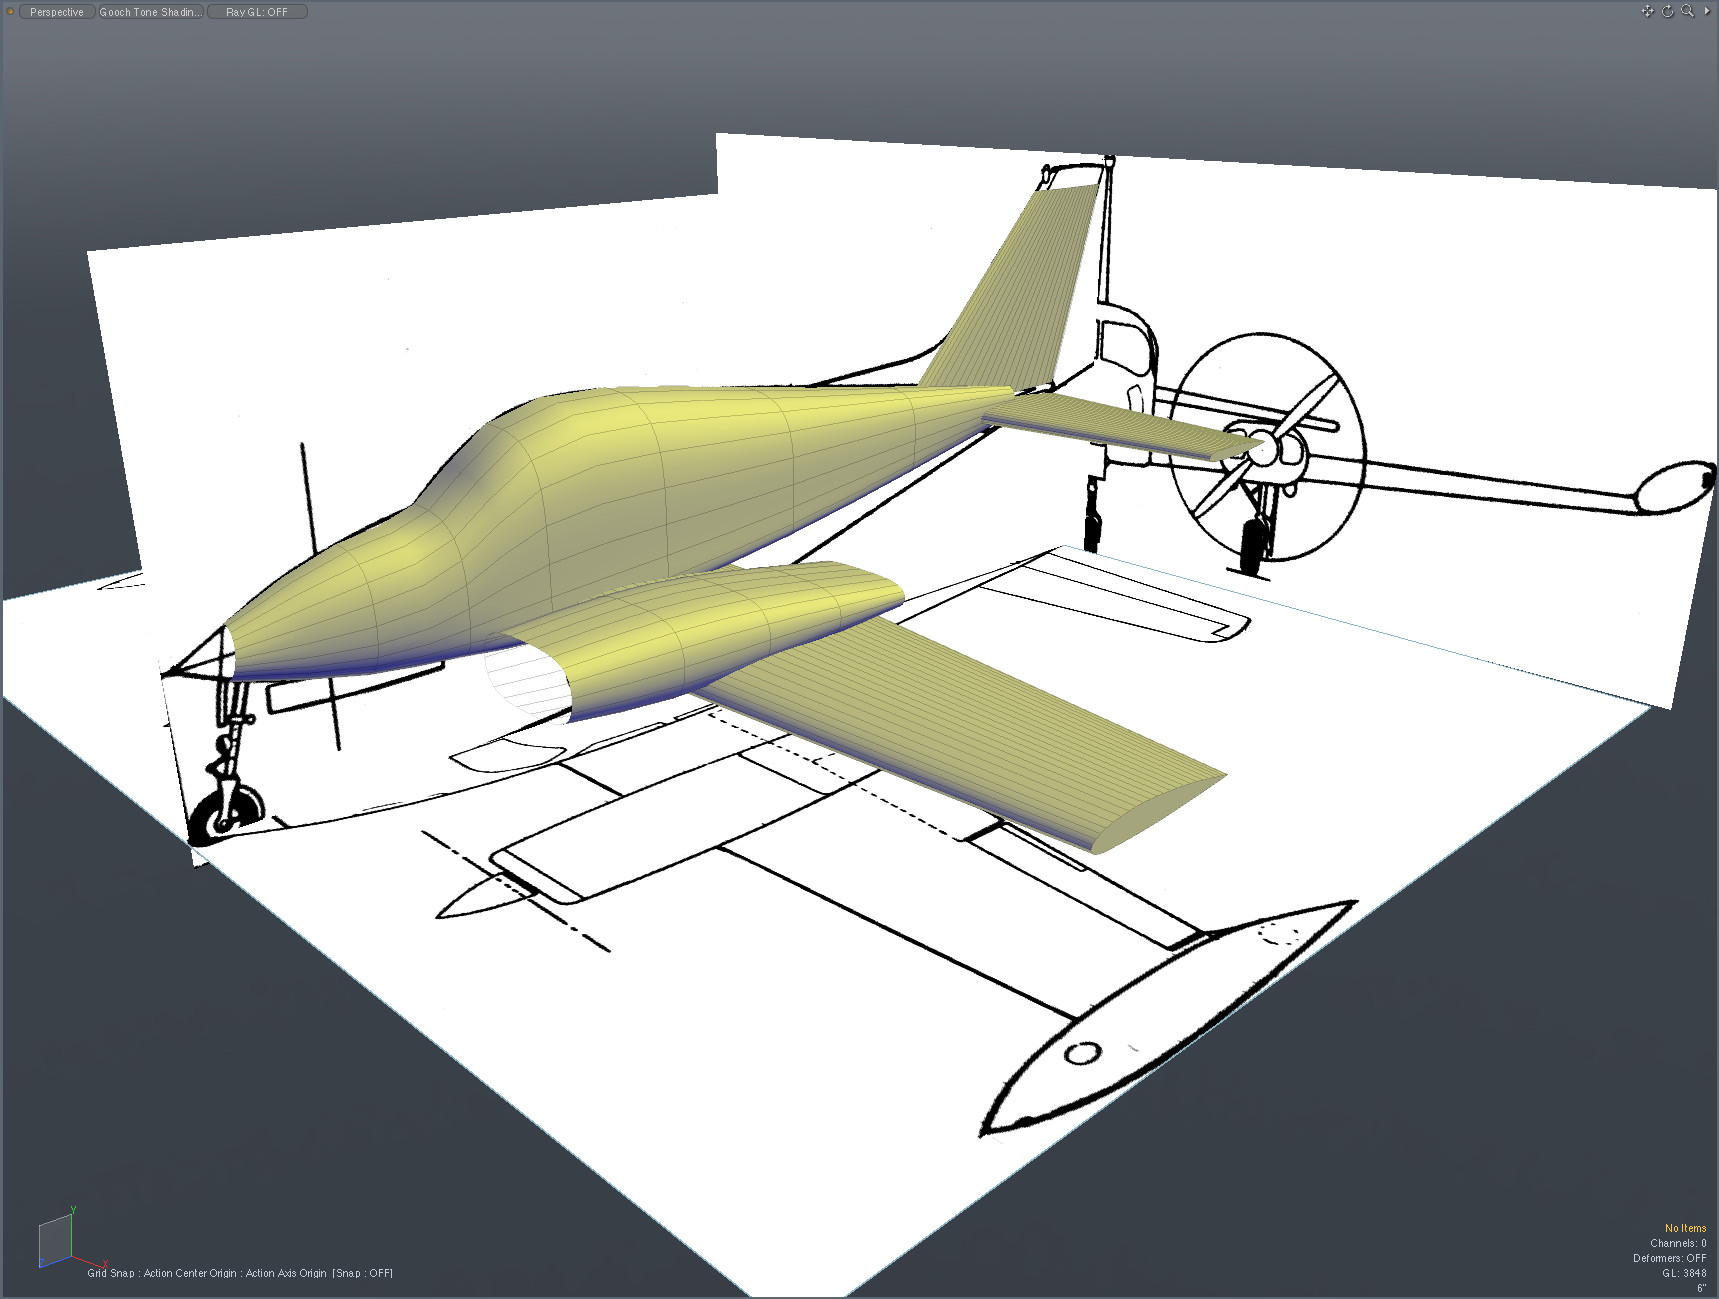
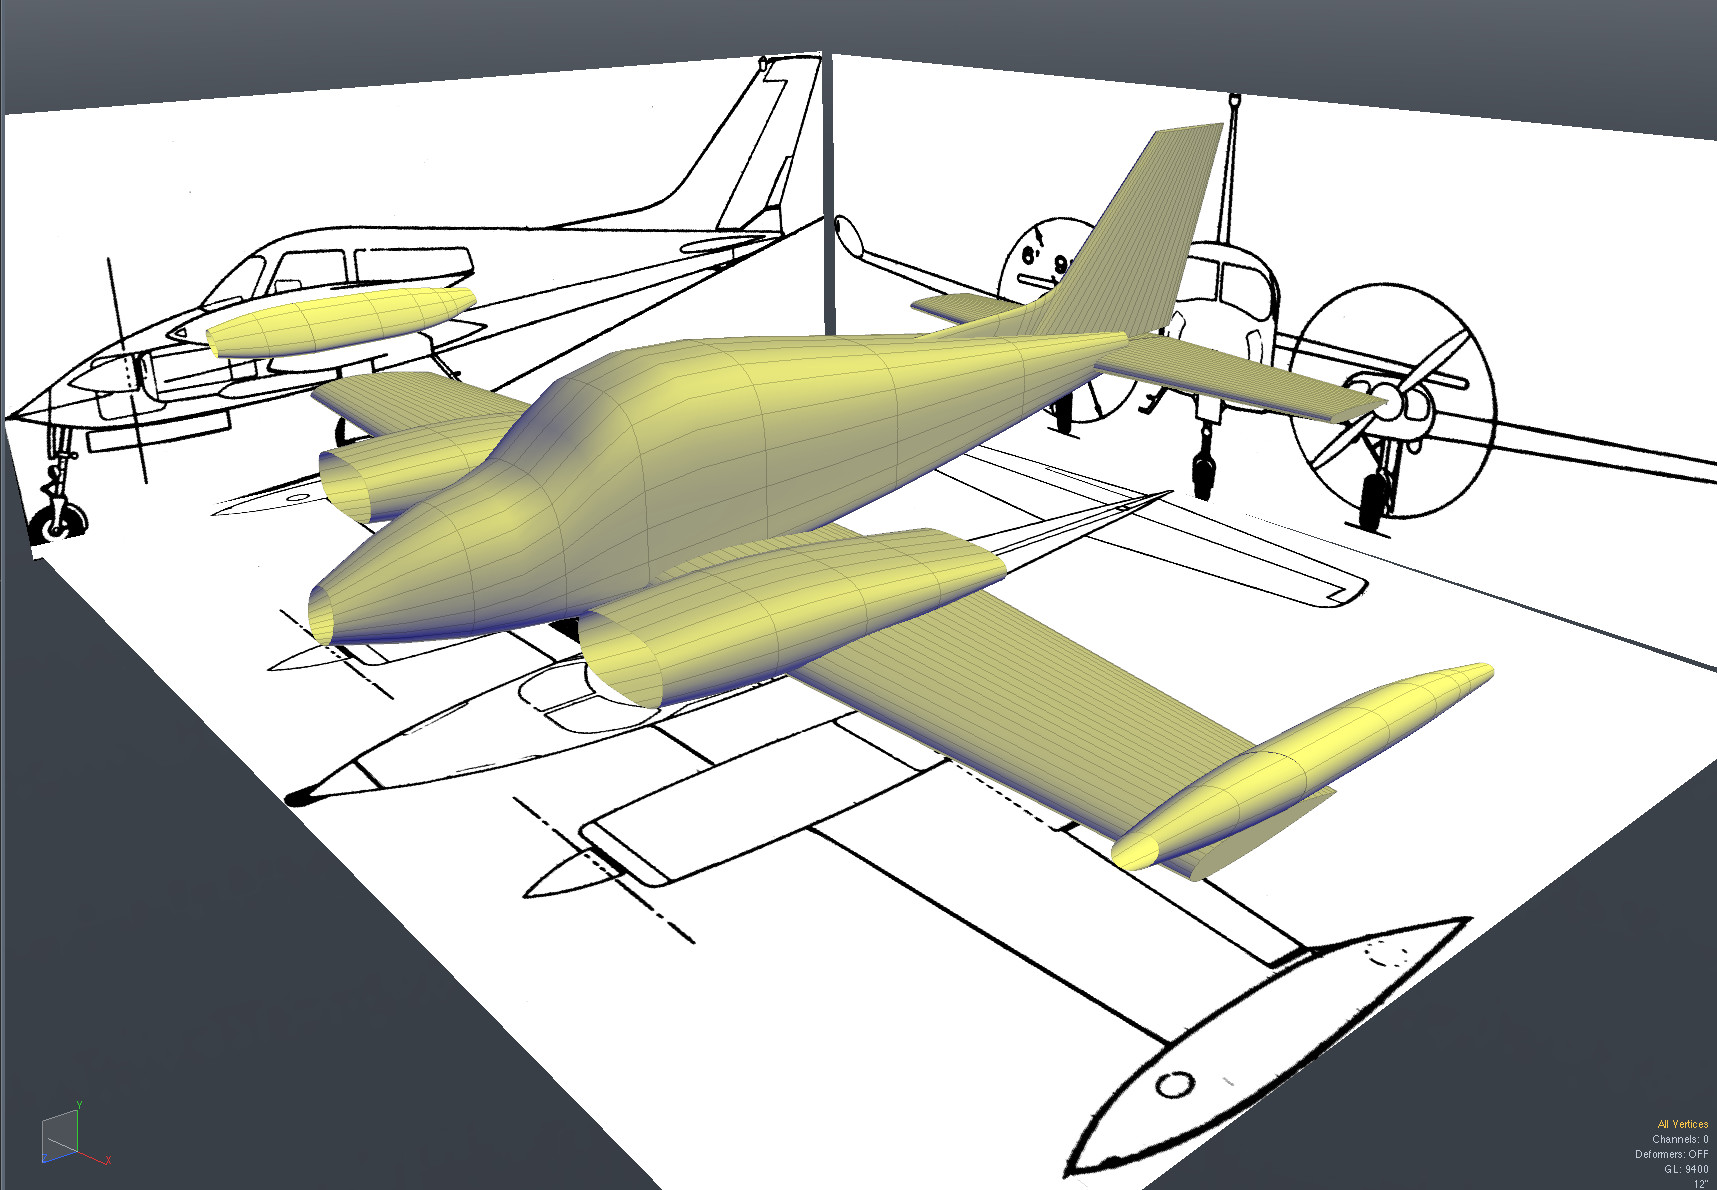
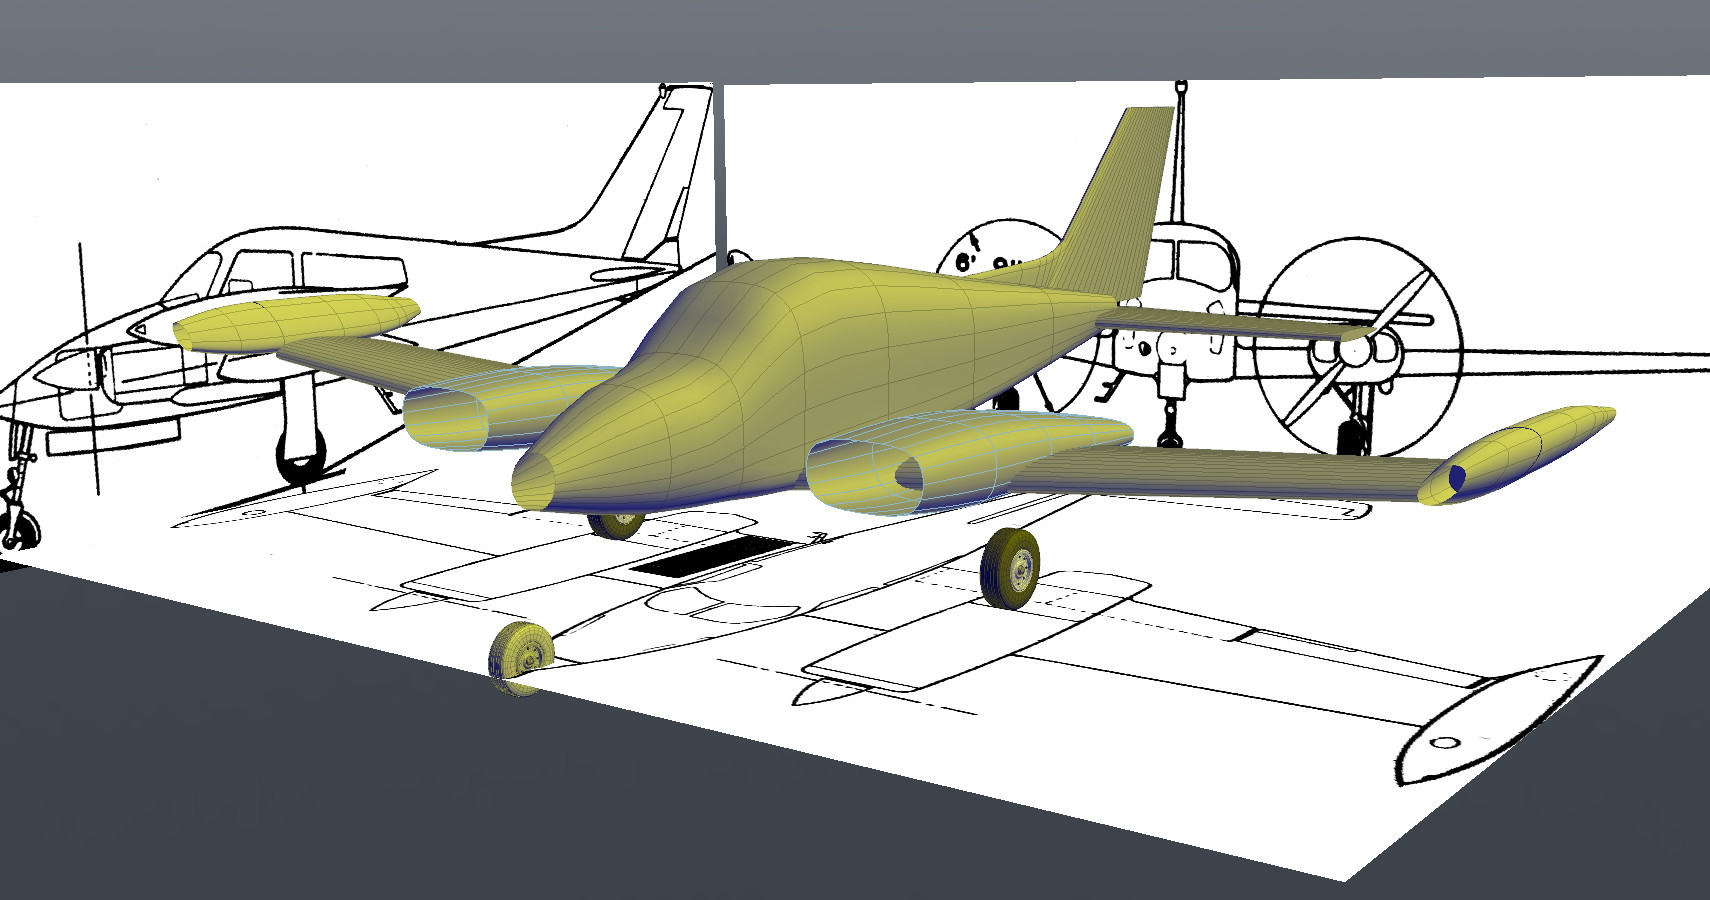
The gentleman who is sharing his documentation with me has very complete references for all the important parts, lacking only the cross sections from the old 310K drawings. As it turns out, that's no problem at all, since the many 310 variants in the middle of the range have only subtle exterior shape differences. Note the side view (bright area) in the lower right-hand portion of this image where I've overlaid the 310K side view over the 310G side view. There's practically no difference between the two, in exterior shape. So, I used the available 310G cross sections to rough out the basic fuselage and nacelle shapes, by drawing the (olive-colored) cross sections, and then adjusting them as needed, against the 310K 3-views. This worked out fine.
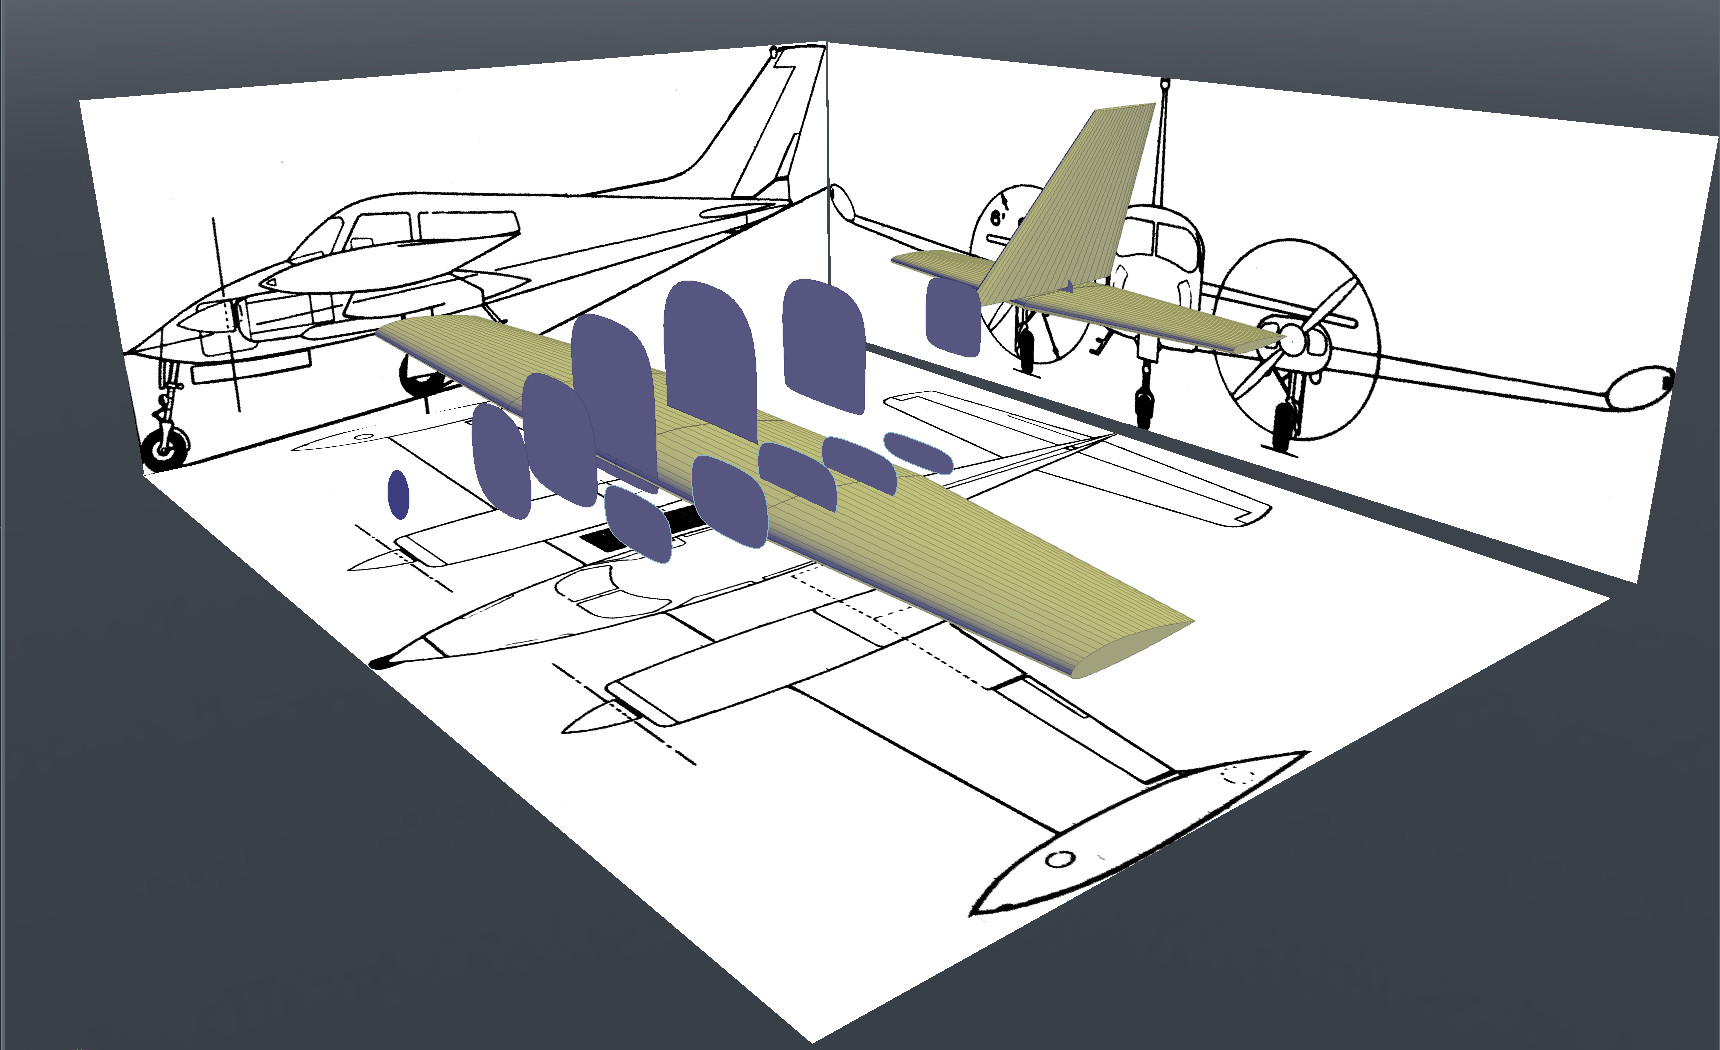
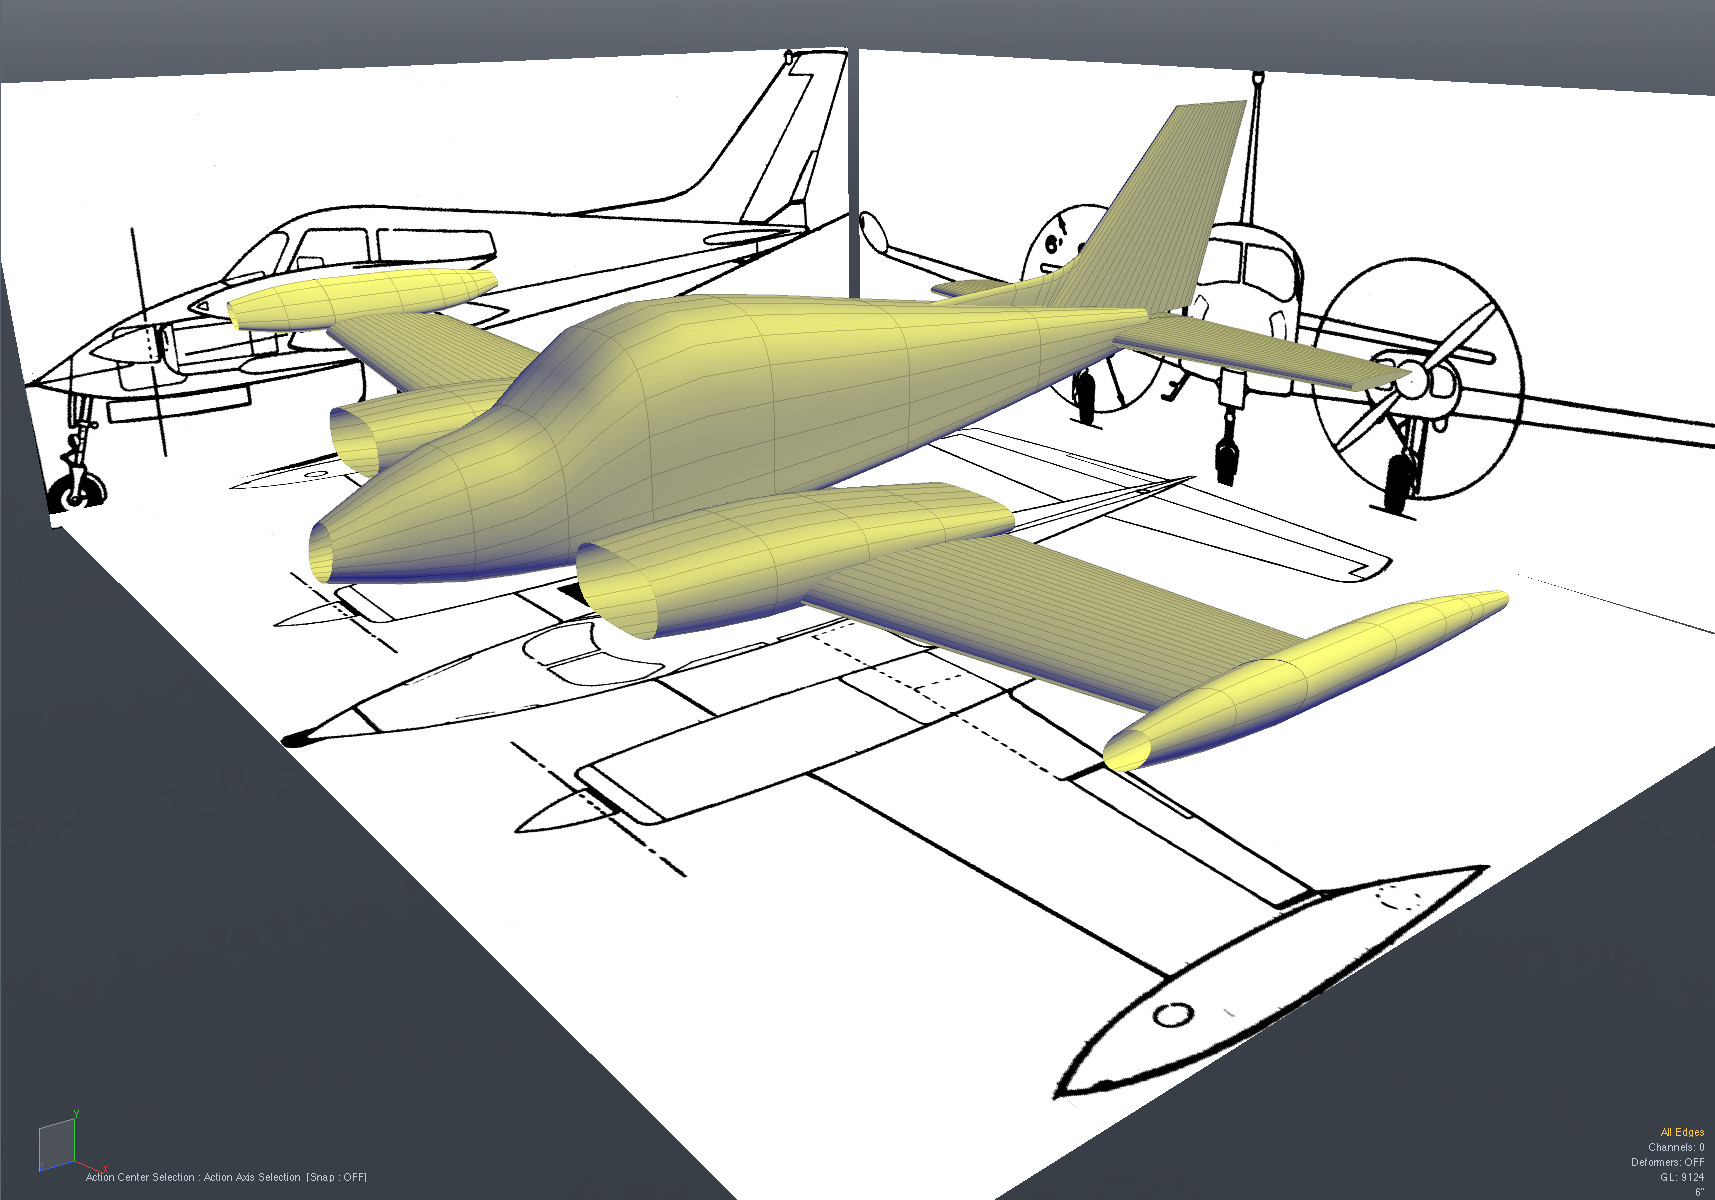
The airfoils are all known on these aircraft, so I added them next, and adjusted the planform to match the drawings. I've left off detailed shapes like the elevator and rudder counterbalances, until later.

The next step was to skin ("bridge", in MODO) all the cross sections, to form the fuselage and nacelle shapes. Like magic, it starts to look like a 310, which is gratifying for the first night's work.
Next, I build the wingtip tanks.
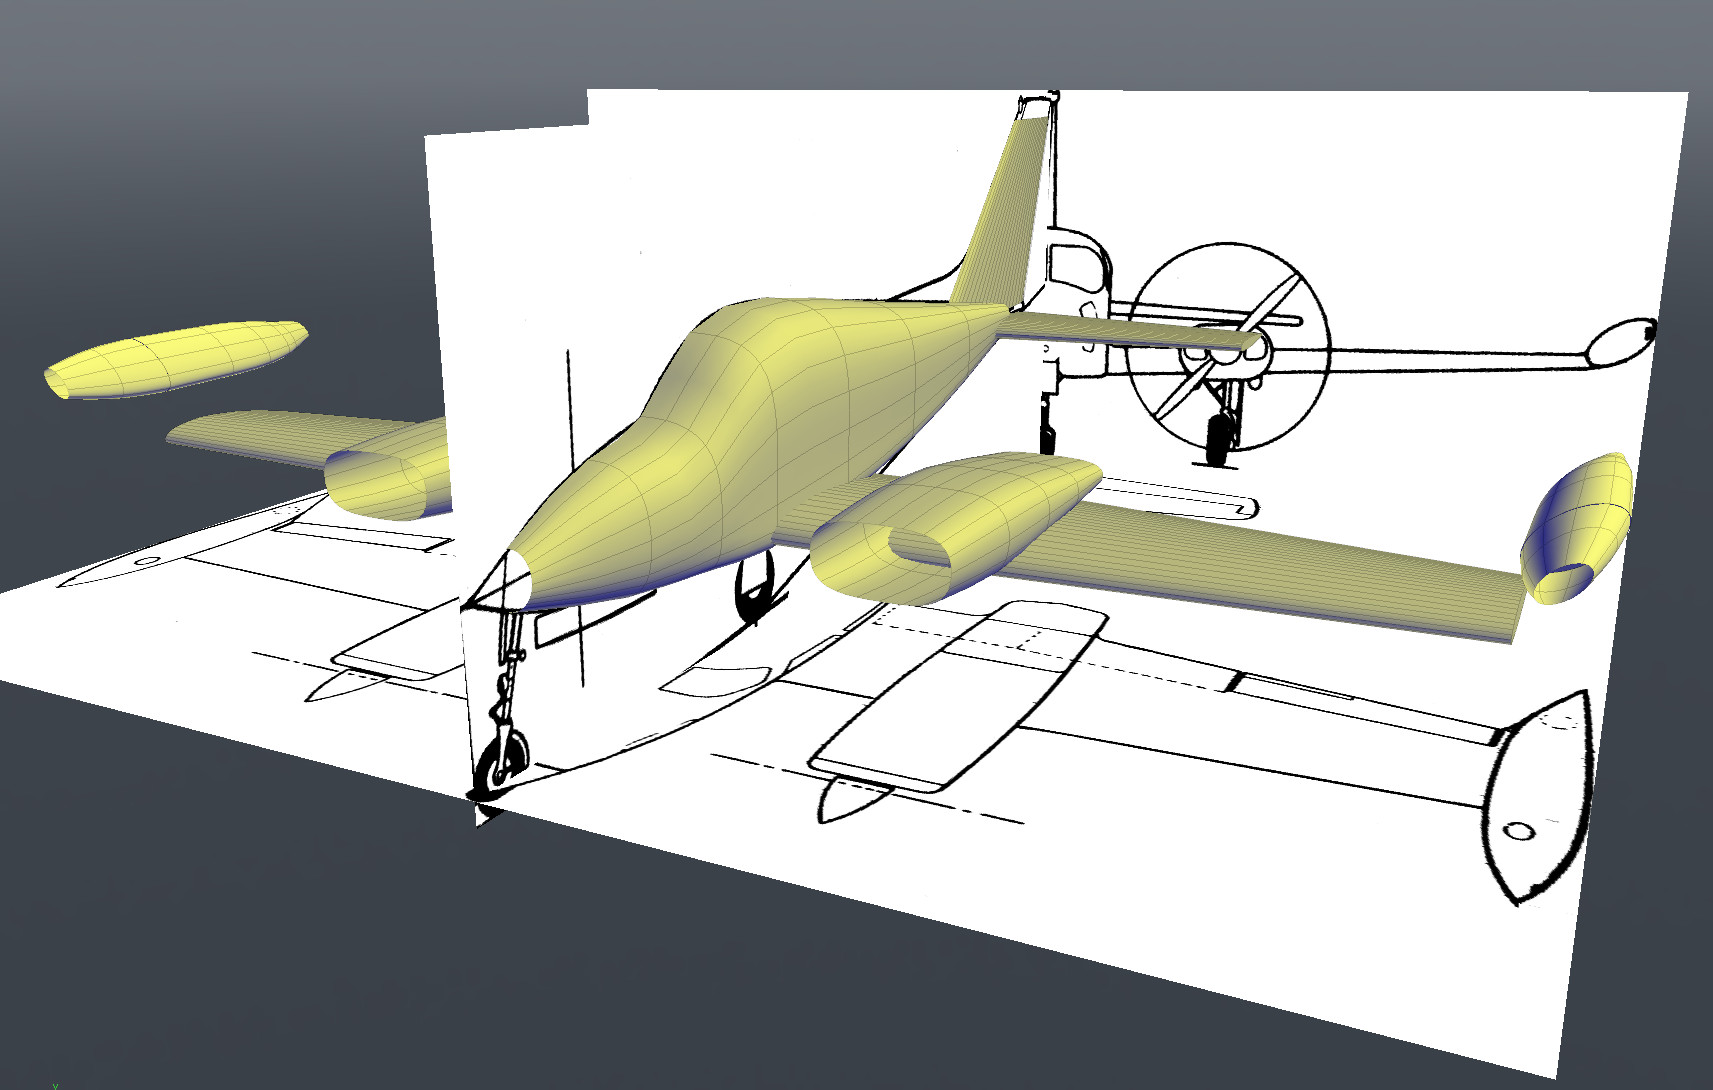
At some point, I'll be freezing this geometry, so I can cut out parts, such as the control surfaces on the wings. This job is more-accurately done with the wings "flat", so I've left out the dihedral (upward angle) in the wings for now.
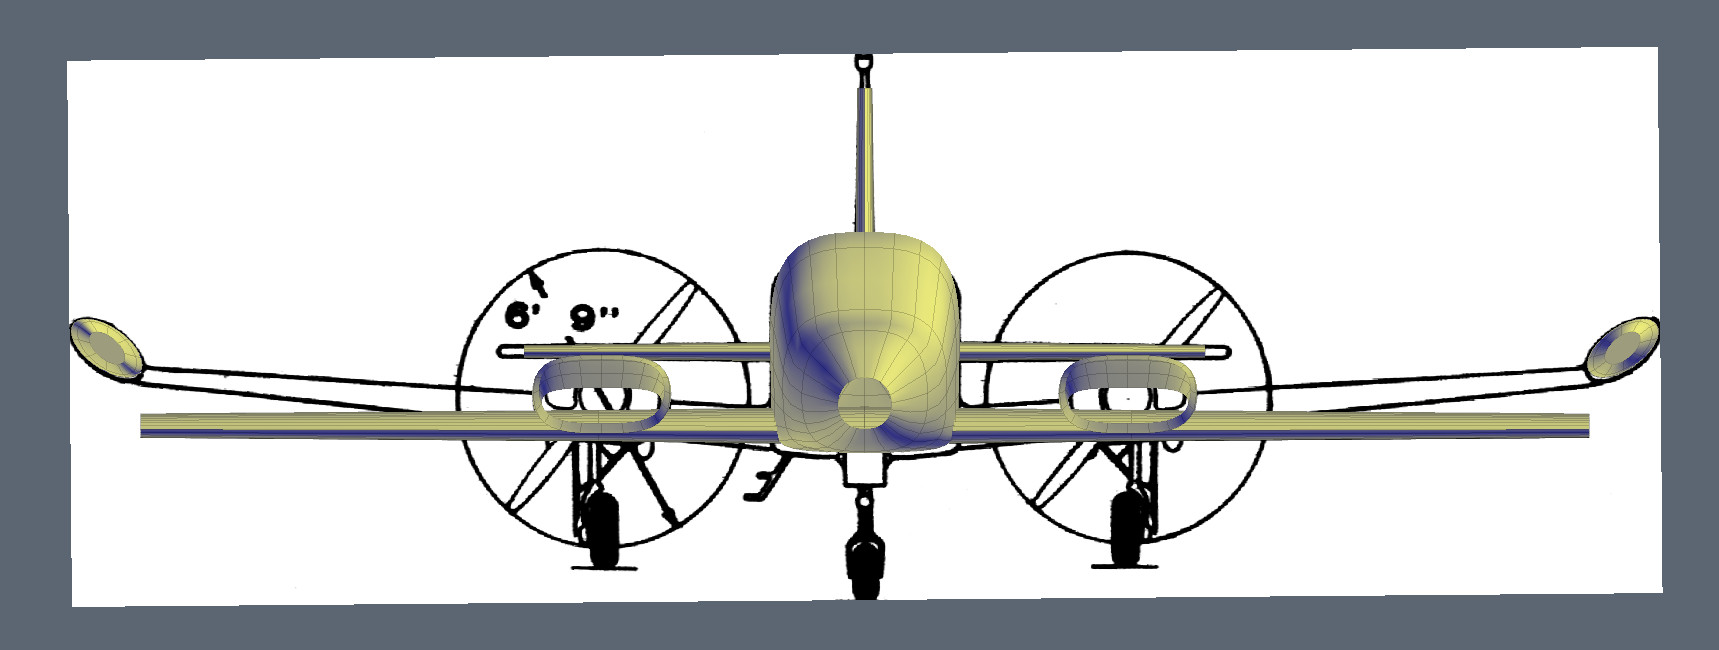
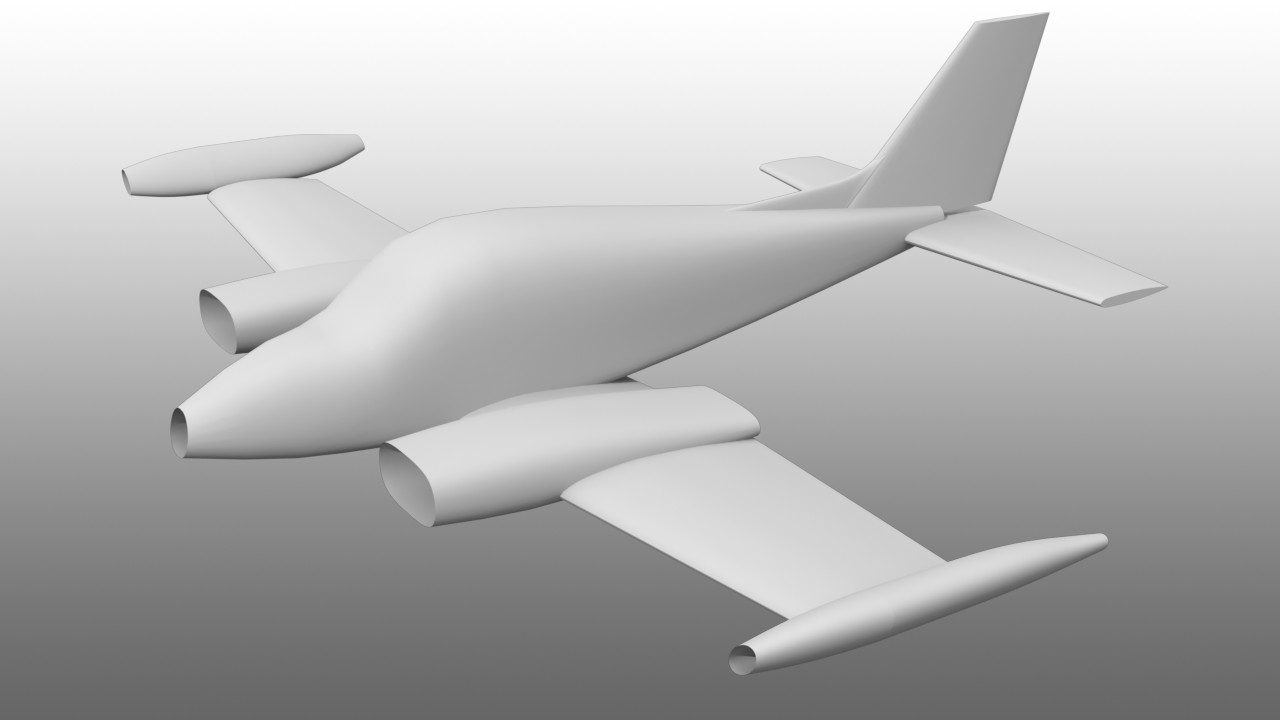
Here, I've added the dorsal fin for the vertical stabilzer.
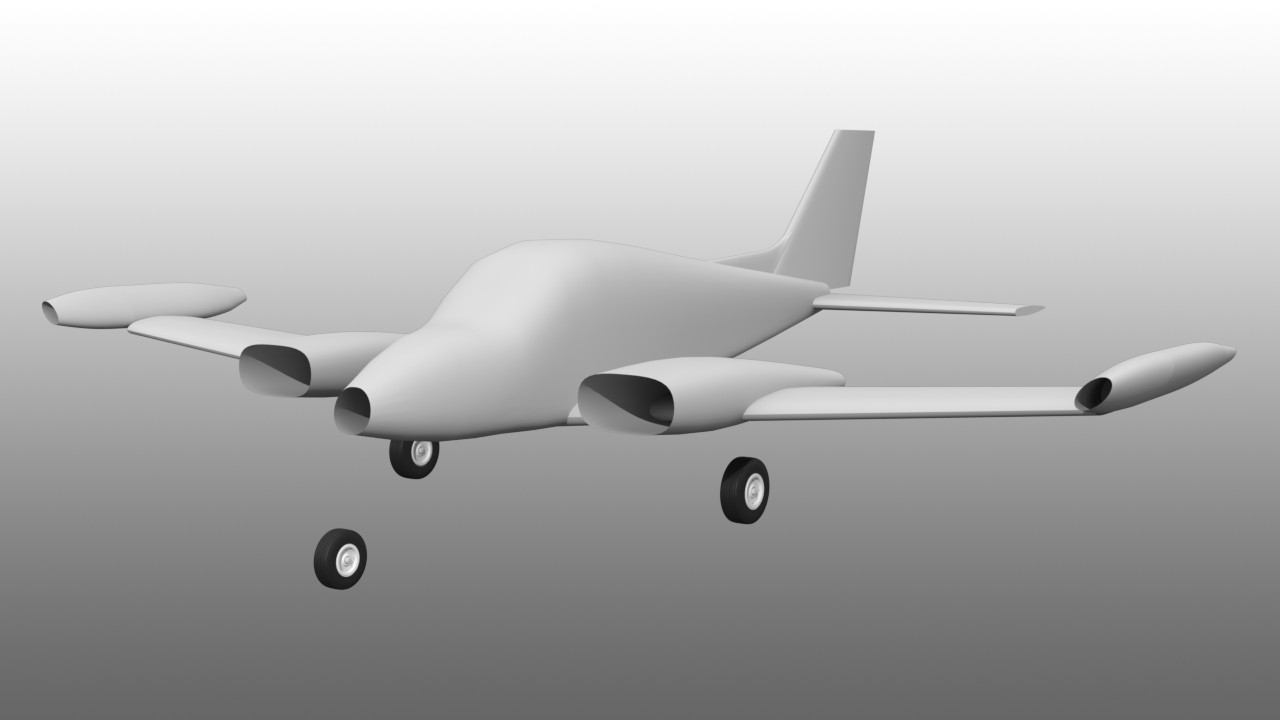
To get a feel for the shape of the final model, I've added in the dihedral for the wings.The engine nacelles will be tilted too, later. It looks good!

Time for a few renders...
Added the wheels for the landing gear.
Added some propellers too.
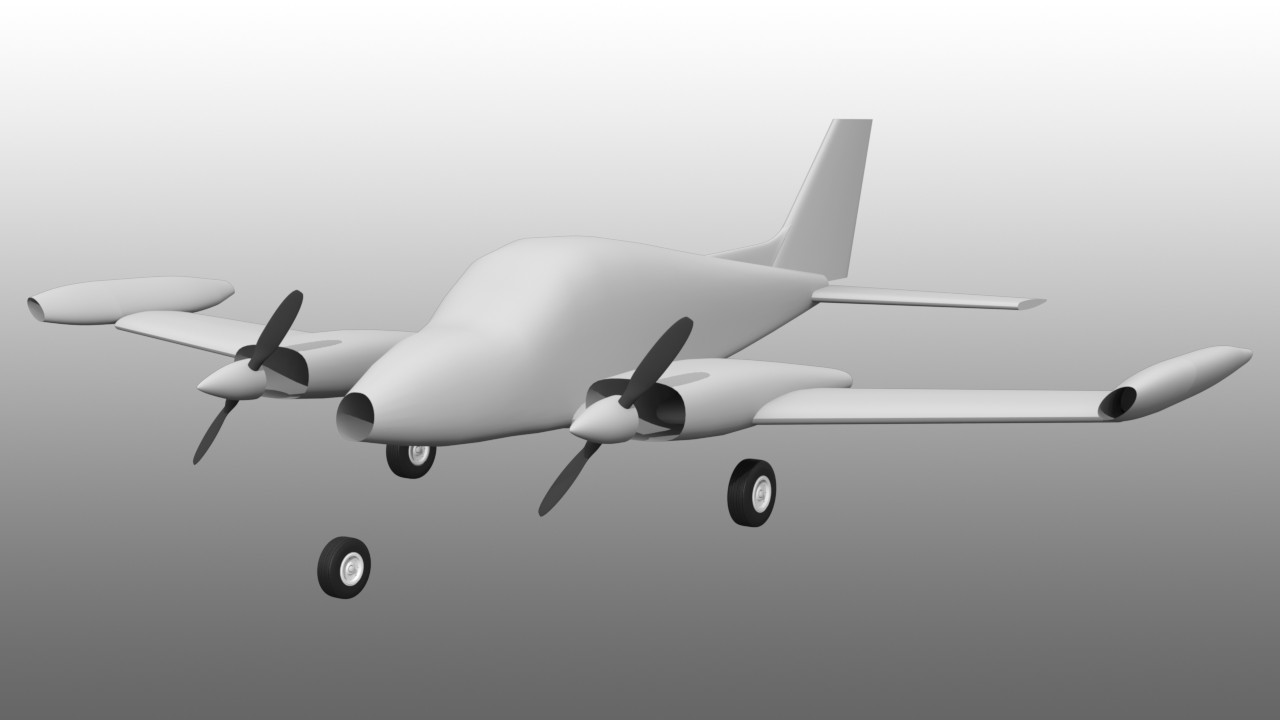
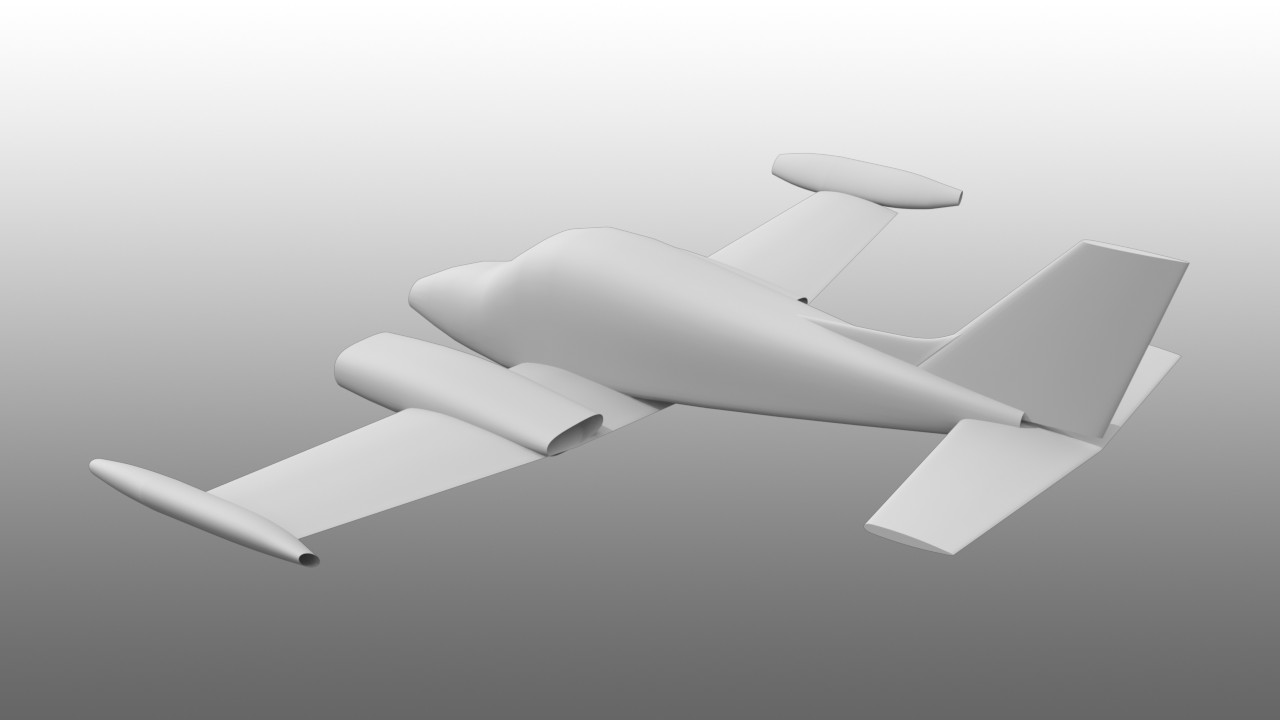
Basics ready to adjust.
With all these basic shapes in place, I can now start to carefully adjust and smooth all the shapes, until satisfied with the exterior. It will take a while, and because these are small details, I won't post all of them here. Like the T-50, EVERYTHING that follows will depend on the exterior shapes being right, so this is an important phase.
Click the "Page 02" link below, to continue.